Yes! I know that it’s usually Christmas in July, but I joined a quilt block swap and the deadline to mail out my swap blocks was this week. This month it was a Christmas stocking quilt block. The only requirements were that they had to be 10.5″ x 12.5″ and the background fabric had to be white.
I thought it would be so easy to find a free quilt block pattern for stockings out there. There are a TON of free quilted Christmas stocking patterns, and quite a few entire quilt patterns for sale that include stockings. What I didn’t find were just a simple quilt block with a stocking on it, especially in the size I needed, so I decided to try and make one up myself!
Making this pattern also inspired me to update my shop with holiday digital download images! I made these a few years ago for use on tumblers. They are suitable for sublimation, print & cut, HTV and regular vinyl, depending on the design. Check them out here!
For the stocking pattern in PDF format, it’s available for FREE here, or just scroll down for the full instructions.

Cutting Instructions
The following cutting instructions are PER BLOCK.
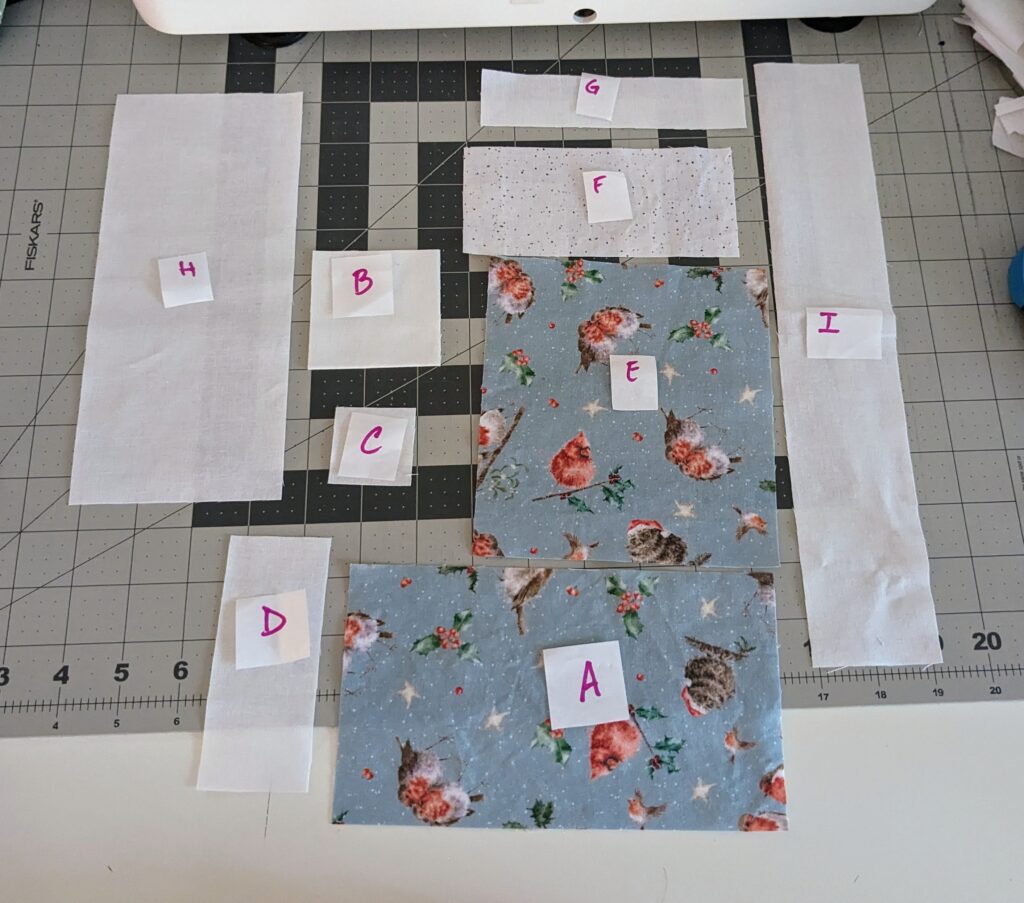
- Out of your main fabric (I used the One Snowy Day fat quarter bundle by Maywood Studio designed by Hannah Dale):
- One (1) 5.5″ x 6″ rectangle (E)
- One (1) 4.25″ x 7.5″ rectangle. (A)
- Out of the fabric you want to use for the band at the top of the stocking (I used the same fat quarter bundle, just chose the lighter background fabrics):
- One (1) 5.5″ x 2.5″ rectangle. (F)
- Out of your background fabric (I used solid white fabric from Riley Blake) :
- One (1) 2.25″ x 12.5″ rectangle (I)
- One (1) 3.75″ x 8.75″ rectangle (H)
- One (1) 1.75″ x 5.5″ rectangle (G)
- One (1) 1.75″ x 4.25″ rectangle (D)
- Two (2) 2.5″ squares (B)
- One (1) 1.5″ square (C)
Sewing Instructions
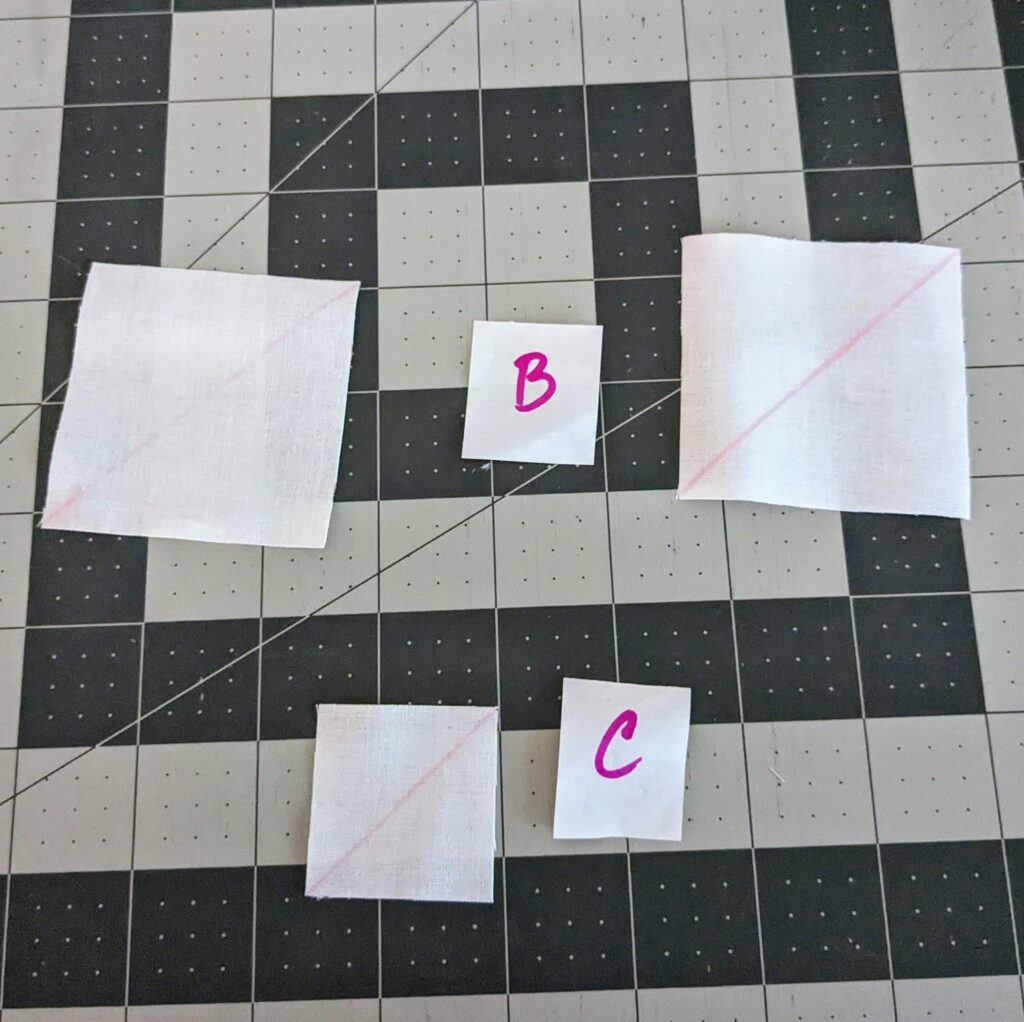
Take the C piece and both B pieces and draw a diagonal line, from corner to corner, on the back of all of them.
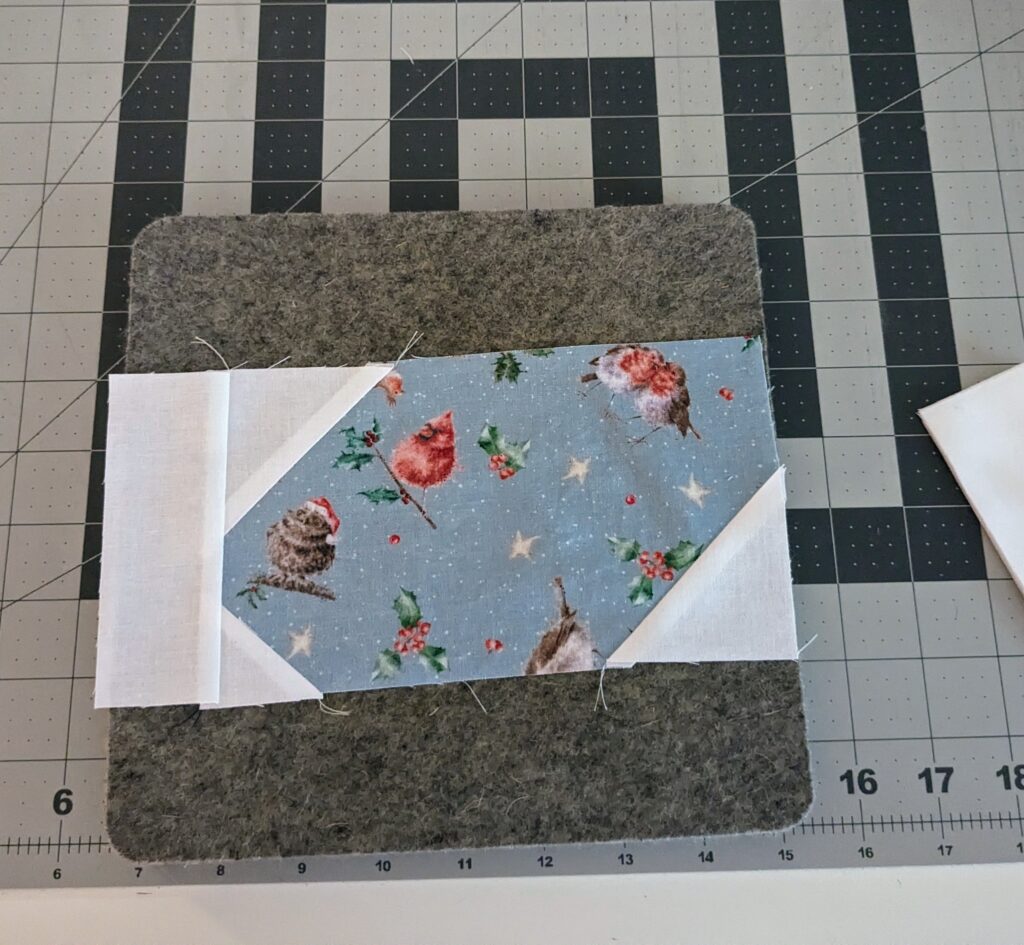
Take one of the B pieces and place it on the corner of the A piece. Sew on the drawn line, trim 1/4″ away from the seam and press.

Take the second B piece and place it on the diagonally opposite corner of the A piece. Sew on the drawn line, trim 1/4″ away from the seam and press.
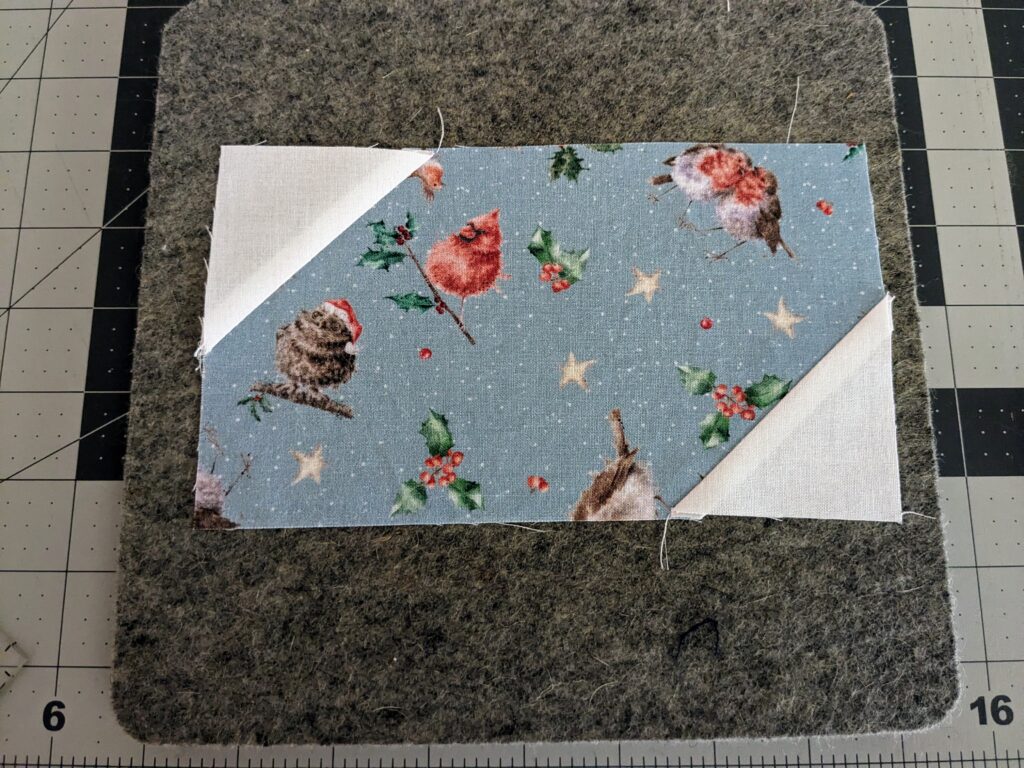
Take the C piece and place it on the bottom left corner of piece A. Sew on the drawn line, trim 1/4″ away from the seam and press.

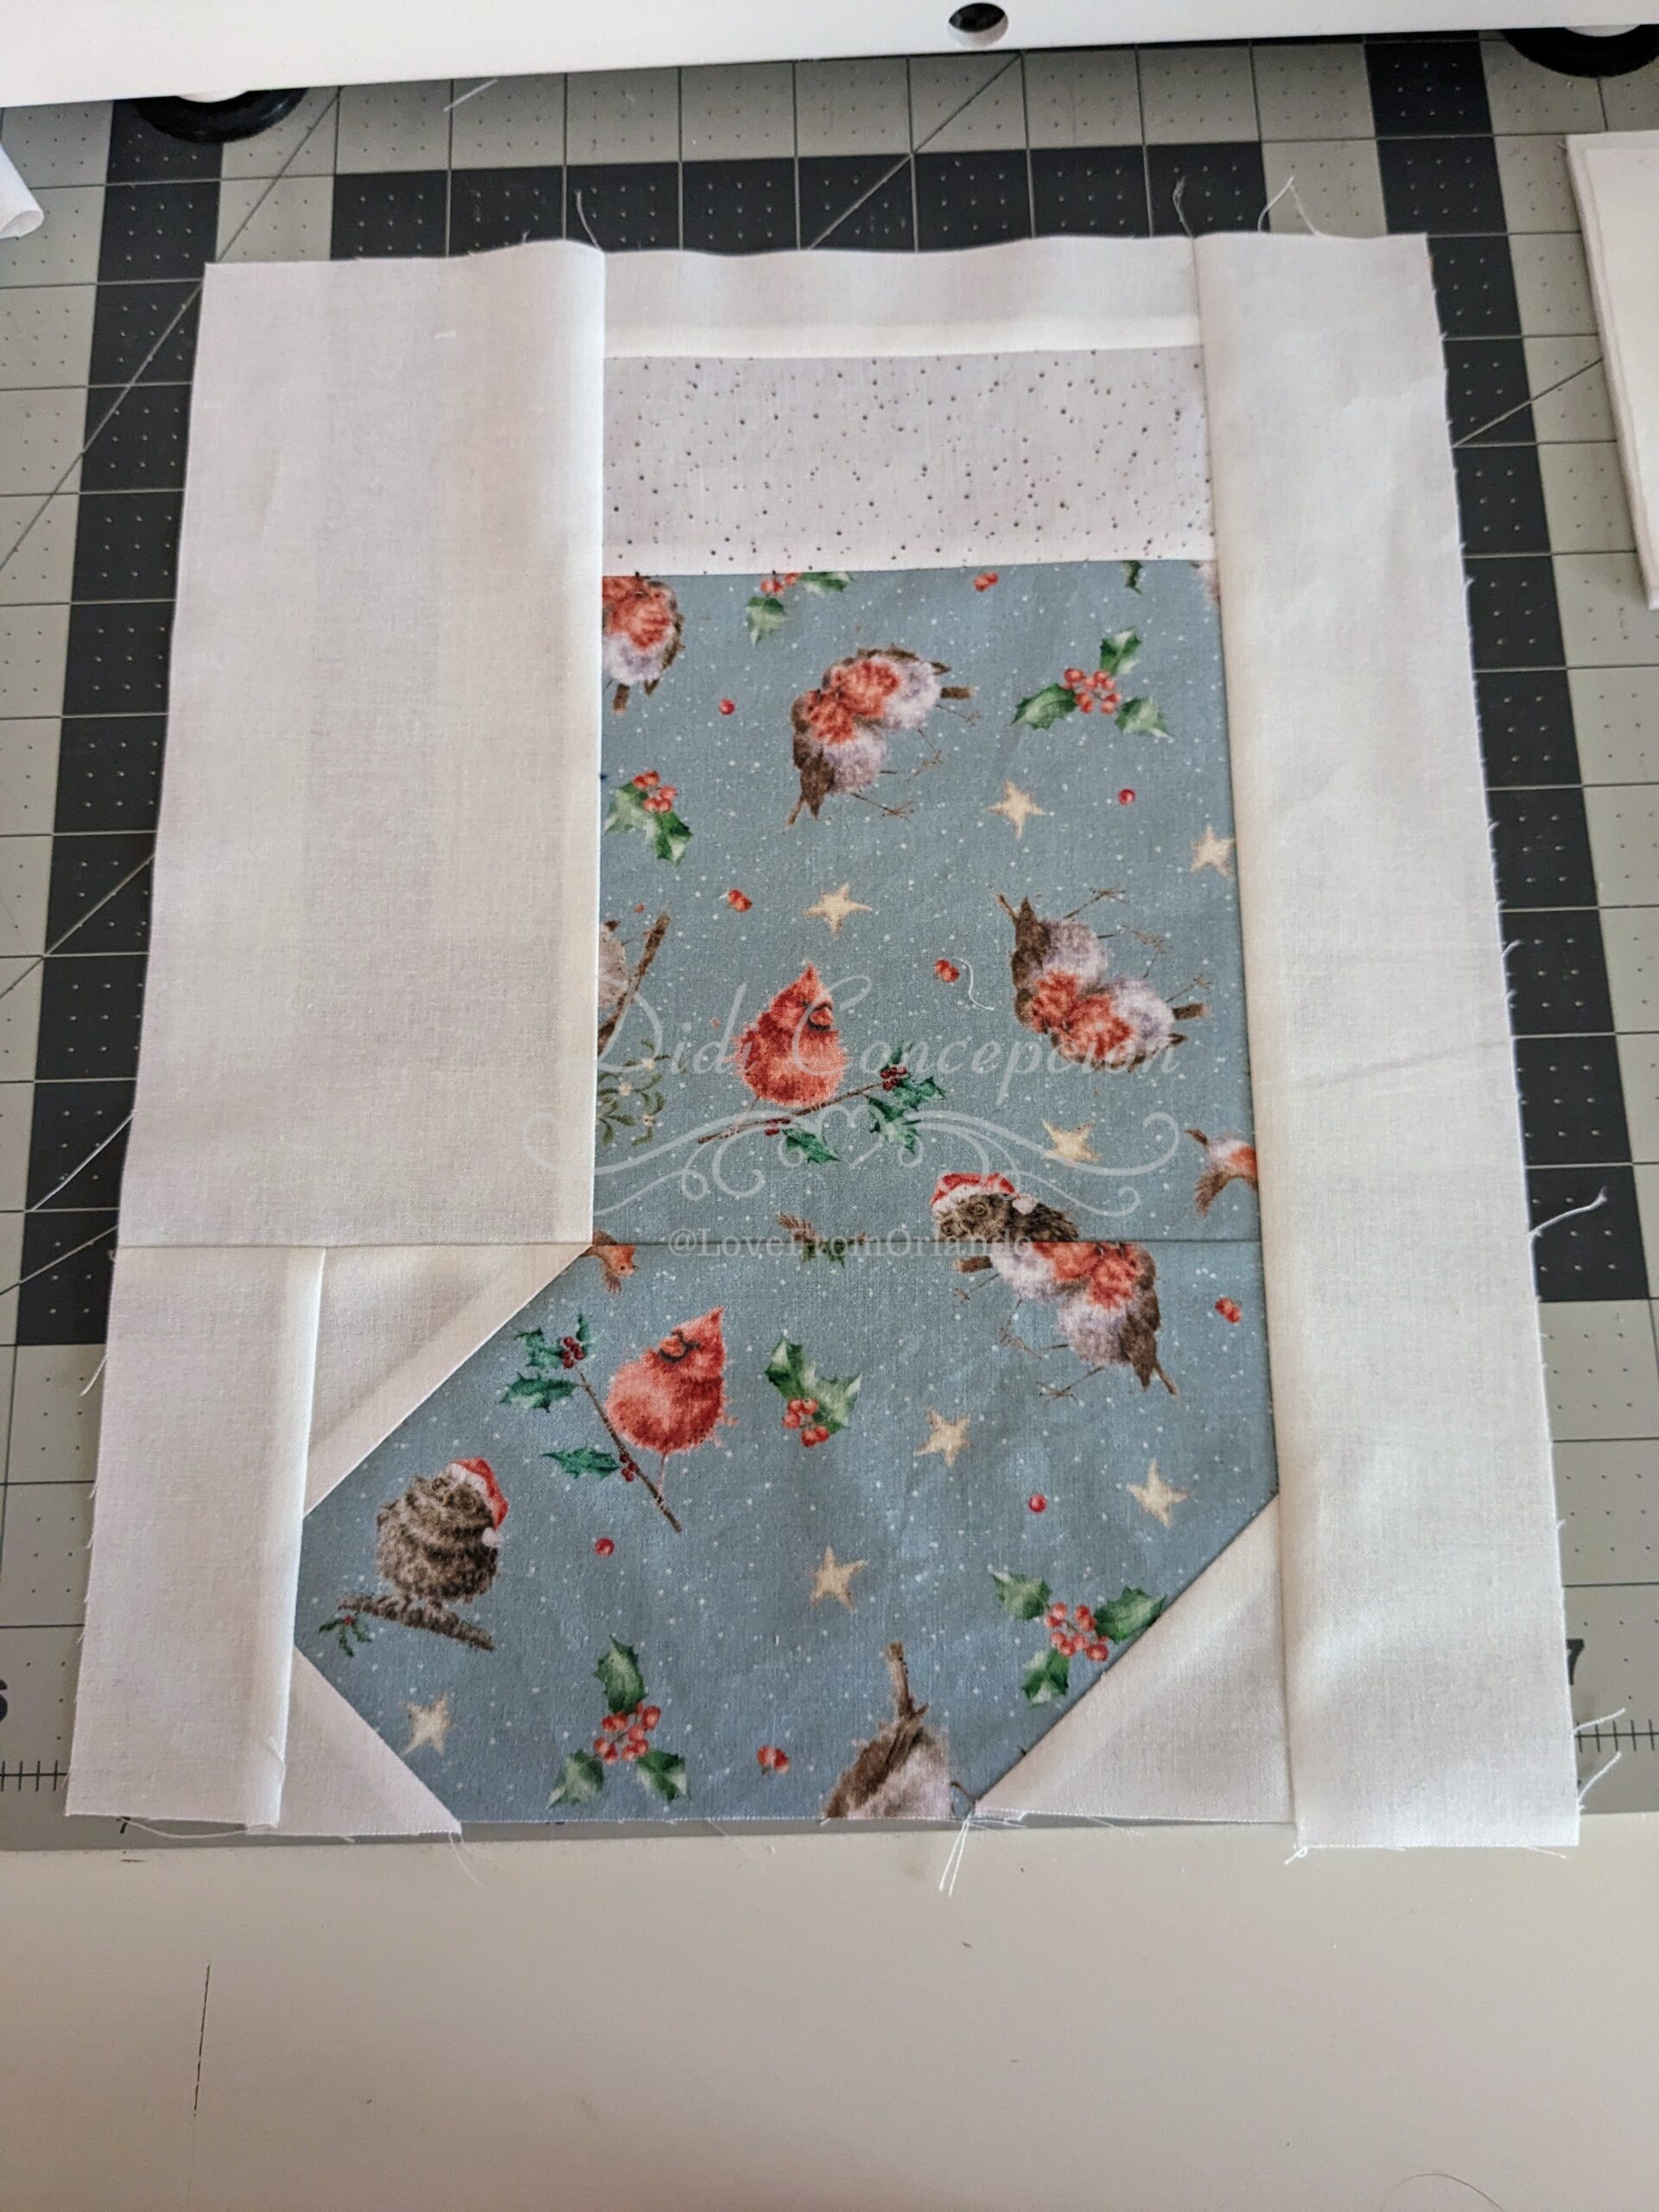
Sew the ABC piece to piece D as seen below. Press the seam and then put to the side until the top half of the block is completed.
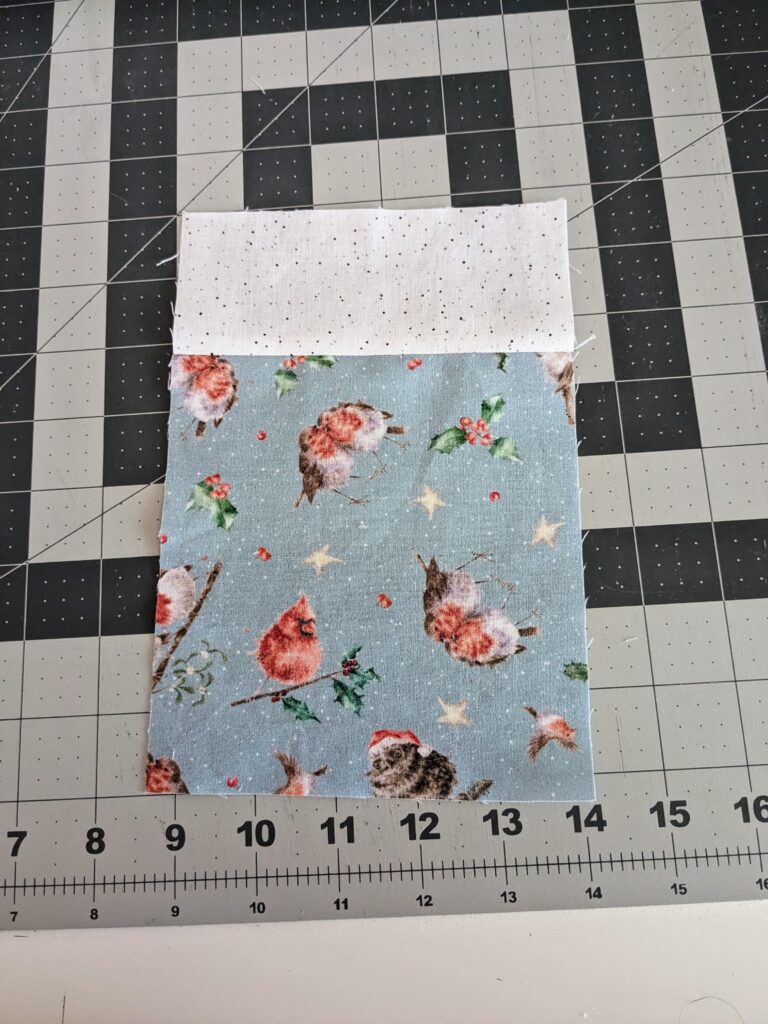
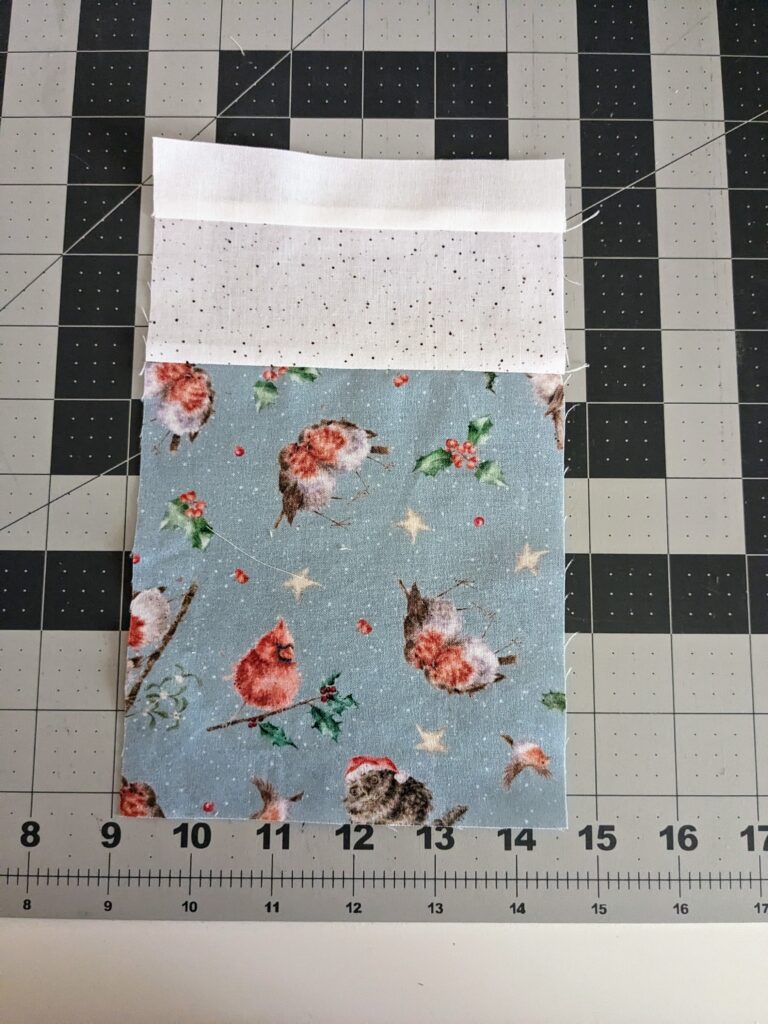
Take piece E and sew it to piece F. Press your seam.
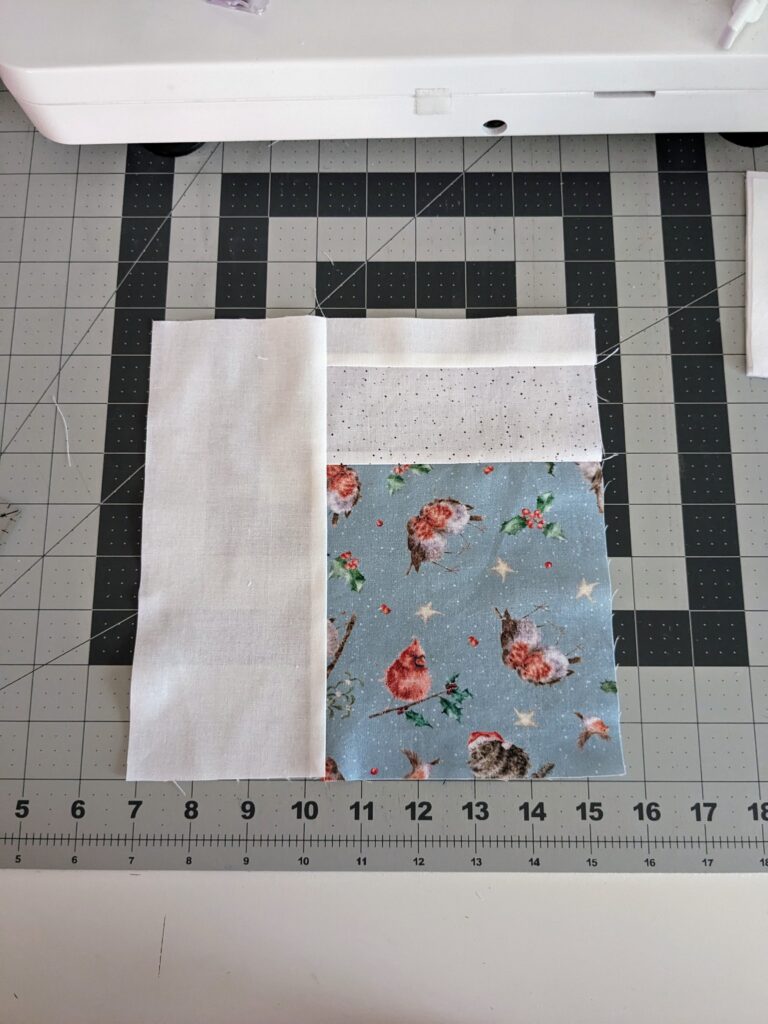
Sew piece EF to piece G. Press your seam.
Take piece EFG and sew it to piece H as seen below. Press your seam.
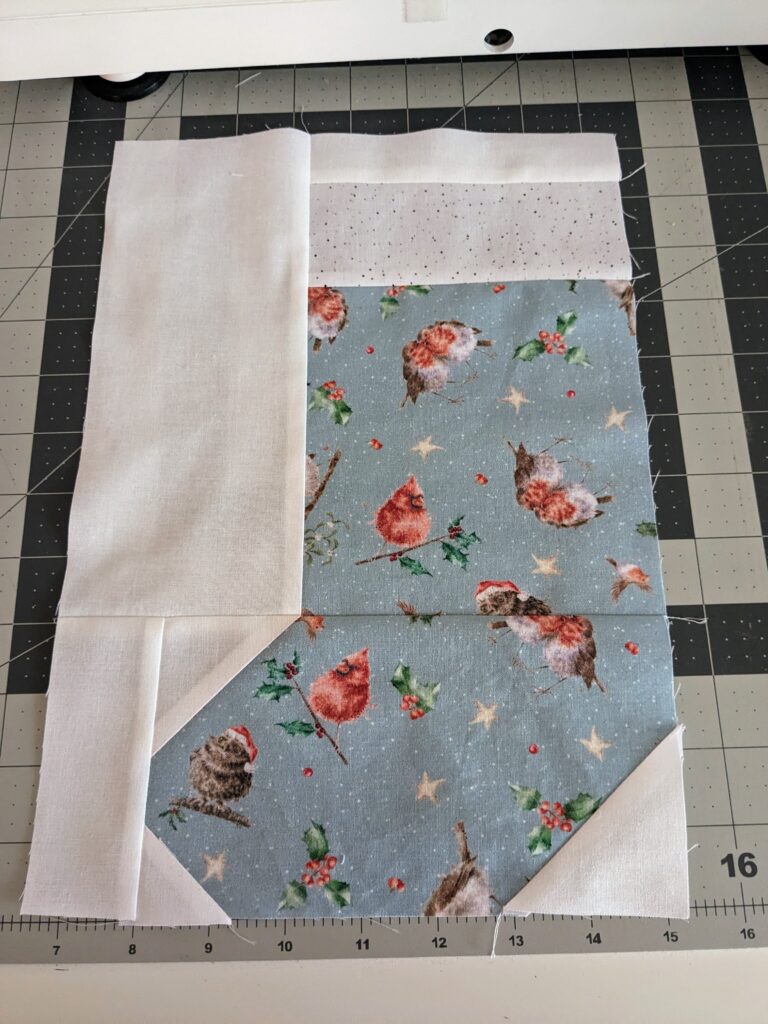
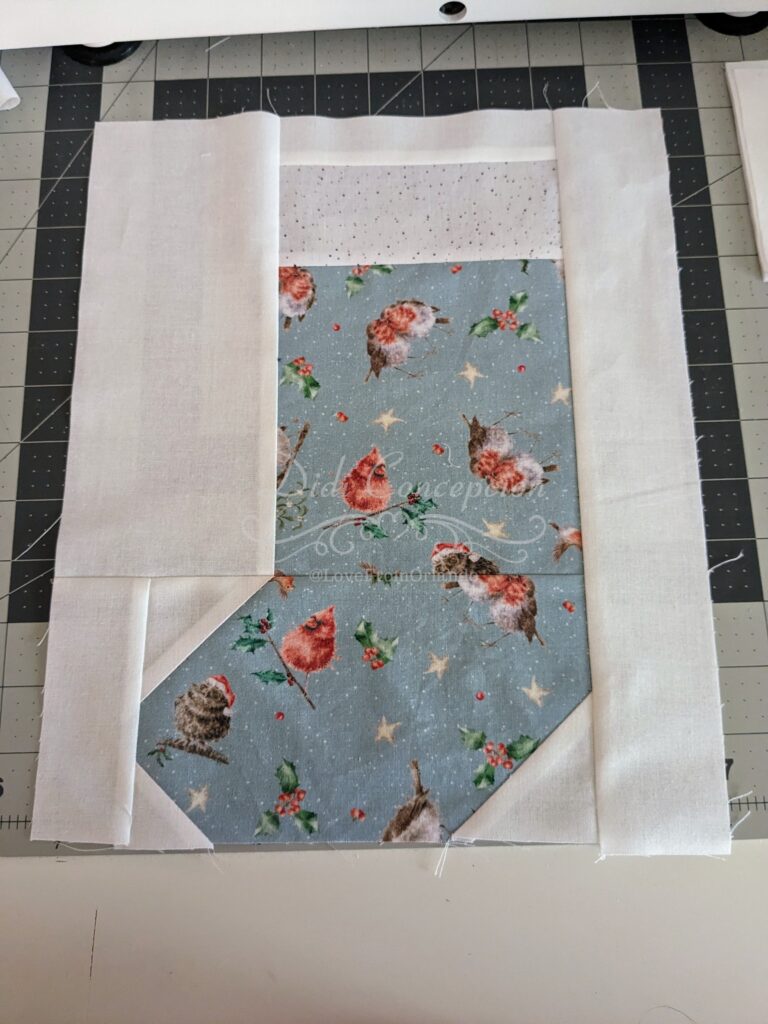
Sew the ABCD piece to the EFGH piece (basically the bottom half to the top half). Press your seam.
Sew piece I to the rest of the block. Press your seam and you are done!

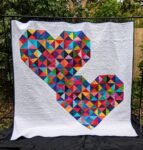
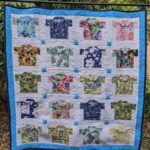
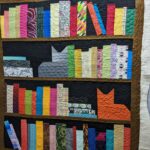
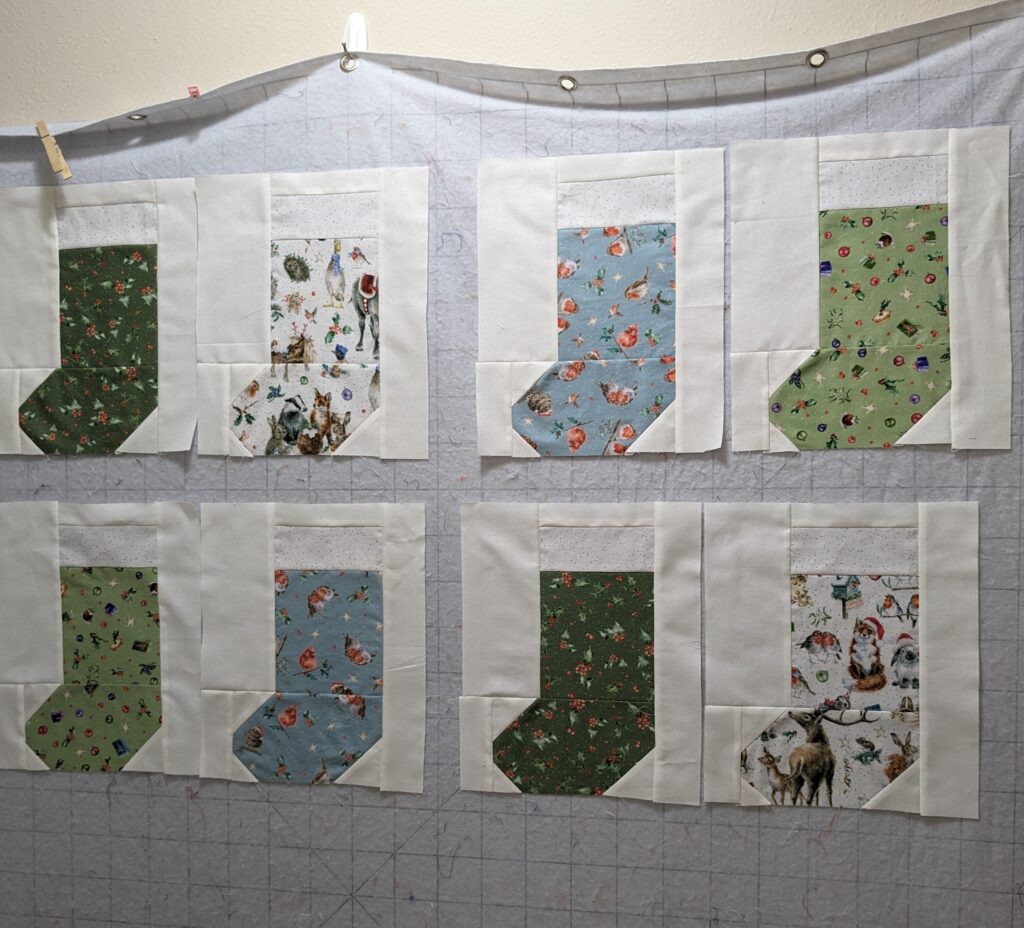
Here are all of my blocks done and ready to be shipped off for the block swap!
Thanks for reading my blog post and I hope that you enjoyed the pattern! Please leave me a message or comment and let me know what you thought!
Happy Quilting!