I hope you have all had a great week! I have been furiously working away at a few projects. Yes, all at once! I have a habit (a bad habit? a good habit??), of working on multiple projects at once. This week though, I have been focusing on a foundation paper piecing project!
We are going on cruise vacation and I decided that I had to make some things to take with us. This is part of a wall hanging that I want to place on our cabin door. The pattern is called Oceanside and is by Pitcher’s Boutique. As soon as I saw it I knew that I MUST MAKE IT!

Choosing Fabrics
I had a hard time deciding what fabrics I wanted to use, I have been on a batik kick lately, so I knew I wanted to use the batiks I had in my stash already. I’ve had some that I didn’t know where to use them, so I figured this was a good place for them.
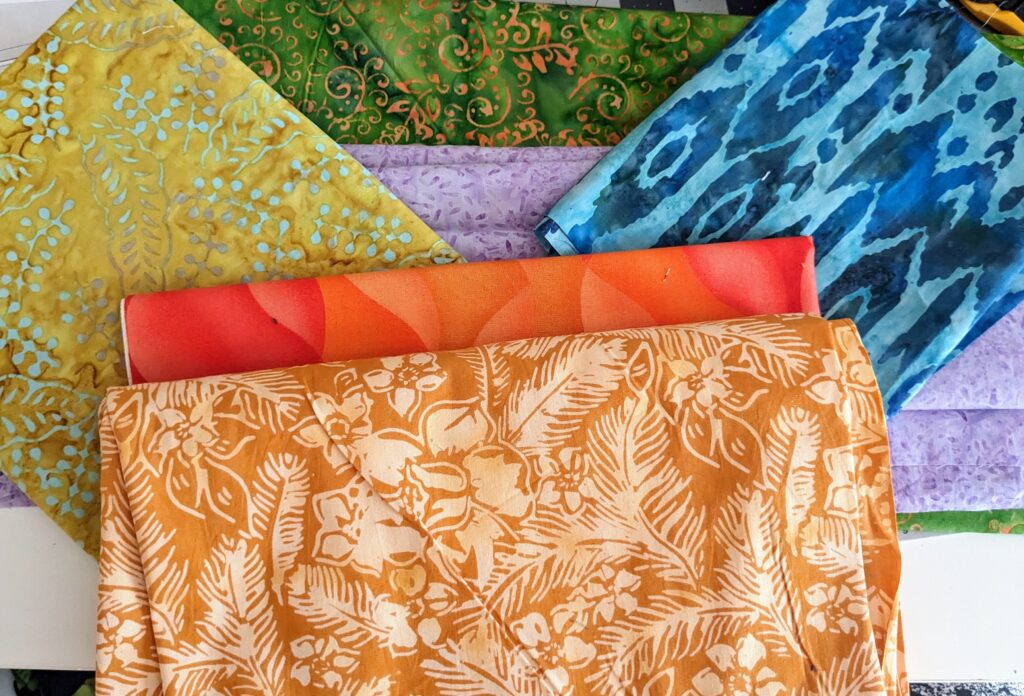
It took me at least a day to finally decide on these fabrics. I finally just said, “I think these will go together” and crossed my fingers!
The best part of foundation paper piecing, especially smaller projects like this one, is that you can use scraps of fabric that are pretty small that some quilters might normally toss. This pattern comes in 3 sizes, and I chose to make the 20″ x 20″ size. For some of the really tiny pieces, I was able to use the excess pieces of fabric that I cut from a previous section.
Sewing the FPP Pattern
Here are my first two rows completed.
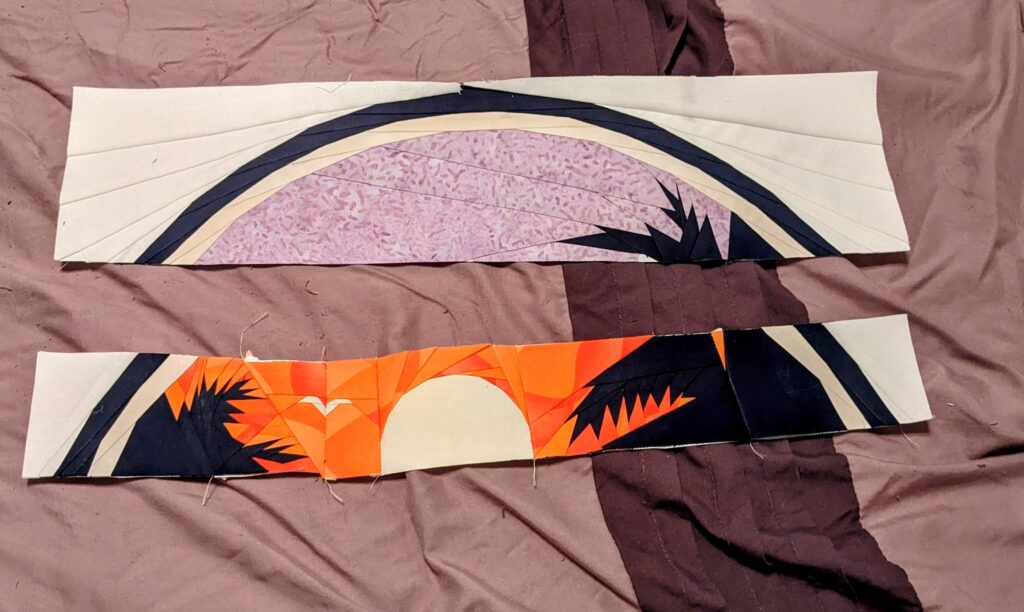
I was excited that they were coming together, but I had to put it to the side for a day or so to work on another project with a deadline.
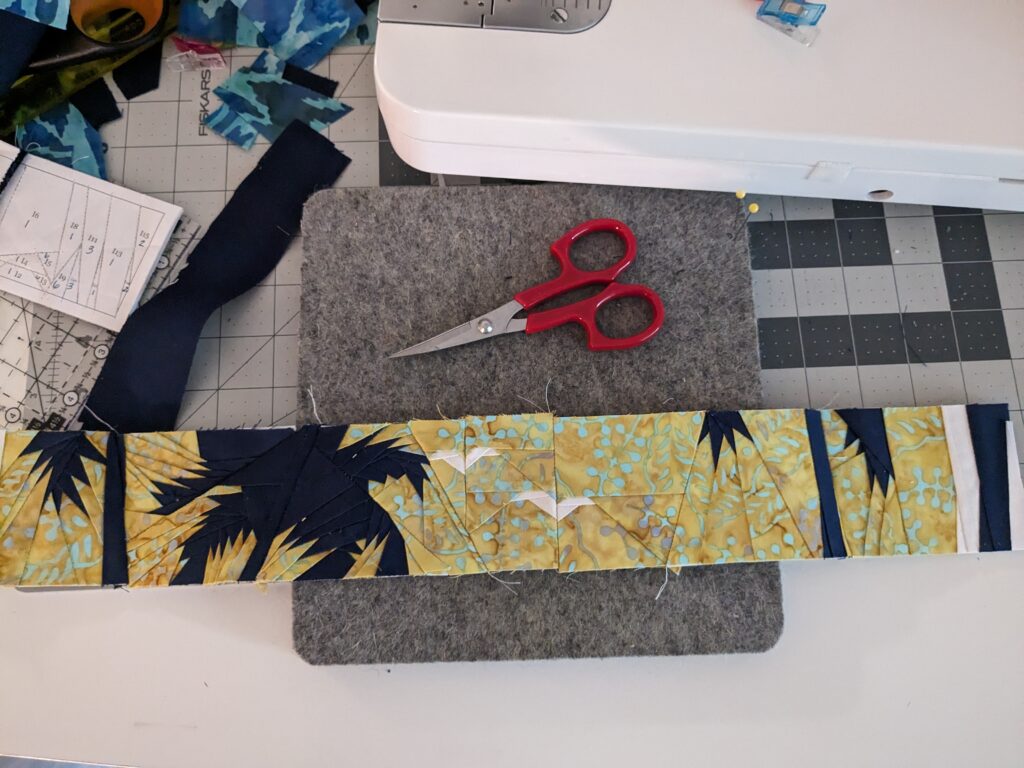
I found that the more detailed sections were in the middle. Unfortunately, I didn’t get a picture of the row above this one, but here’s the 4th row all done and put together. You can see a little bit of my setup. I normally have the wool pressing mat to my right with my small craft iron. I sew on top of my cutting mat, so that I can easily trim my FPP pieces as I go. And the mess of scraps and rulers and scissors and other miscellaneous stuff on the left!

Here’s the first two rows sewn together, and the 3rd and 4th row just placed next to it. I was trying to see if my color combos were working. At this point though, I wasn’t about to change anything after all that work!
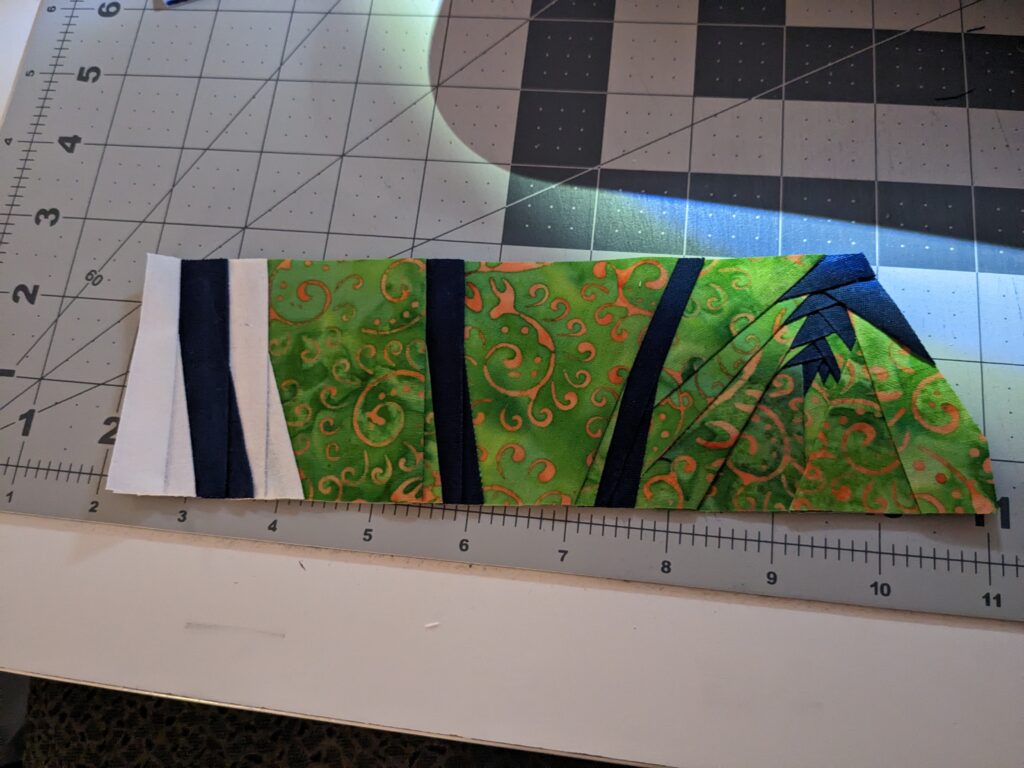
I have no idea why I bought this green fabric. I actually really don’t like green, but I think the gold in it makes it stand out. At this point I had already made the bottom rows, but forgot to take pictures of them. I was pretty happy with this particular piece. I felt that I hadn’t made any mistakes on this one!
The missing piece!
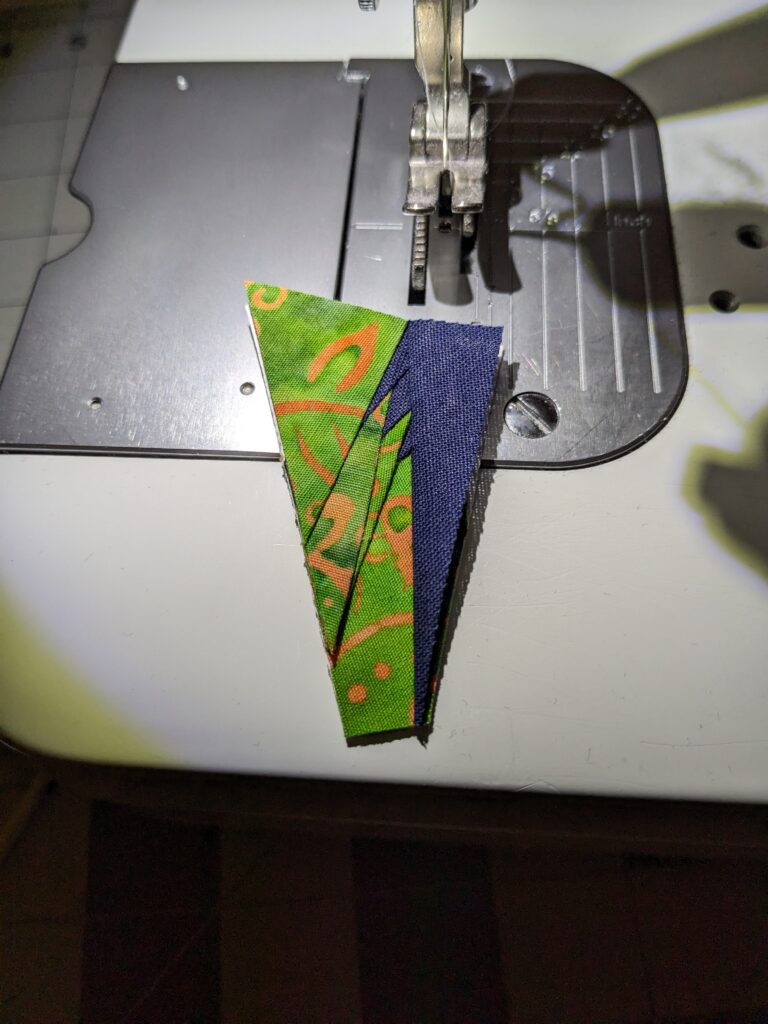
Let me warn you when making any FPP pattern. Beware of the tiny pieces! I took a picture of this piece because it was the very last piece I needed to make before completely putting the entire project together. This was the THIRD time I had to make it. Why? Because I kept losing it in my chaos!
The first time I lost it I thought it was just me. Hmm, I thought I made that piece? But I must have because I know I printed it out. So I printed it again and remade it.
Then when I was all done and thought I could put the project together, I couldn’t find this piece again! So I remade it again! This time I took it’s picture, like it was a mug shot! Then I left it right on my sewing machine while I grabbed everything else off my design board. It wasn’t running away from me again!

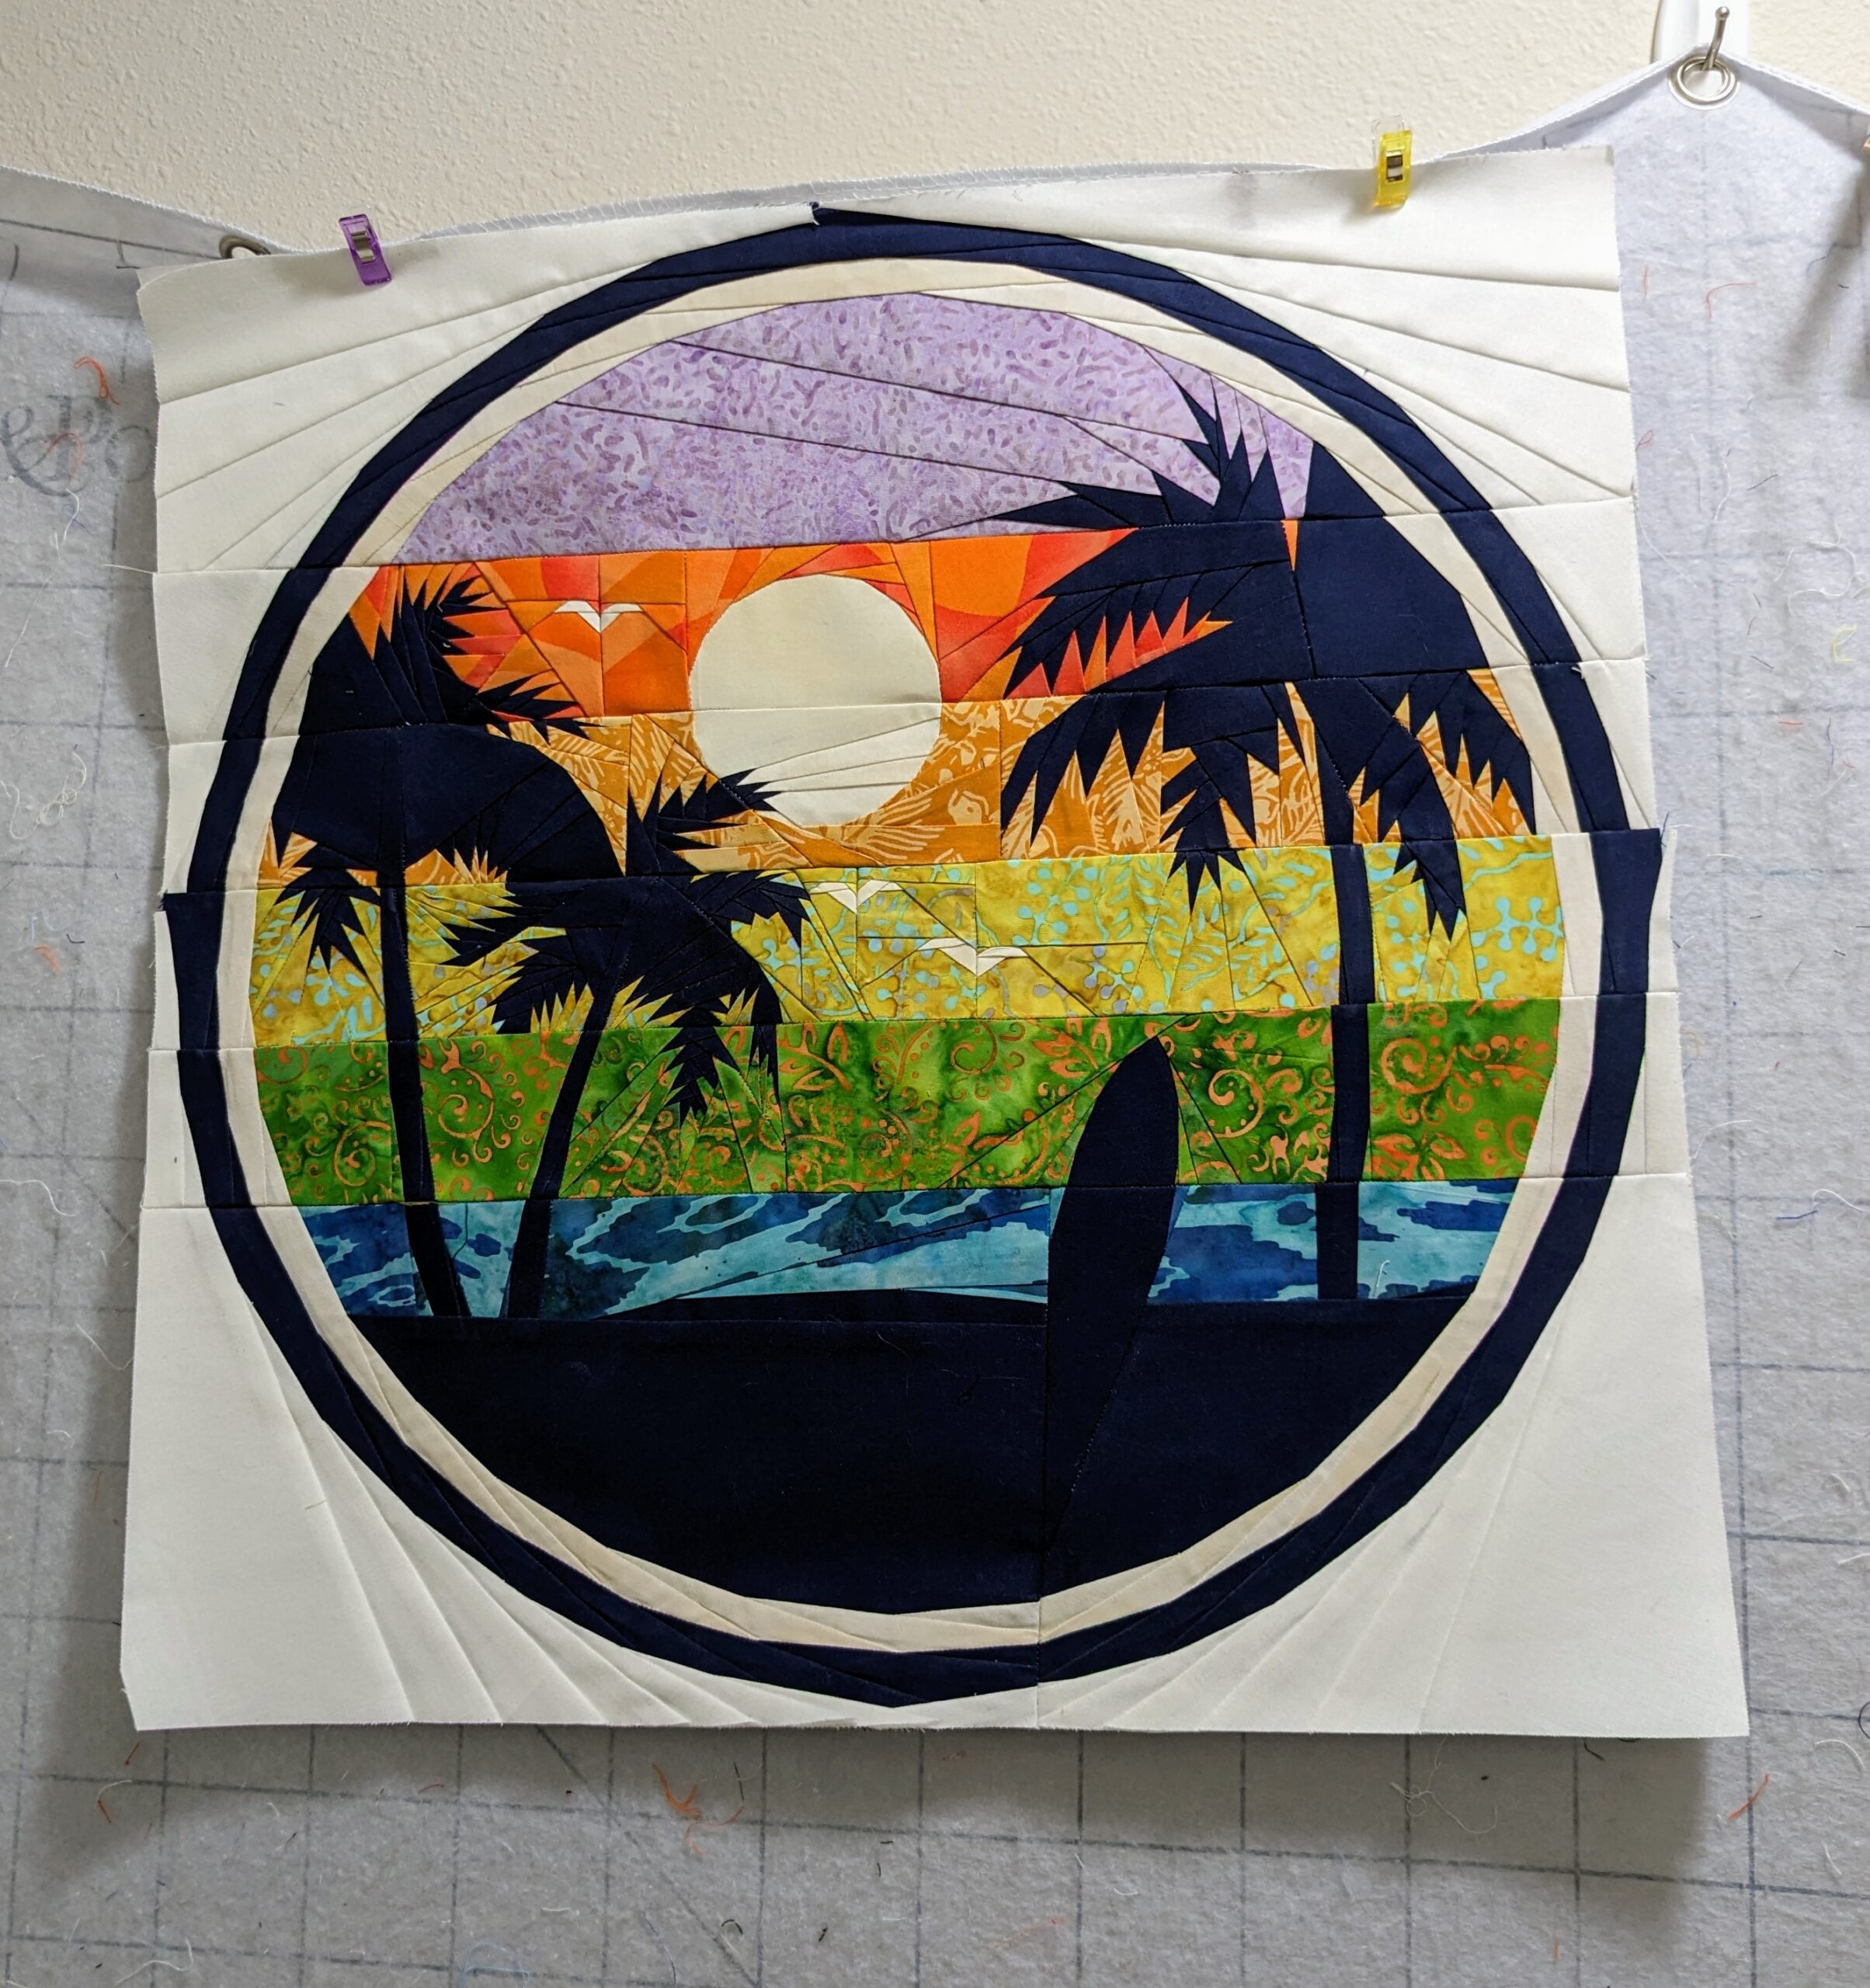
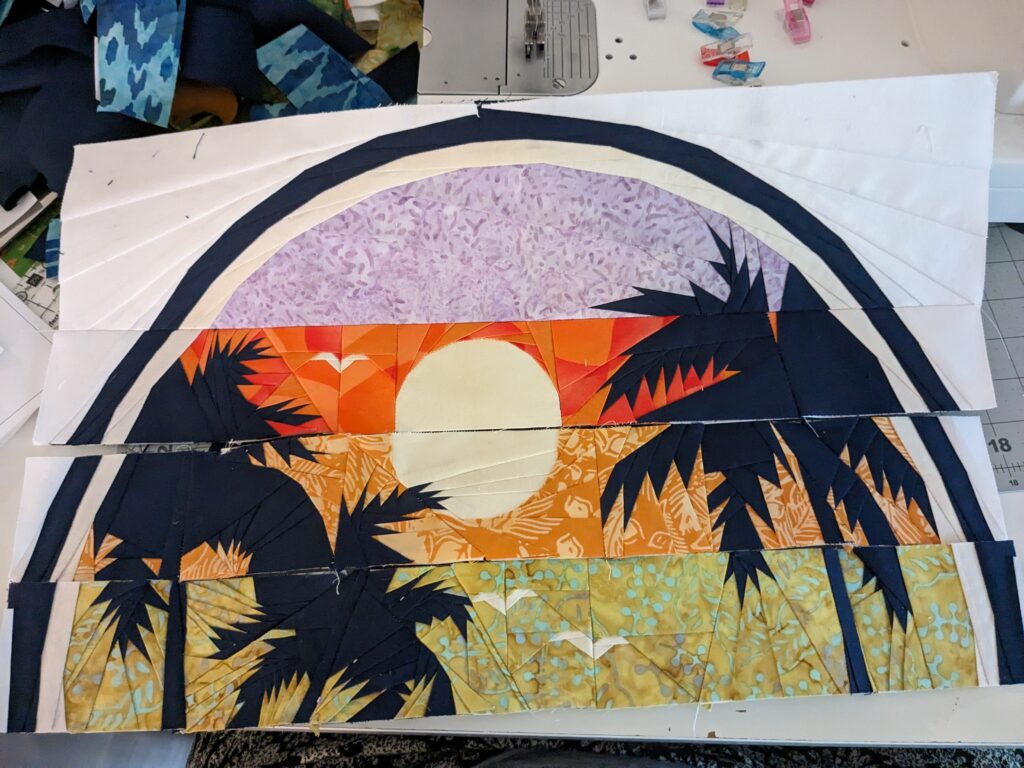
All Done!
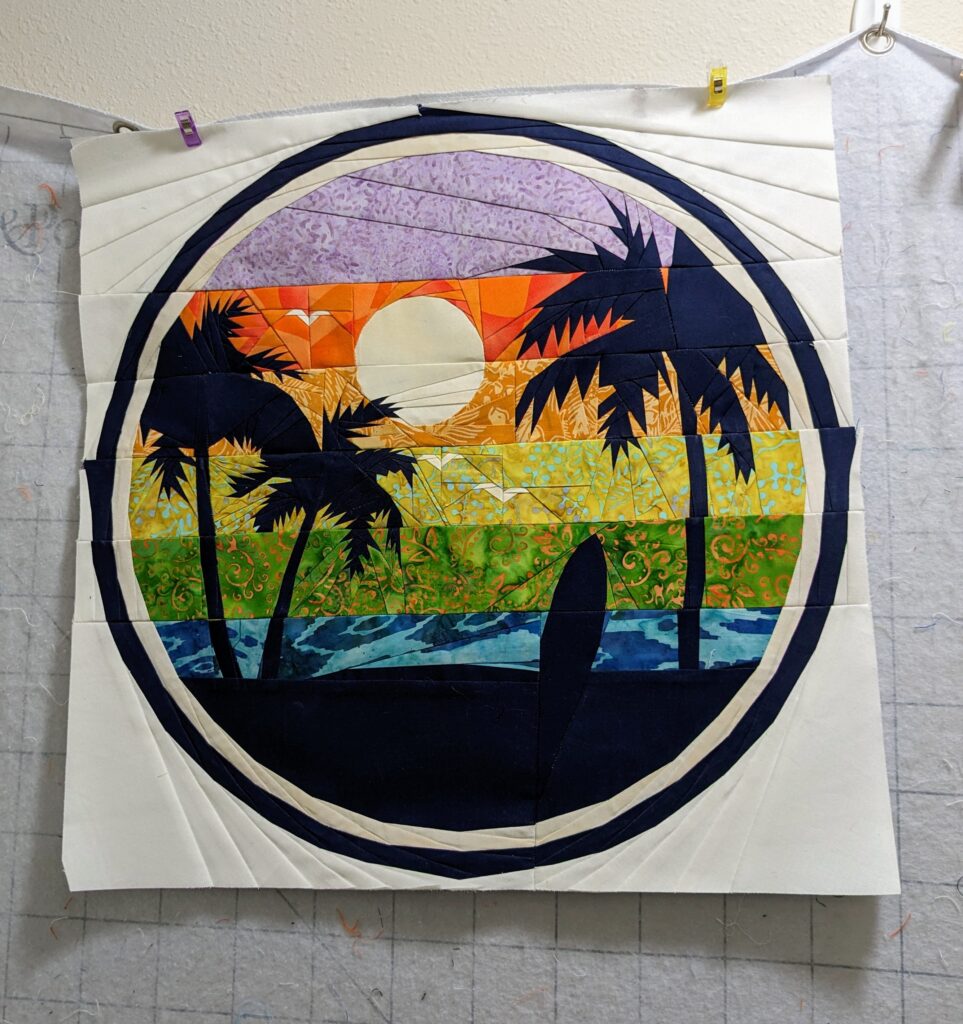
Here’s the completed piece all put together! I know there are a few mistakes here and there, but that’s okay. I’m so happy with how it came out. Now I’m on to making the FPP letters that will go underneath this beautiful beach scene!
Check out next week’s blog post where I hope to have this entire piece finished! Also, make sure to check out my favorite Grace products on my website!
Happy quilting!