I’ve been wanting to make a pillow with the City of Orlando flag. I had originally thought of making a cross stitch pillow out of the flag. However, I find I don’t have the patience for cross stitch as much as I used to.

The FPP Pattern
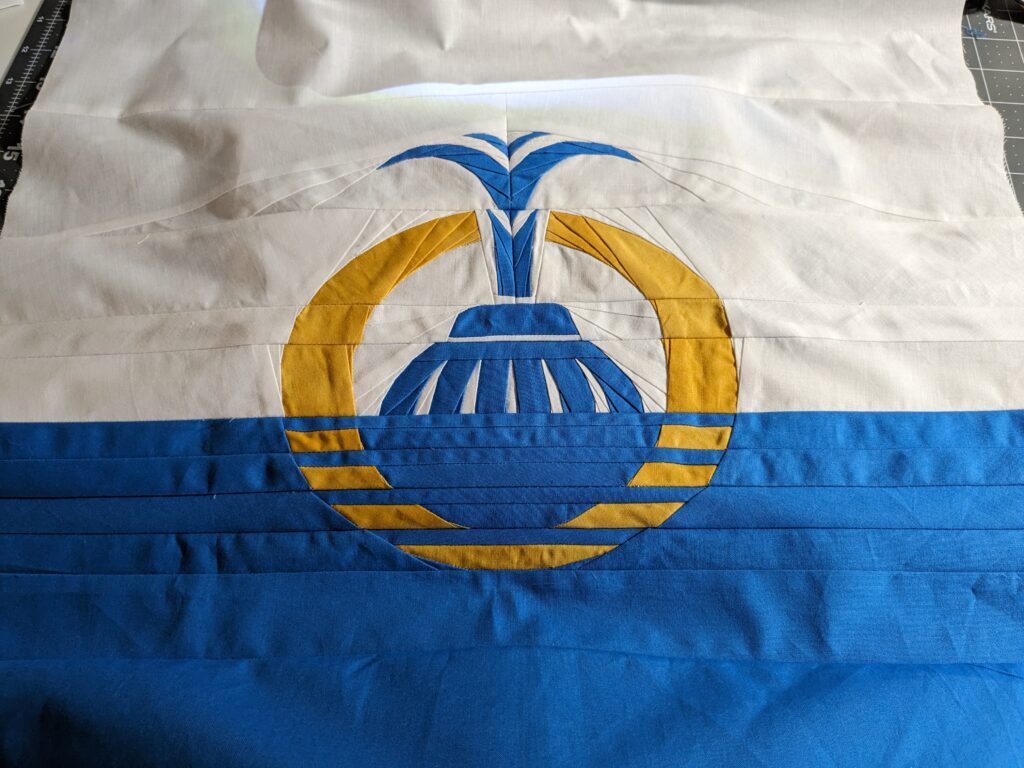
With all of the FPP (Foundation Paper Piecing) I’ve been doing lately, it dawned on me that an FPP pattern of the Orlando Flag would be perfect! While I love making FPP blocks and quilts, I don’t have the skills just yet to be able to design a pattern this intricate. So, I commissioned Sarah Pitcher with Pitcher’s Boutique to design the actual pattern. She did an AMAZING job and it came together so quickly! Check out her website, she’s got some amazing patterns for sale.

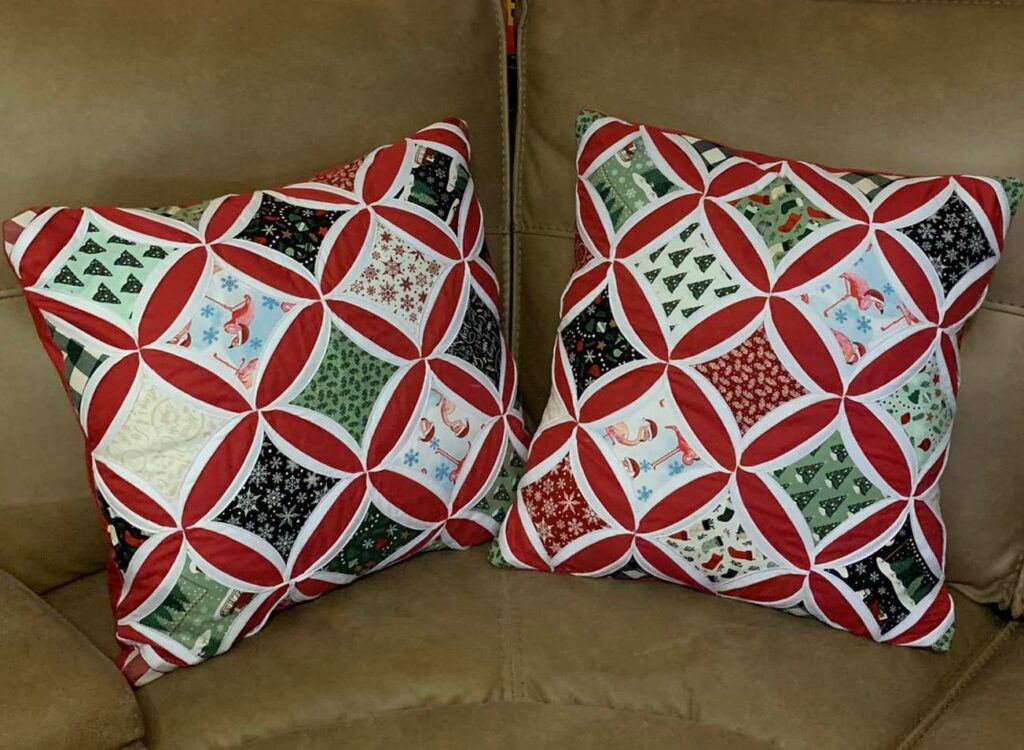
The pattern finishes at 12″ x 20″ and I knew I wanted it to fit a 20″ x 20″ pillow form that I already had. I got them from Ikea a while ago when I was on a roll making cathedral window pillows. I still have the pillow forms, even though I exhausted myself after about 7 pillows.
Getting the Pillow Top Ready
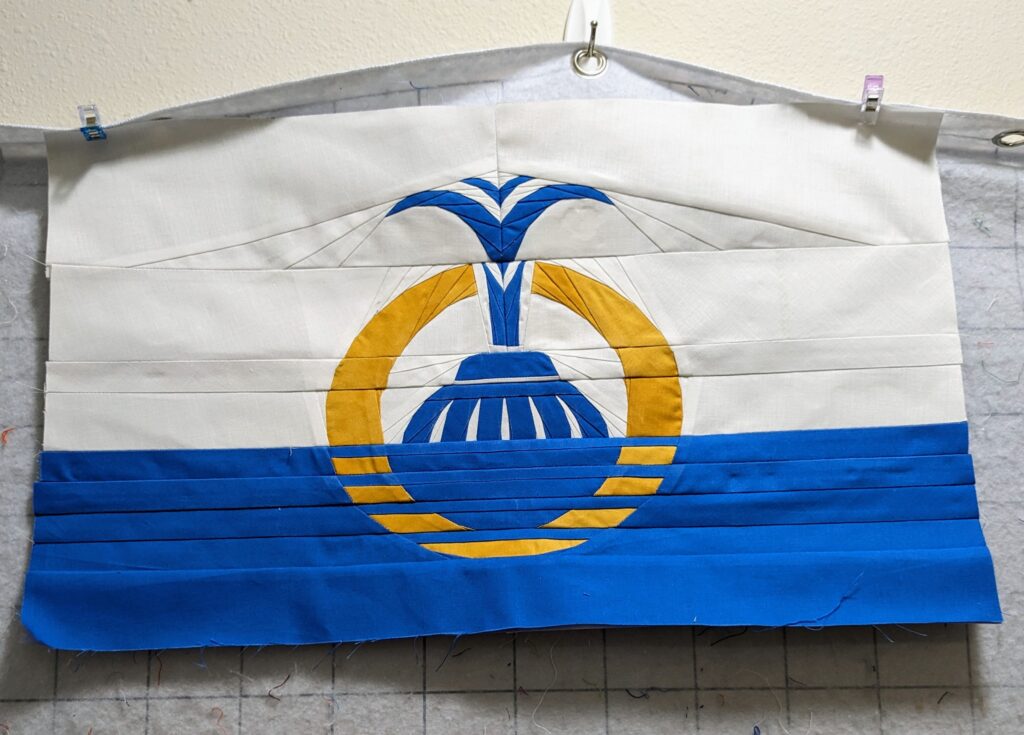
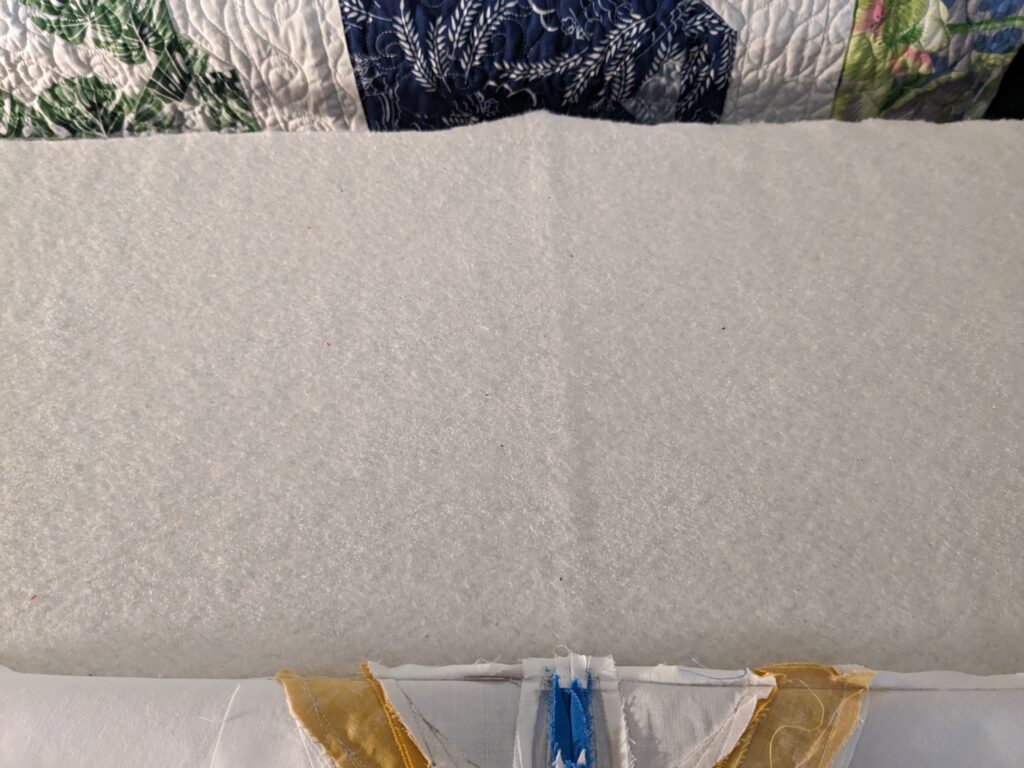
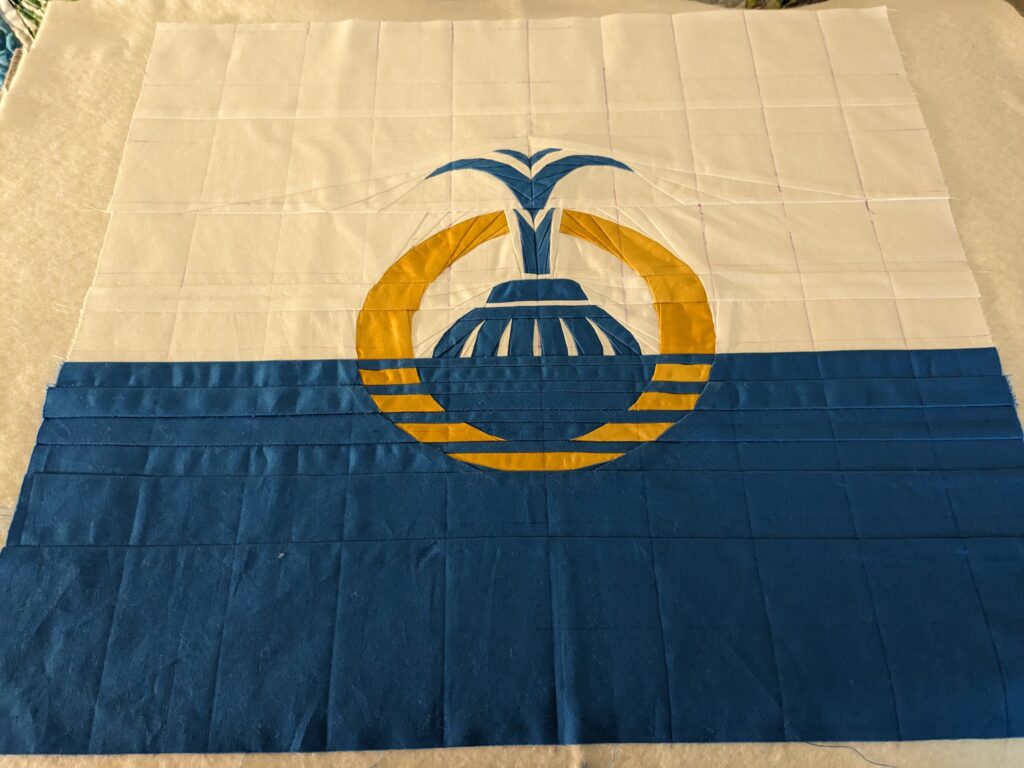
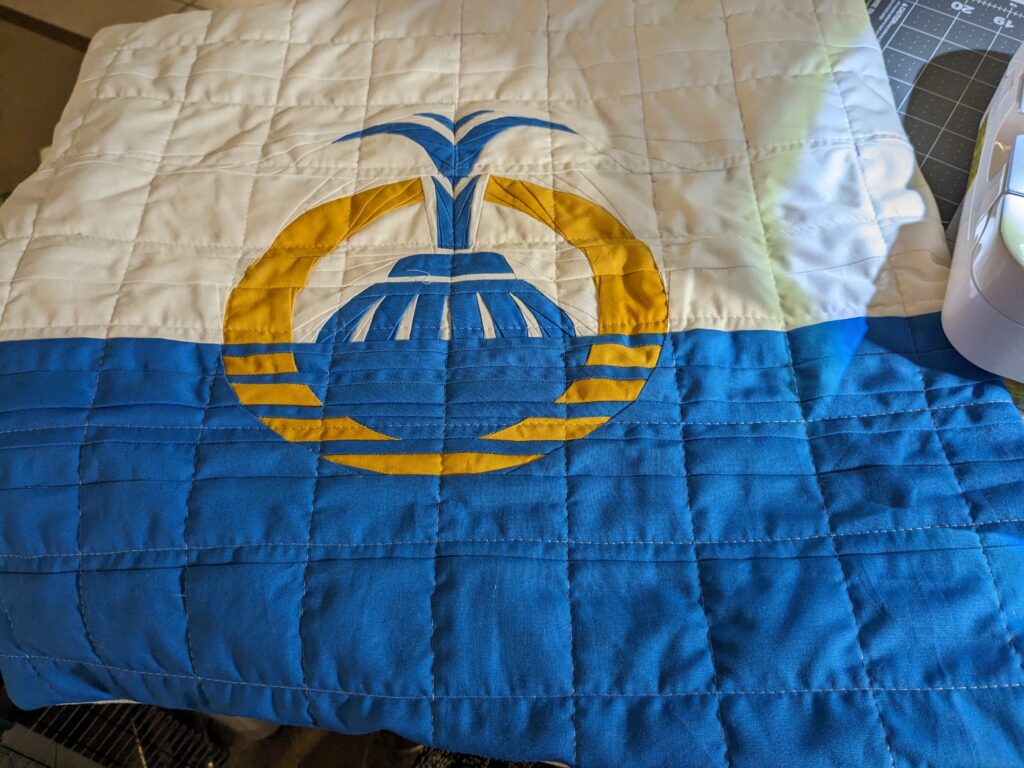
After sewing up the FPP block and taking days to pull out all the papers, I added a strip of white to the top and a strip of the same blue to the bottom to make it 20″ x 20″.
Then to decide how to quilt it. I was debating on putting it on my Cutie frame, but I didn’t want to have to deal with leaders or adding extra fabric to the backing to make it fit. I decided a simple square pattern would work well, and not take away from the pattern itself.
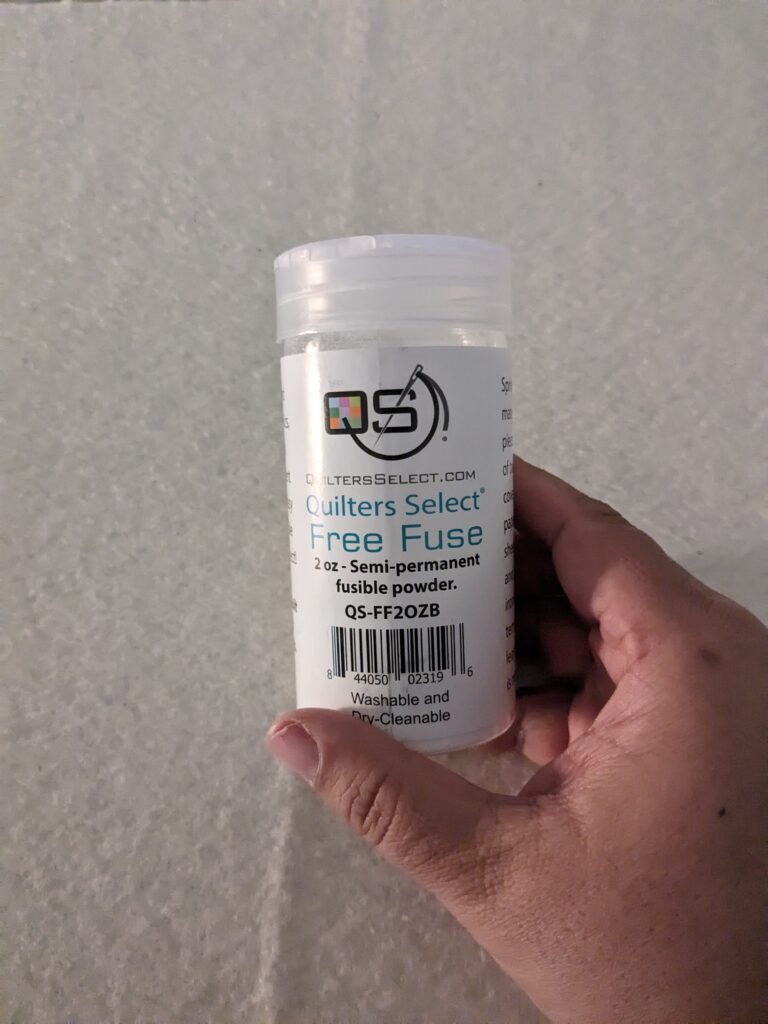
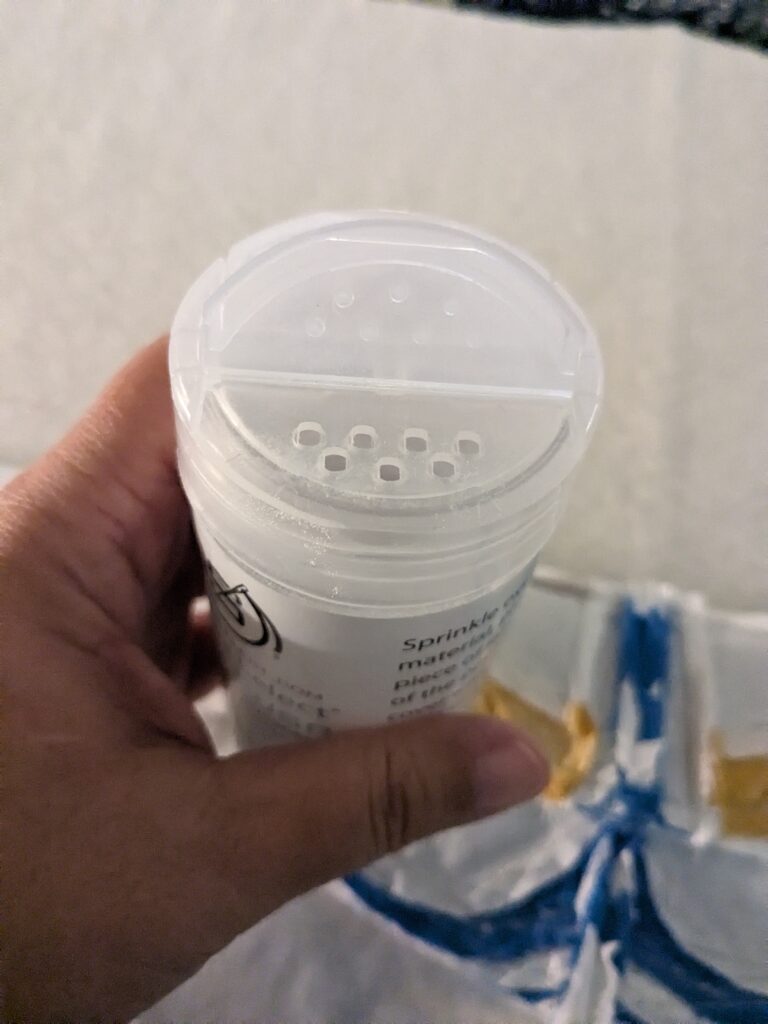
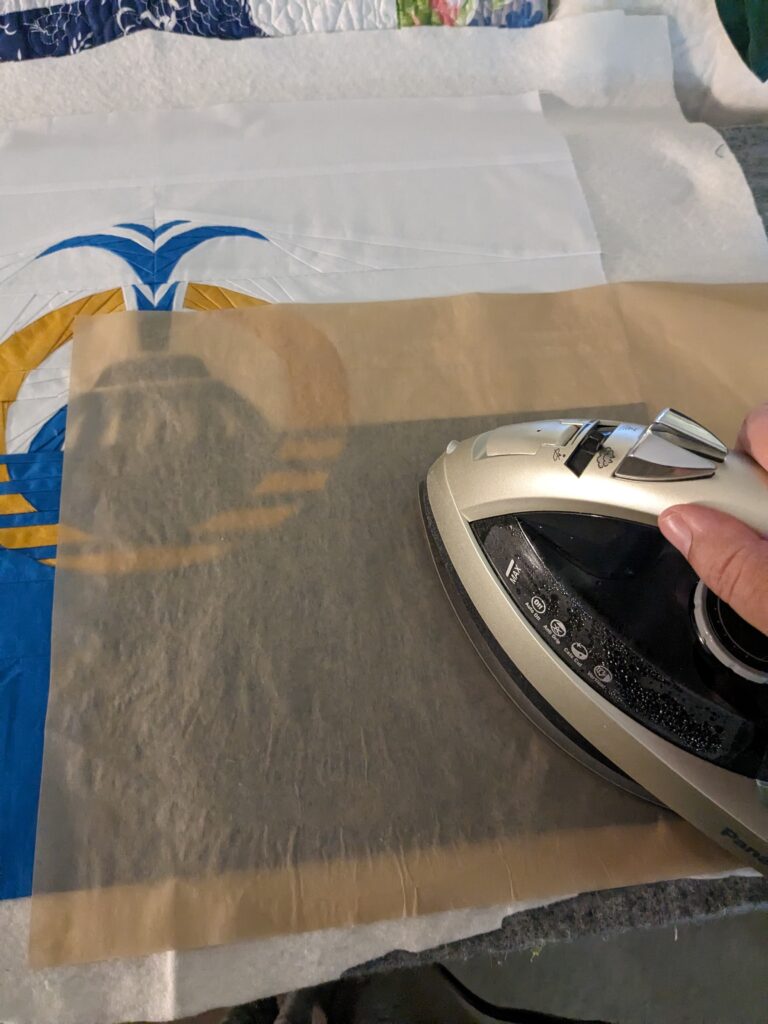
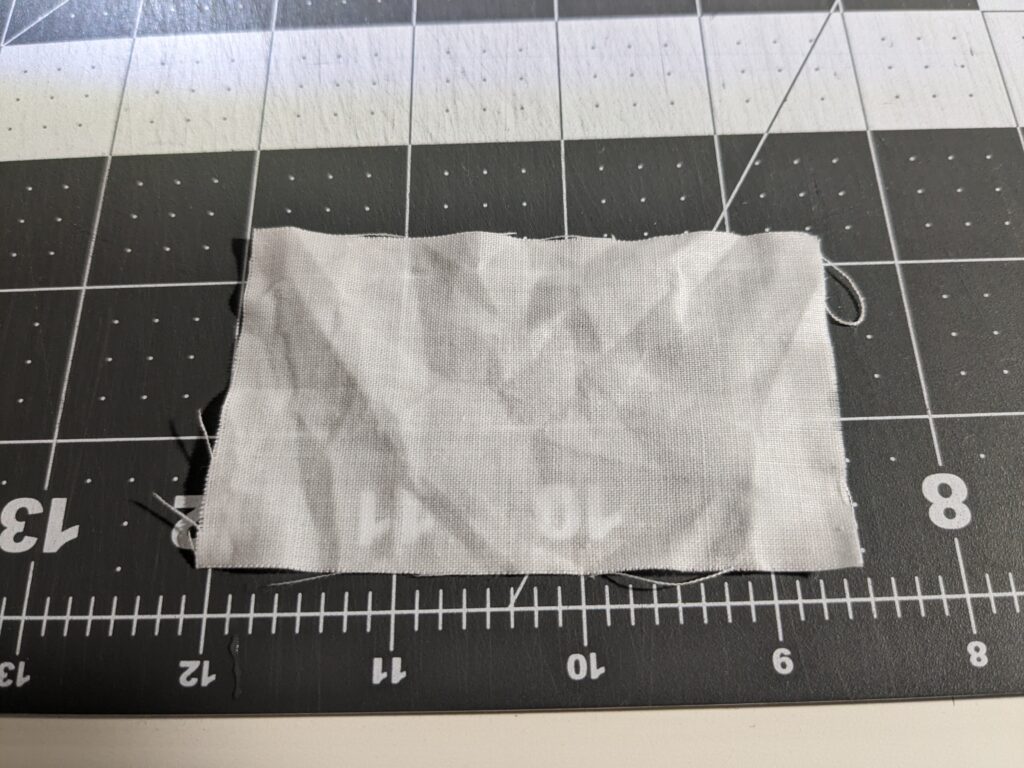
I cut a piece of batting just a little larger than my block, and used this fusible to baste the batting and pillow top together. This fusible works well for smaller projects. You just sprinkle it on (it honestly looks and feels like you are using a large salt shaker and sprinkling your project with salt!), then just press over a piece of parchment paper or pressing mat.
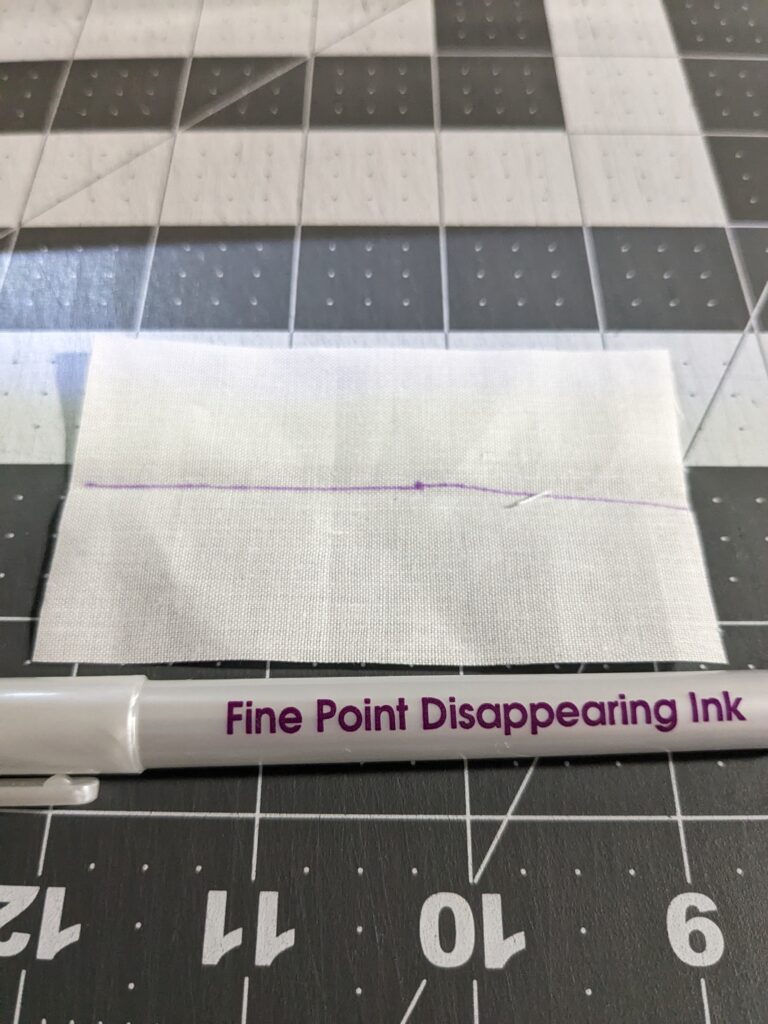
Once everything was stuck together, I marked it with this air and water soluble ink pen. I have found that usually the marks disappear really fast. Sometimes a mark stays longer than I like, but they will wash out. You cannot iron or press with the marks on though, as they can become permanent if you do.

Quilting the Pillow Top
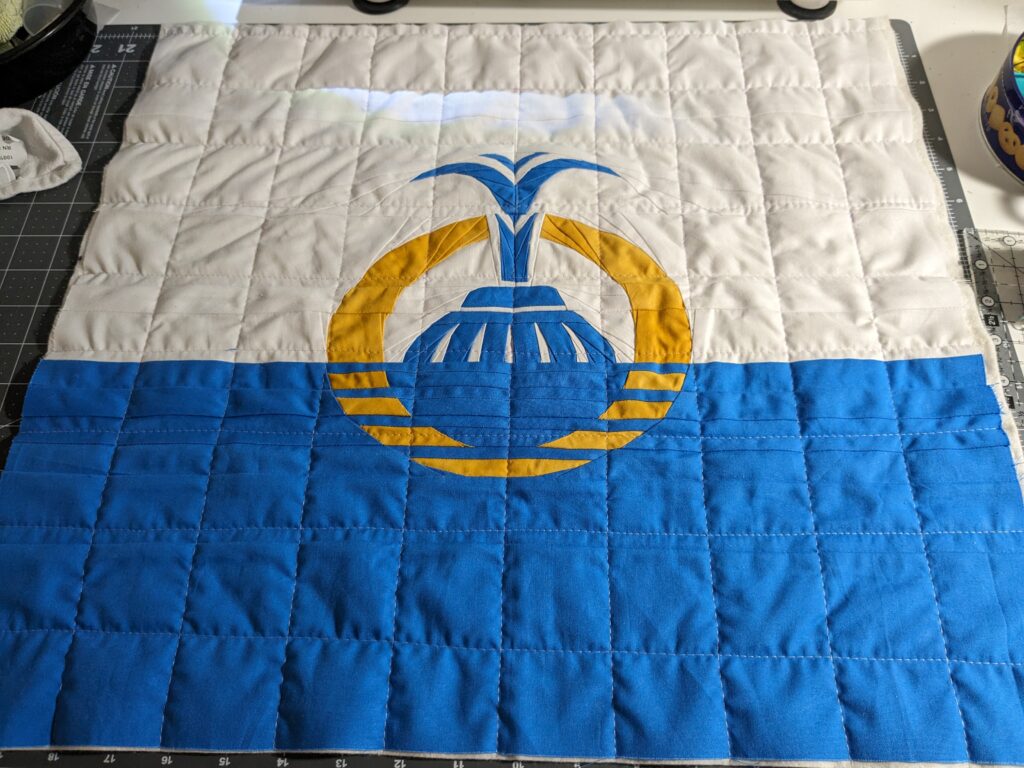
I marked approximately 2 inch blocks on the pillow top and then went to quilting!
Once I was done I measured again. I was a little short on one side, but I knew it would fit onto my pillow form anyway, plus when I was done I saw that the pen marks weren’t completely gone. Which meant I would need to wash my pillow cover. Washing would probably shrink up the cover a little bit, which would help to make it fit perfectly on my form.

Making it into a Pillow
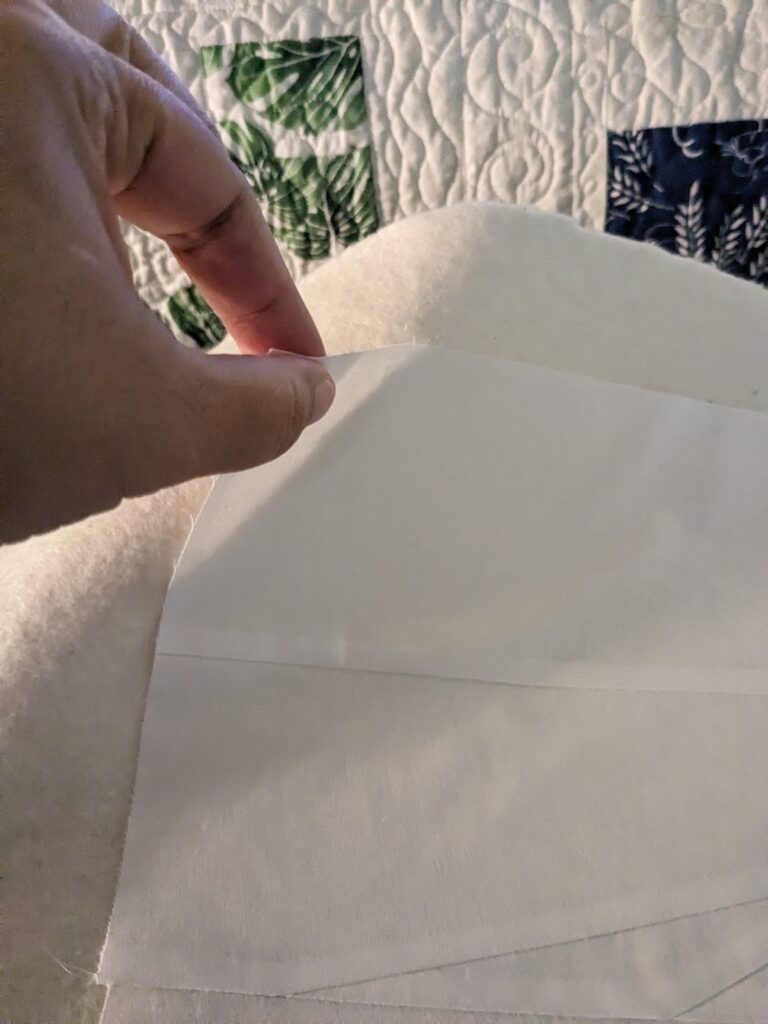
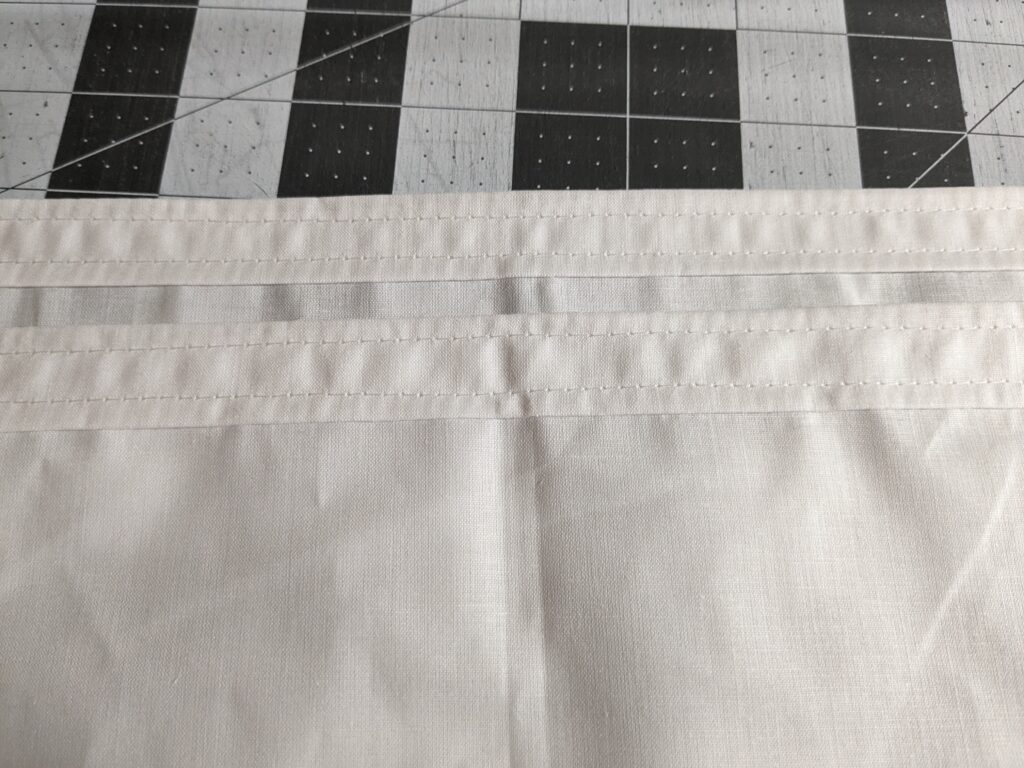
Now to make the envelope backing! I took two pieces of fabric that were the same width as my top, and about three quarters the length of the height. I folded one of the long edges over by about 1/4″ and then folded it over again. Then I sewed about 1/8″ away from the edges of the fold.
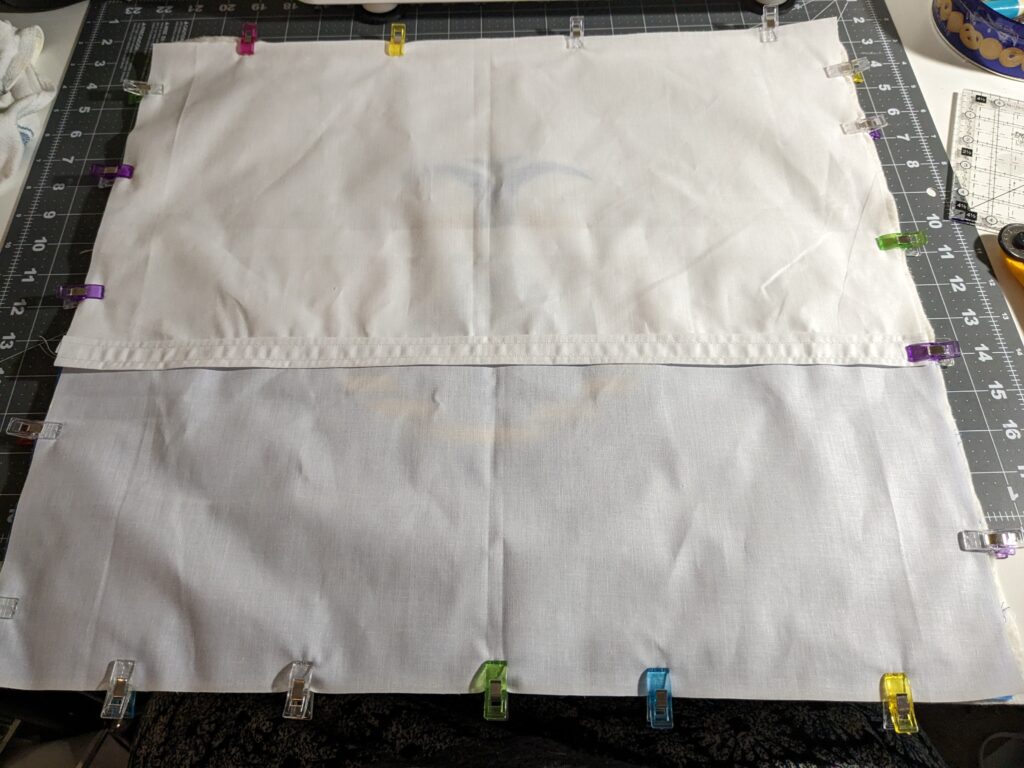
With the pillow top facing up, I laid both pieces of the backing, with the folds towards the middle. They overlap just a little bit and that is what makes the envelope backing.
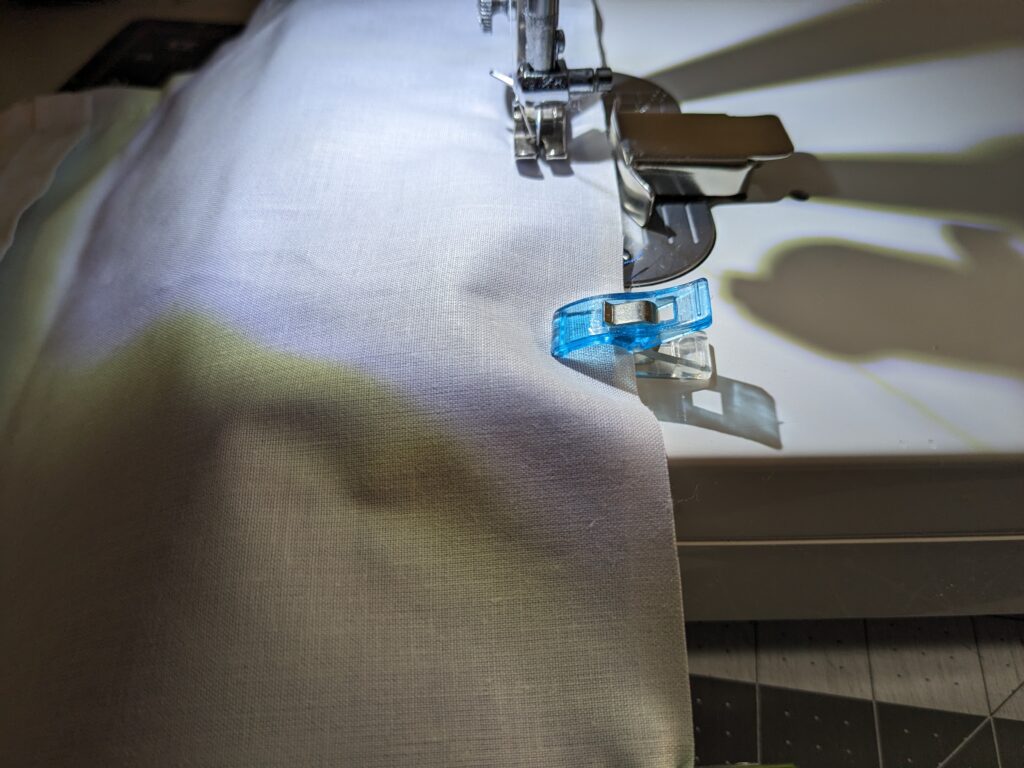
Once they were in place, I used clips along the edges to keep everything in place. Then I sewed all around the edges with about a 1/2″ seam allowance.
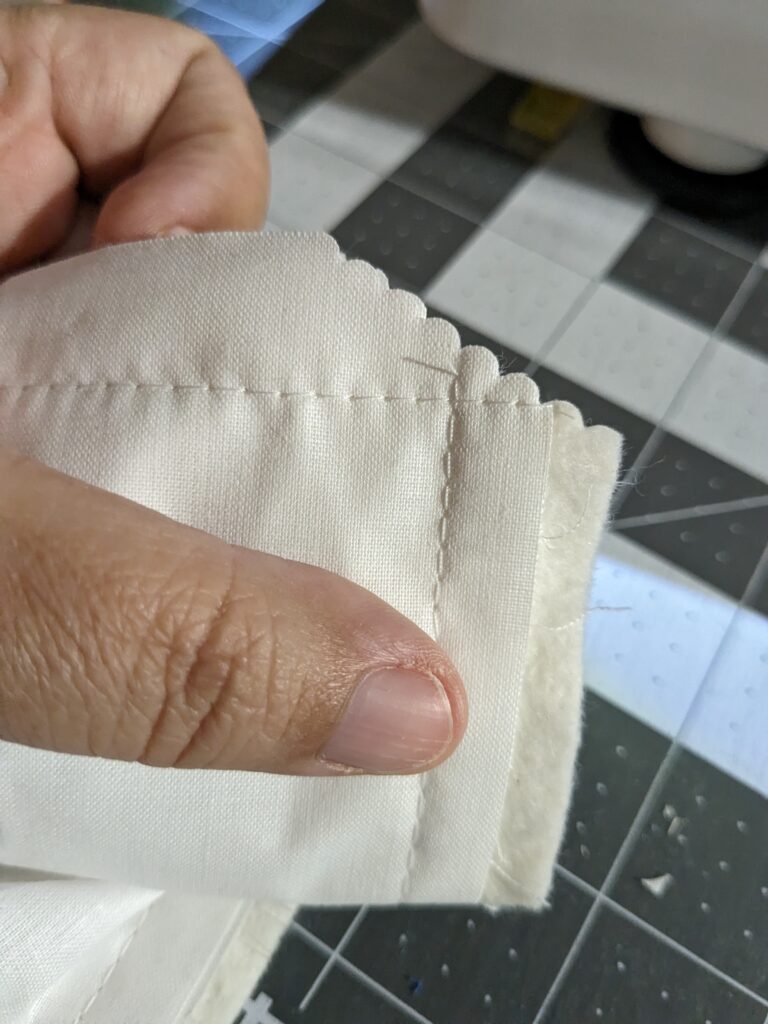
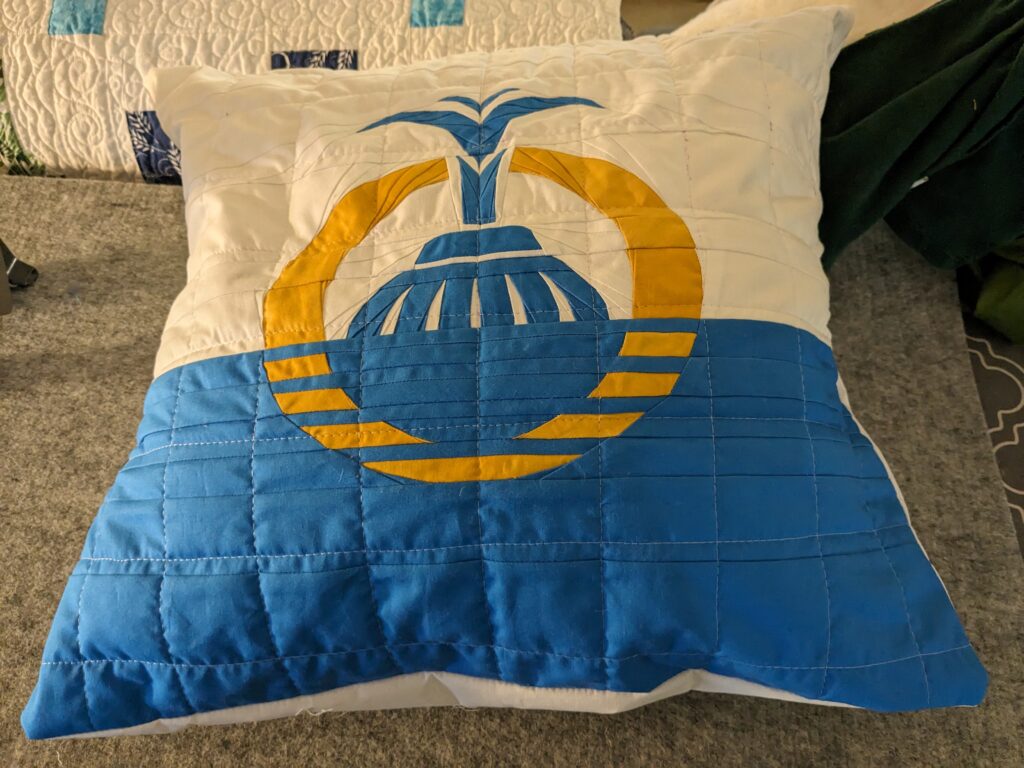
Using my pinking shears, I clipped the corners and any edges that came out bigger than 1/2″. Turn it right side out, push out the corners and your pillow cover is done! Now to just put the pillow form in the cover.

All Done!
Once I was puffing out my pillow, I realized that yes, I definitely was going to have to wash my cover as the ink marks were still showing. I don’t have a finished photo though. I didn’t originally think I was going to have to wash this, and wasn’t prepared with my color catchers. The ink DID come out, but the blue in the flag bled on my white! I’m not overly upset, as this was a test. Now that I know this can be made into a beautiful pillow, I’ll definitely be making it again as a gift. The next time though I will make sure my fabric is ready for washing so there won’t be any bleeding!
I hope you decide to make a few quilted pillows, and that this has helped inspire you!
Happy Quilting!
Didi

Great commentary. I love the way your block pieced out.