
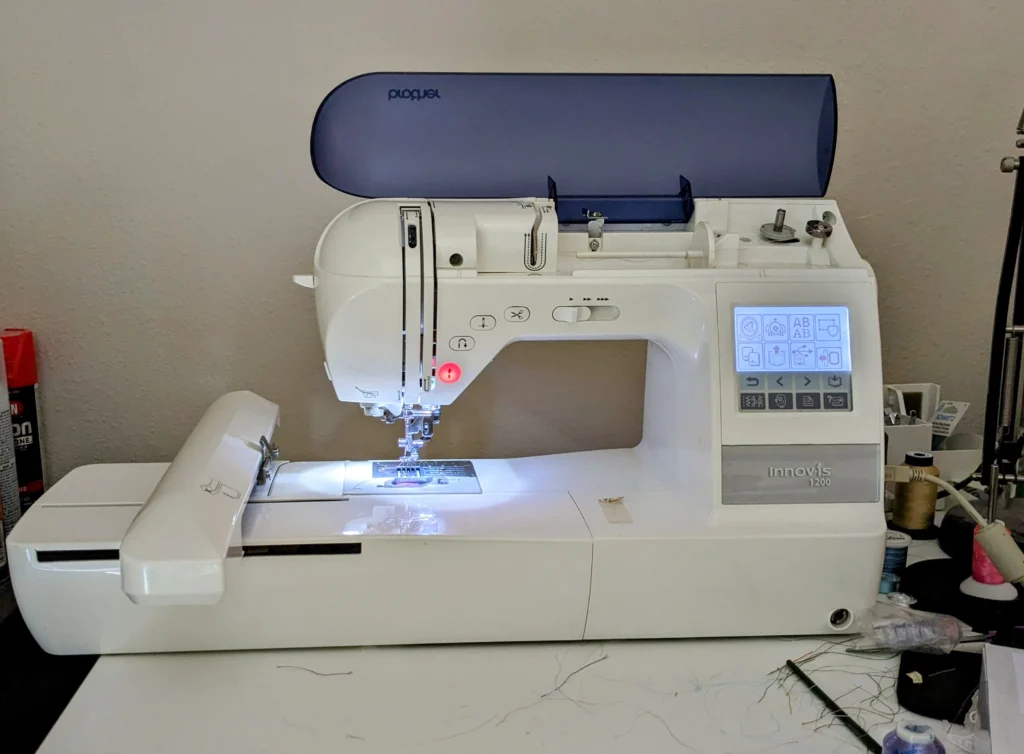
I was lucky enough to have been gifted an embroidery machine, so I made an embroidered pillow!! I guess I’ve been on a pillow kick lately, but I wanted to make something quick but beautiful to send to my Godmother for her birthday. This embroidery machine is the best thing that I never knew I needed!
Choosing a Design
There are A LOT of places to purchase embroidery patterns. The patterns themselves are as varied as the websites you can purchase them from! I searched for a pattern that was already made into a pillow, or could be transformed into a pillow. The pattern that also made me feel right for my Godmother.
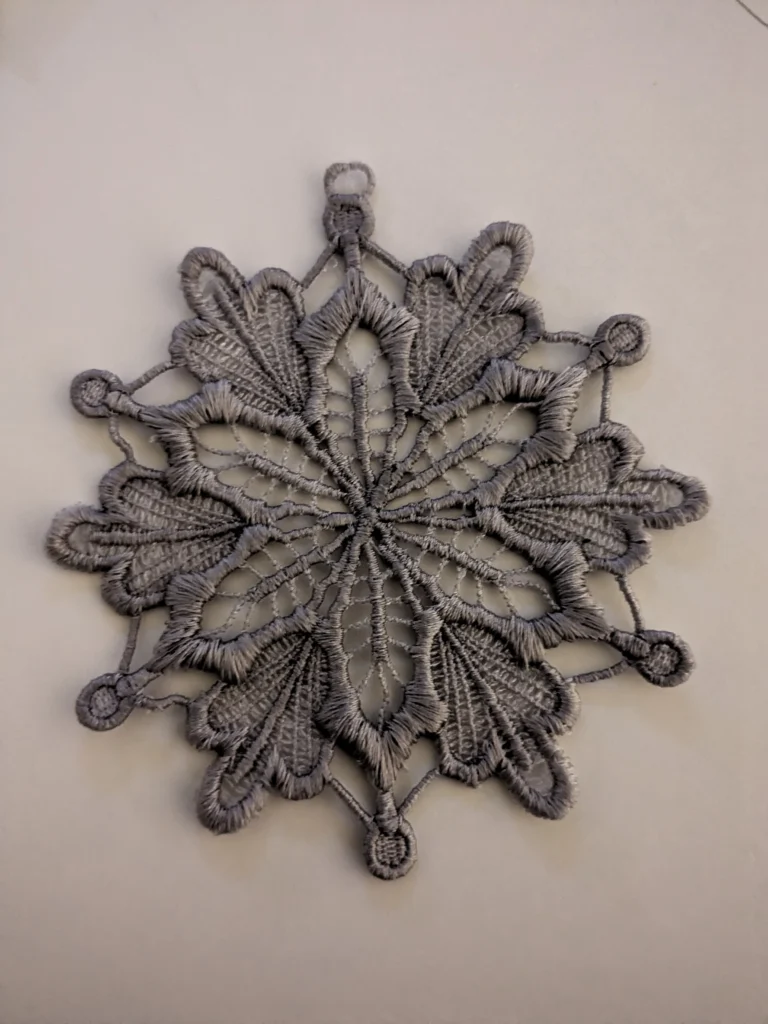
Even though this was my first embroidered pillow, I have already made a free standing lace snowflake and an in the hoop mug rug! This helped me understand the directions for the pillow, and also helped me to know where to look for a design.

So far, here are my three favorite websites for embroidery designs:
Designs by Juju – They have awesome sales and a lot of really cute patterns! The mug rug I made was from this website, and I have purchased an in the hoop Christmas tree skirt pattern that I am excited to start working on for this Christmas!
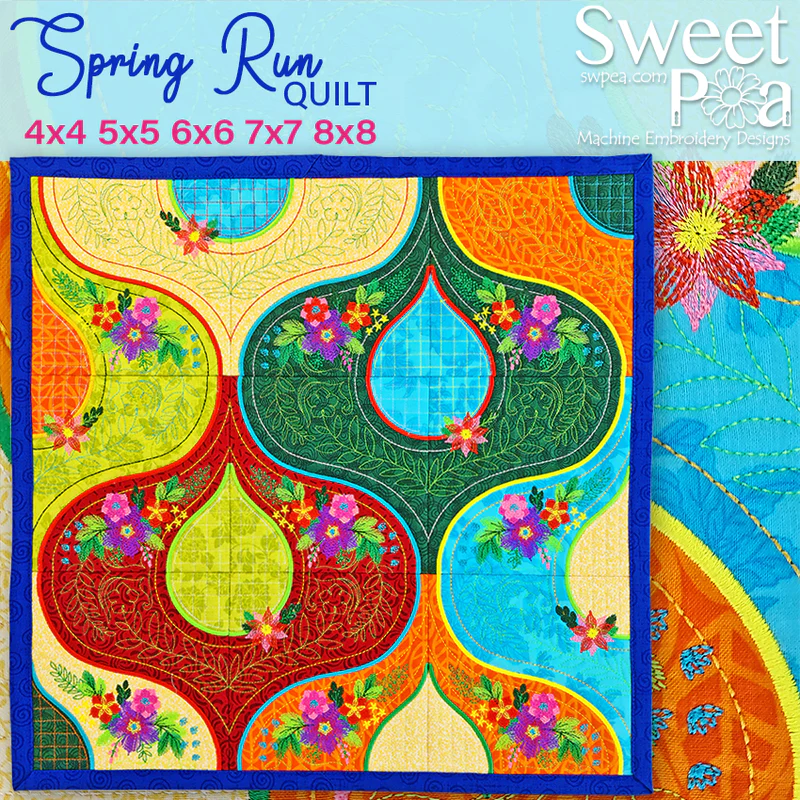
Sweet Pea Machine Embroidery – They have a LOT of really cool designs! My wishlist on their website is already HUGE and I just started making embroidery items!!
OESD – I haven’t purchased a pattern here yet, but I also have a wishlist going! The items that really caught my eye are the embroidered cards. I think I might be sending out embroidered Christmas cards this year!
I ended up choosing the Spring Run pattern from Sweet Pea Machine Embroidery. It just spoke to me, so I knew I had to make it! It can be made using a 4×4, 5×5, 6×6, 7×7 or 8×8 embroidery hoop. My machine has a 5×7 hoop, so even though the pattern is a “quilt” I knew using 5×5 blocks it would make a perfect pillow!

Getting Everything Ready
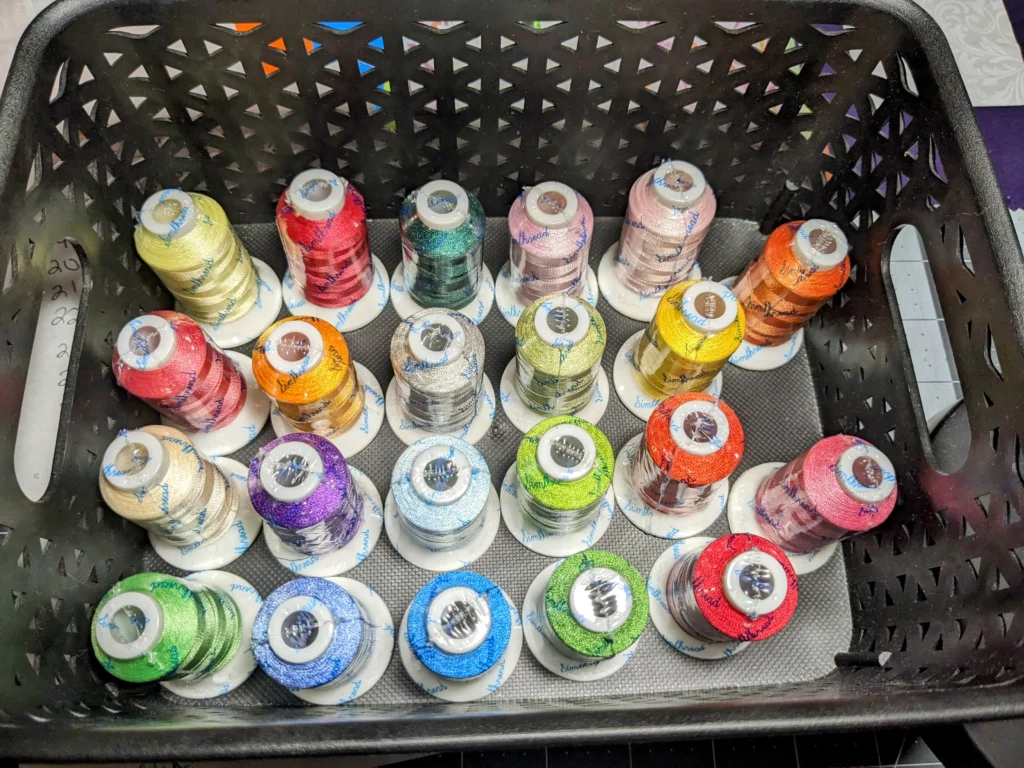
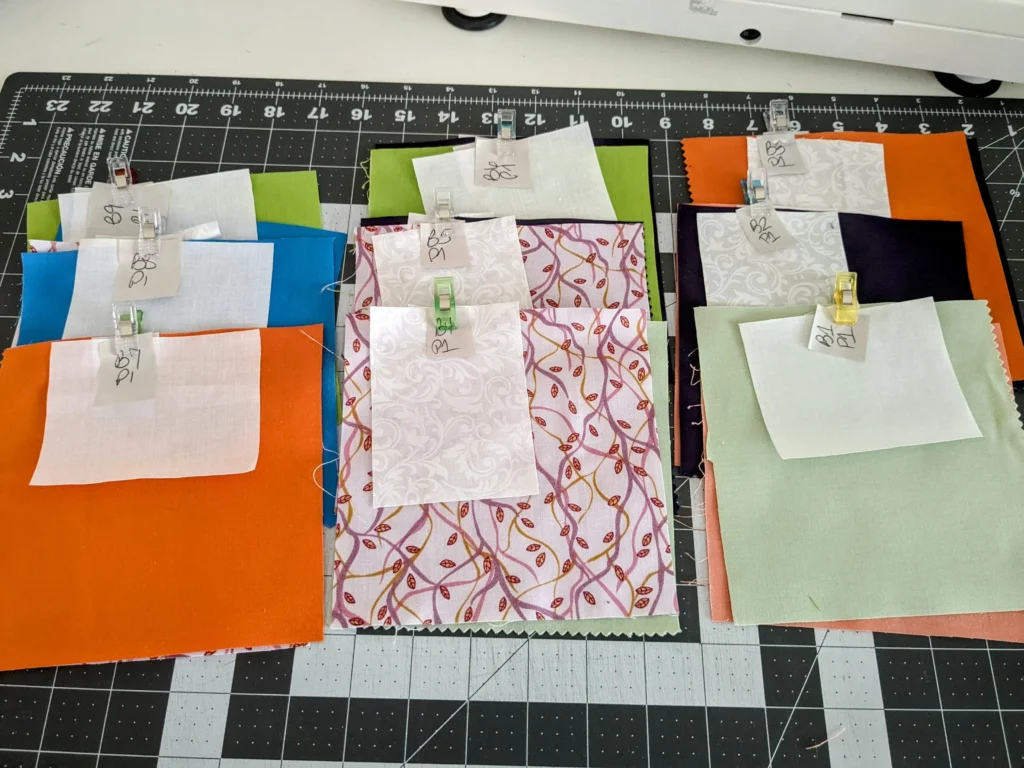
The instructions tell you what size to cut your fabrics and batting. Once I decided what fabrics I wanted to use and where, then I decided what threads I wanted to use for the satin stitches and the flowers. I thought I had all my blocks figured out, but you’ll see later that I either didn’t add the fabric in the right order, or mislabeled it. But that’s okay, I still love how the pillow came out!
Here are the fabrics and threads that I chose!
Making the Blocks
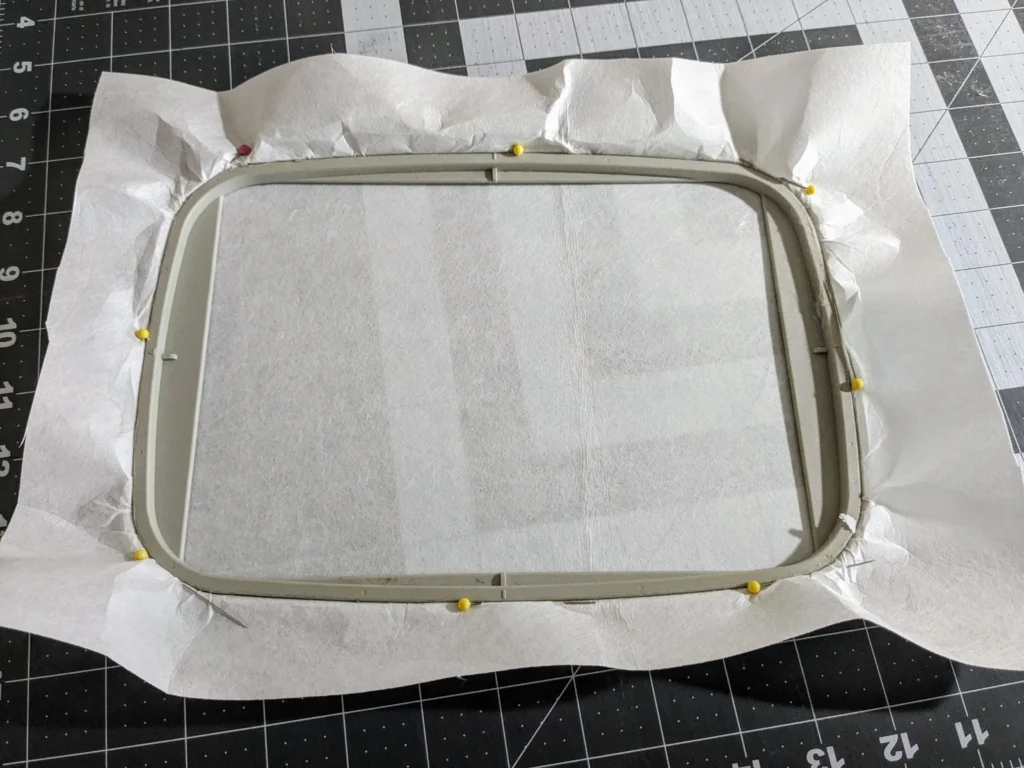
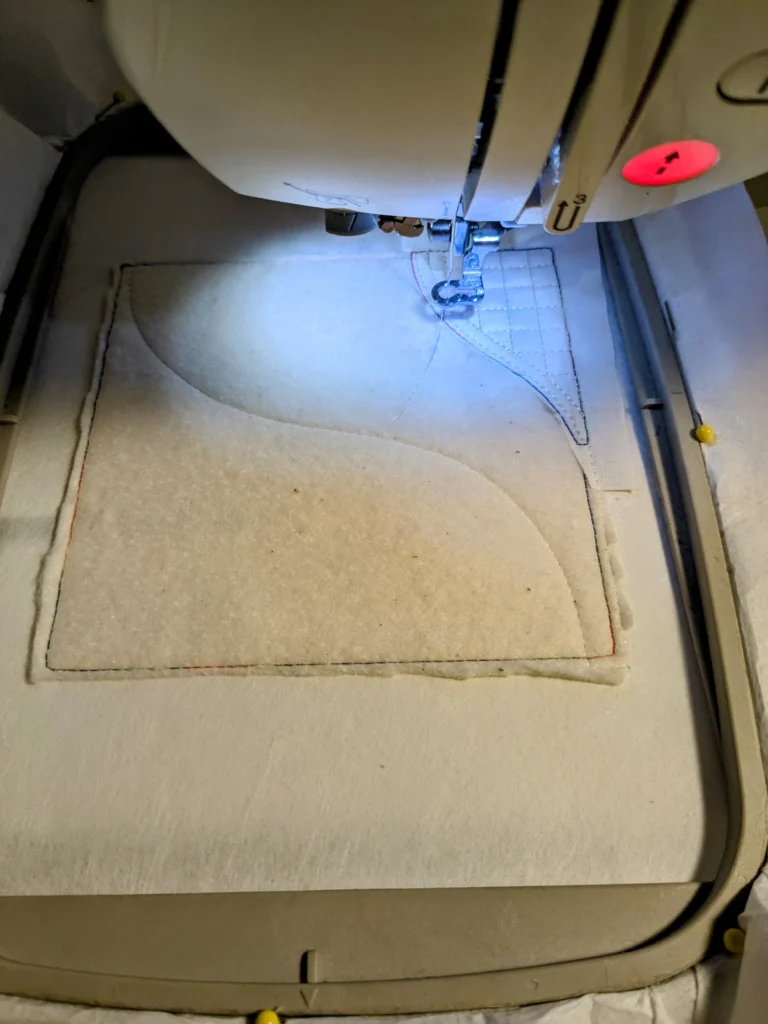
The instructions are really clear and making the blocks themselves was super easy. First you need to hoop your stabilizer. After doing a lot of reading and watching a ton of YouTube videos, I was ready for hooping! I added double sided tape to the hoop and then pinned the stabilizer to make sure it really really doesn’t move around!
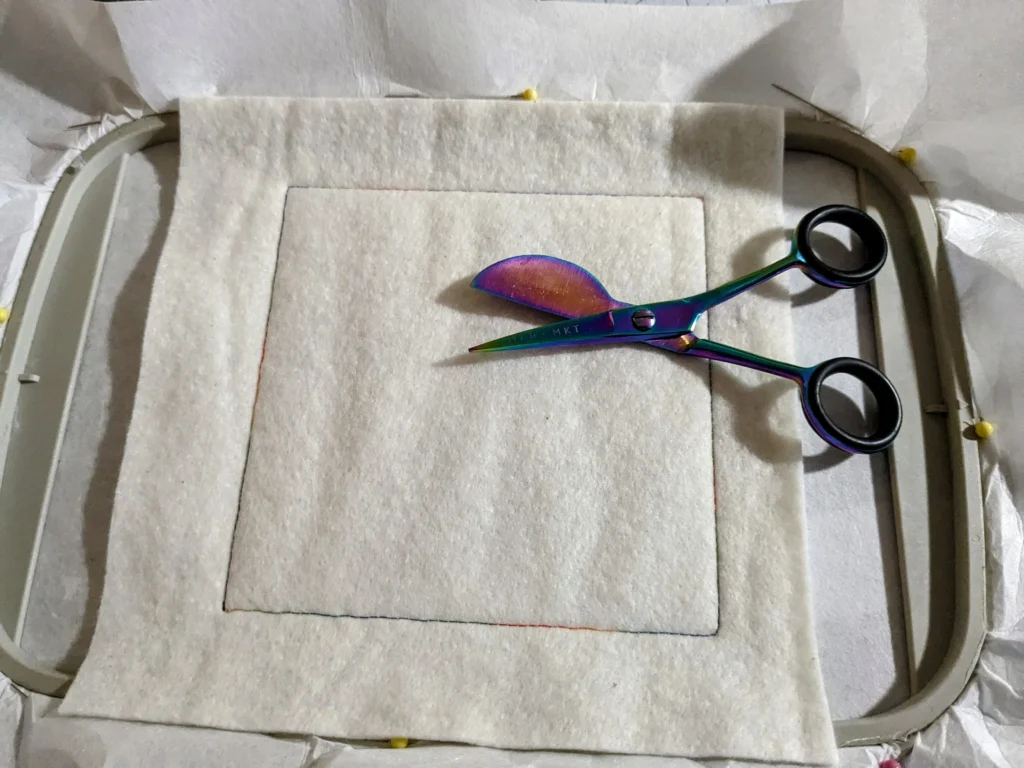
The instructions are really clear in telling you what to do when. First you add the the batting to the hoop and the machine sews it down. I bought duckbill scissors to use, and they really did come in hand. I got better with using them with each block that I made!
Here’s the first fabric after it has been sewn down. After this the machine will quilt that portion of the block. I did switch after this first block to linen colored thread after this first block for everything except the flowers.
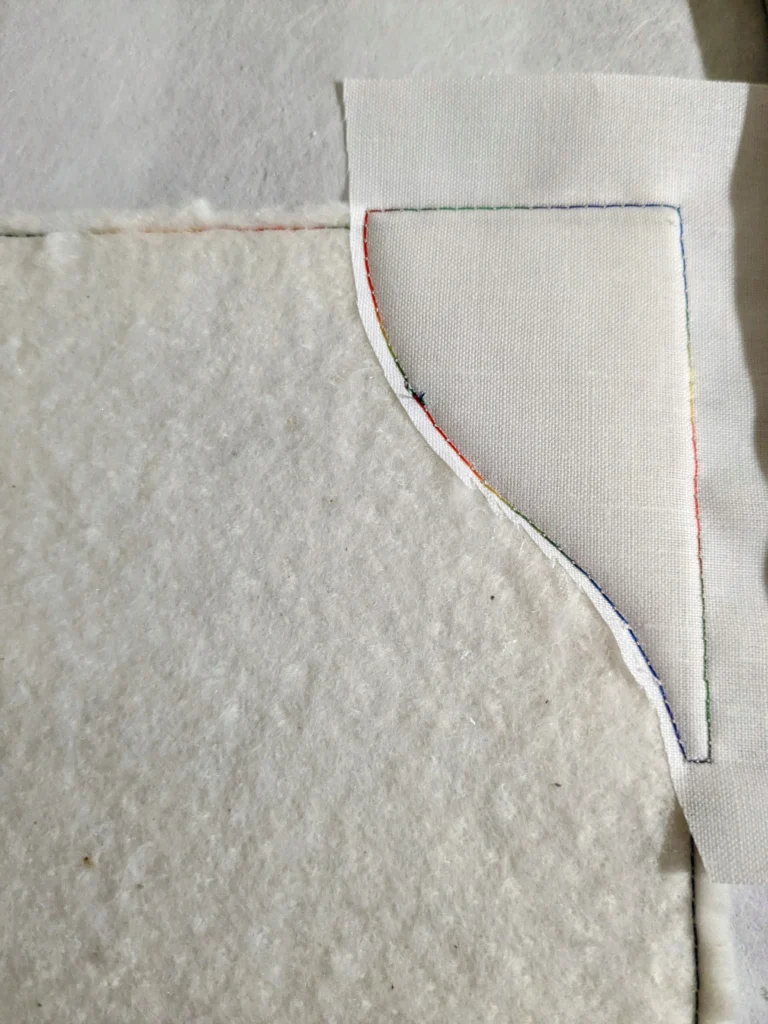
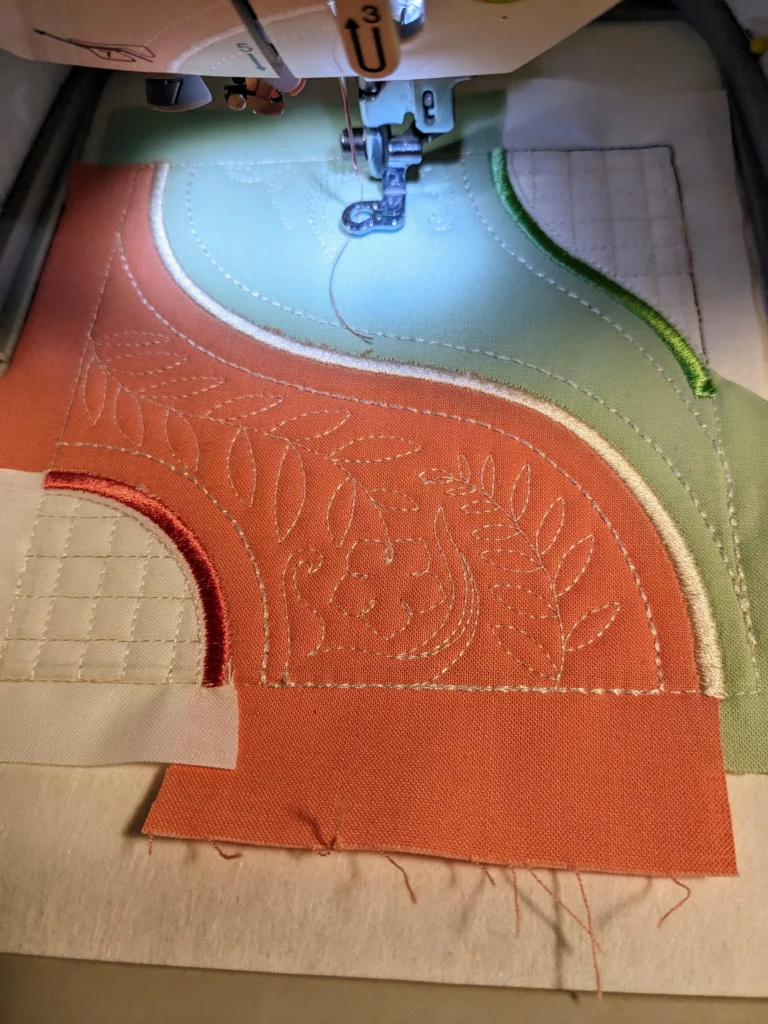
This is after the fabric section has been quilted and the placement stitch has been completed for the second fabric. The placement stitch shows you where to place the next fabric and is really helpful in making sure you are in the right spot!
Here’s the first block after all 4 sections have been quilted, and the satin stitches were completed between each section. You can see that in the middle section some of the fabric threads are still shown. I didn’t trim the fabric close enough to the stitches so it showed a little bit. I wasn’t too concerned, since I know that as with quilting, if I keep practicing I’ll get better at cutting my fabric in the hoop with the duckbill scissors!

Putting the Blocks Together
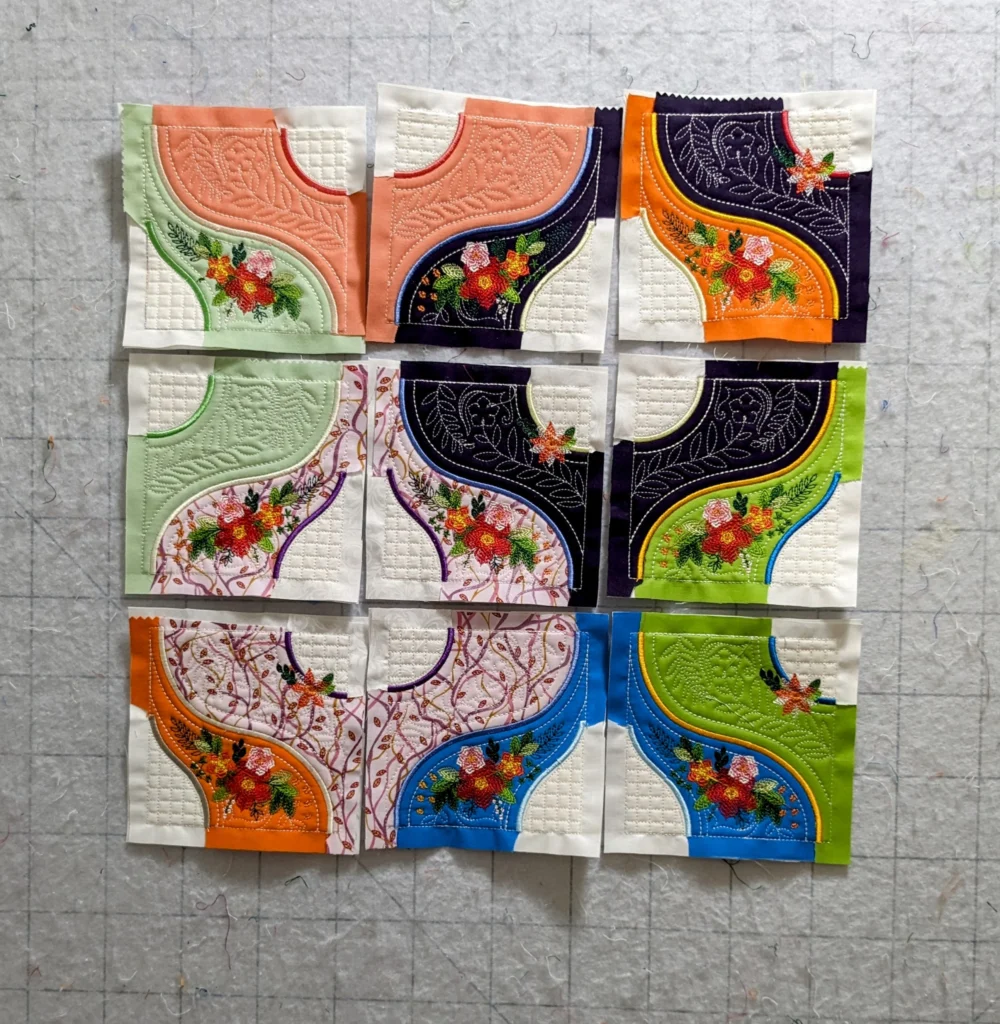
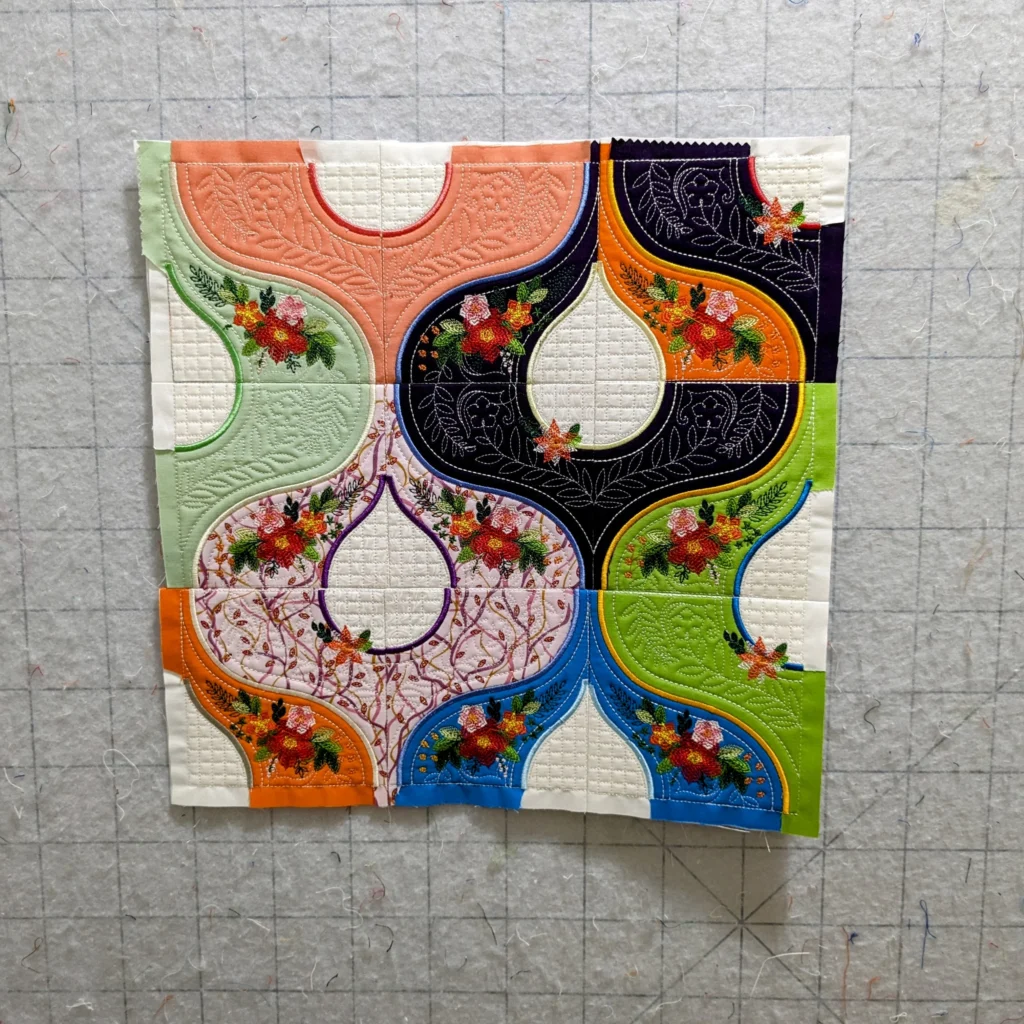
Here are all my blocks done and laid out. See where I swapped fabrics by accident? I decided that it just meant that my final pillow was going to be quirky like me and kept going!!
Now it’s time to put all the blocks together! The blocks are sewn together with a 1/2″ seam allowance. Basically you want to sew them together just inside the line that was made by the embroidery machine to make sure your stitching isn’t shown on the front.
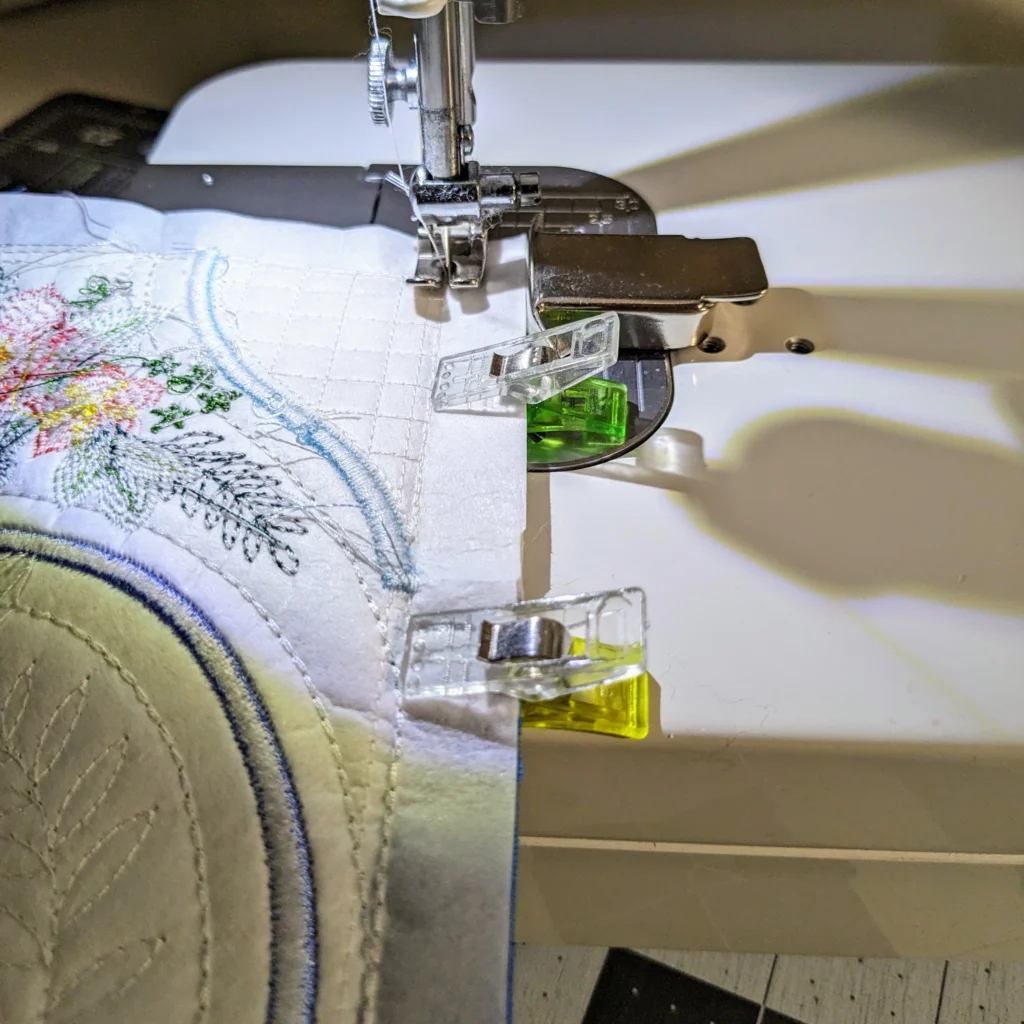
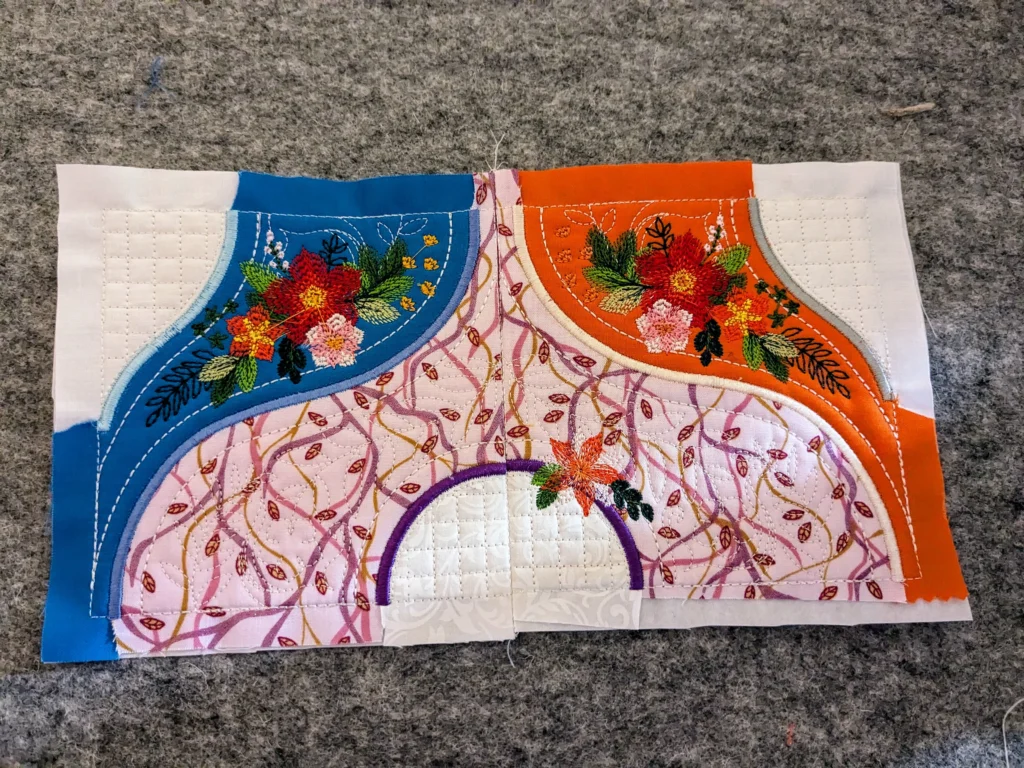
Here’s two of the blocks put together. I really like that purple/pink fabric with the leaves! I have no idea when I bought it, but it was in my stash and I’m really happy that I used it for this pillow!
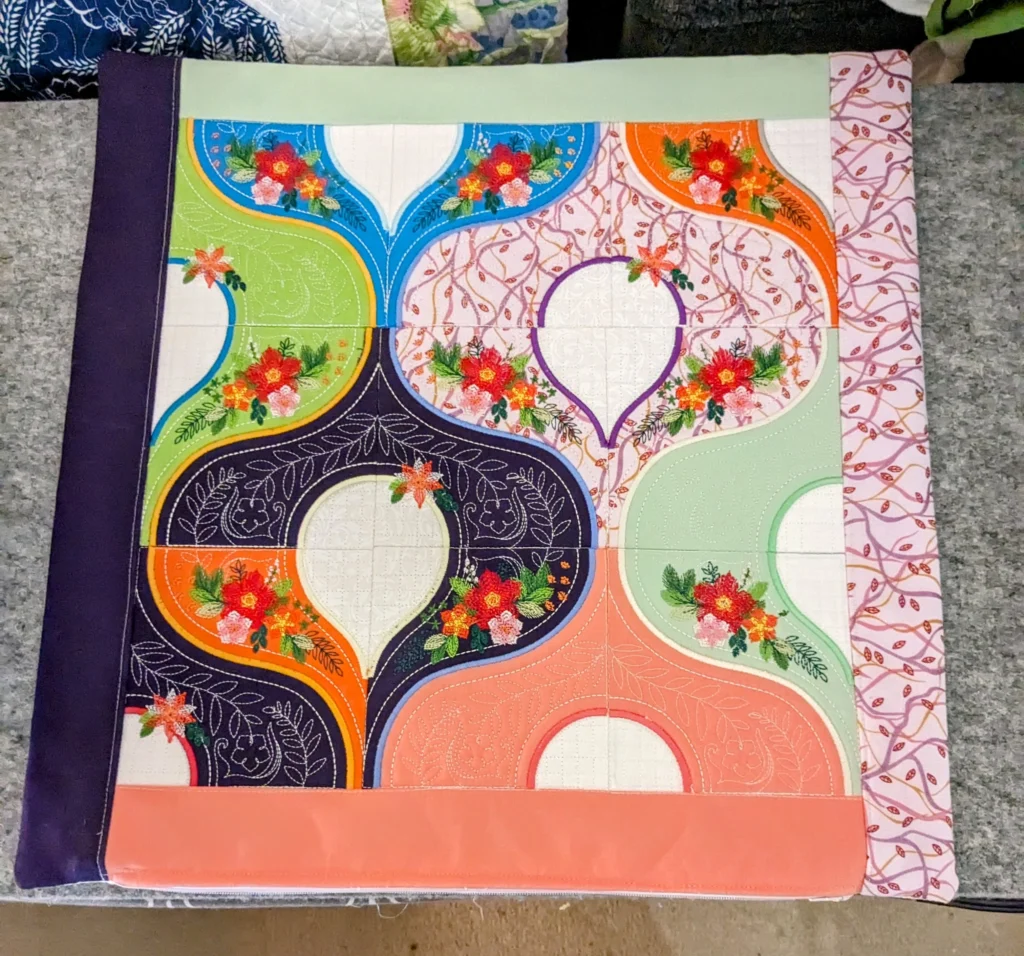
Here’s all the blocks sewn together. Now on to the next decision!

Borders or No Borders?
I measured my pillow insert and decided I needed borders. Following the instructions on this Sweet Pea YouTube video, I sewed the borders with a 1/2″ seam allowance and also trimmed the batting out of the seam. It helps to make the seam less bulky. (And yes, I now want to make the pattern in this video too!).
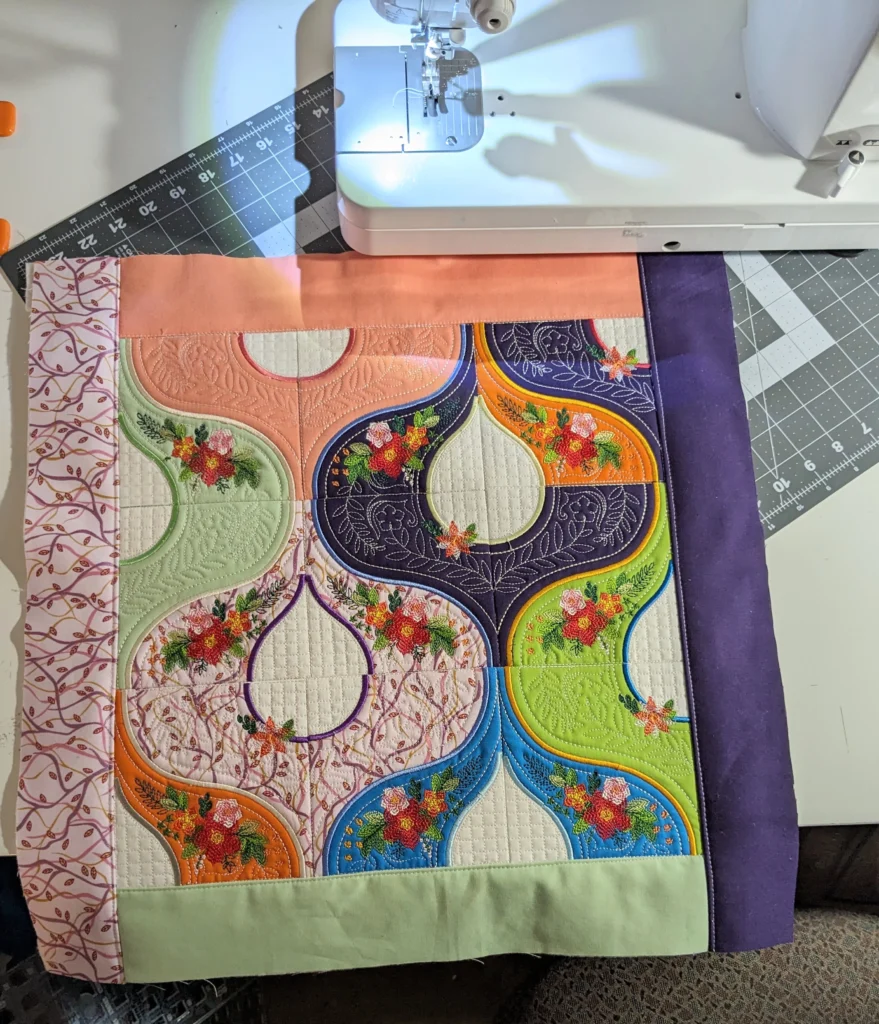
Here’s my pillow top with all the borders added to it.
Finishing the Pillow
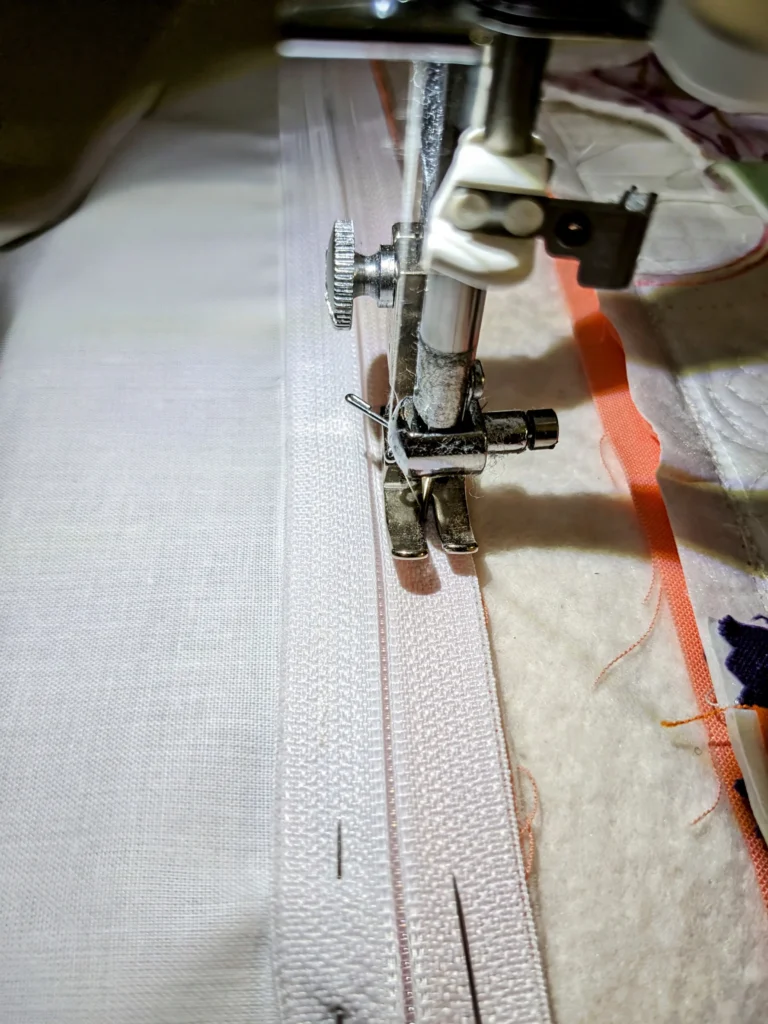
Once the borders were on I had to decide how to finish the pillow. The Sweet Pea video shows a lot more sewing and backings, but I wanted something simple, and I knew I wanted to try to sew on a zipper. This is the first time I sewed a zipper. I was a little nervous, but it was easy…. except of course I did make one mistake!
First I sewed the top to a backing with a 1/2″ seam allowance. But I sewed about 2.5″ at each end with a regular stitch. Then the middle I used a basting stitch. That way when I have attached the zipper, I can use a seam ripper to remove the stitches and reveal the zipper. No, I did not figure this out on my own! I saw this video that was really helpful in showing me how to sew on the zipper.
I was pretty pleased with myself since I used pins AND I don’t even have a zipper foot for my machine. That was until I realized I didn’t heed her advice, and forgot to make sure my zipper pull was in the middle of my zipper before I started sewing!! Ha!

After some time with my seam ripper, I fixed my mistake and finished the pillow.

All Done!
Once I fixed the mistake, I clipped the corners of the pillow cover and turned it right side out. I gave it a quick press.
And then added in my pillow insert!
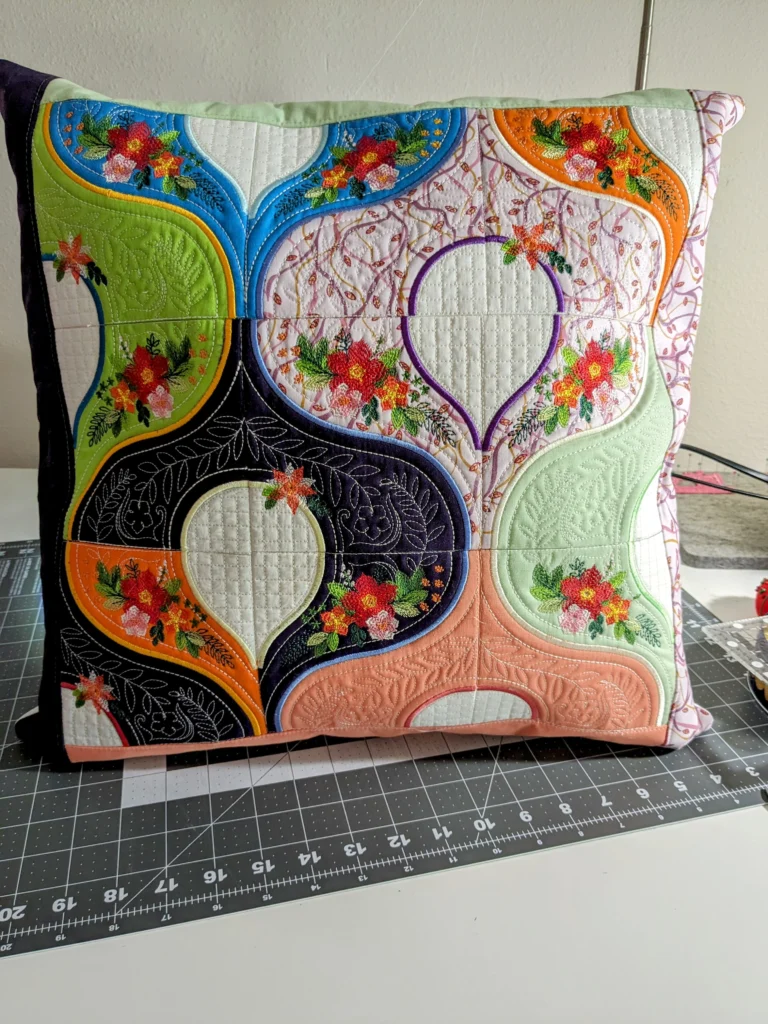
It’s all done and I’m so happy with how it came out. Now it’s off to the Post Office to make it’s way to Puerto Rico. It definitely won’t get there by Sunday, but that’s okay. I’m just happy I got it in the mail BEFORE Sunday!
I hope you make some quilted pillows yourself! I know that this definitely won’t be the last embroidered pillow I make, it was so much fun!
Reminder, if you are participating in the Temperature Quilt QAL, I’ll be hosting the April Zoom call on Saturday, April 20th. I know I was aiming for the 2nd Saturday each month, but I’ll be attending a quilt retreat next weekend and need a little more time to get ready for the Zoom call. If you are interested in joining me while we discuss our temperature quilts and our progress, please sign up for the Zoom call here.
Thanks and Happy Quilting!!!
Didi