My husband needed a gift for a pregnant co-worker. Well you know what that means… a baby quilt!!
Unfortunately, he tells me the day of her work baby shower. At least I could try to get it done before the baby was here. I bought the Kona Cotton Waterfall fat quarter bundle by Robert Kaufman. It includes 12 fat quarters and then I tried to come up with a pattern! I think next time I will definitely think of a pattern first and then get the fabric. It took me quite a while to figure out what to make.
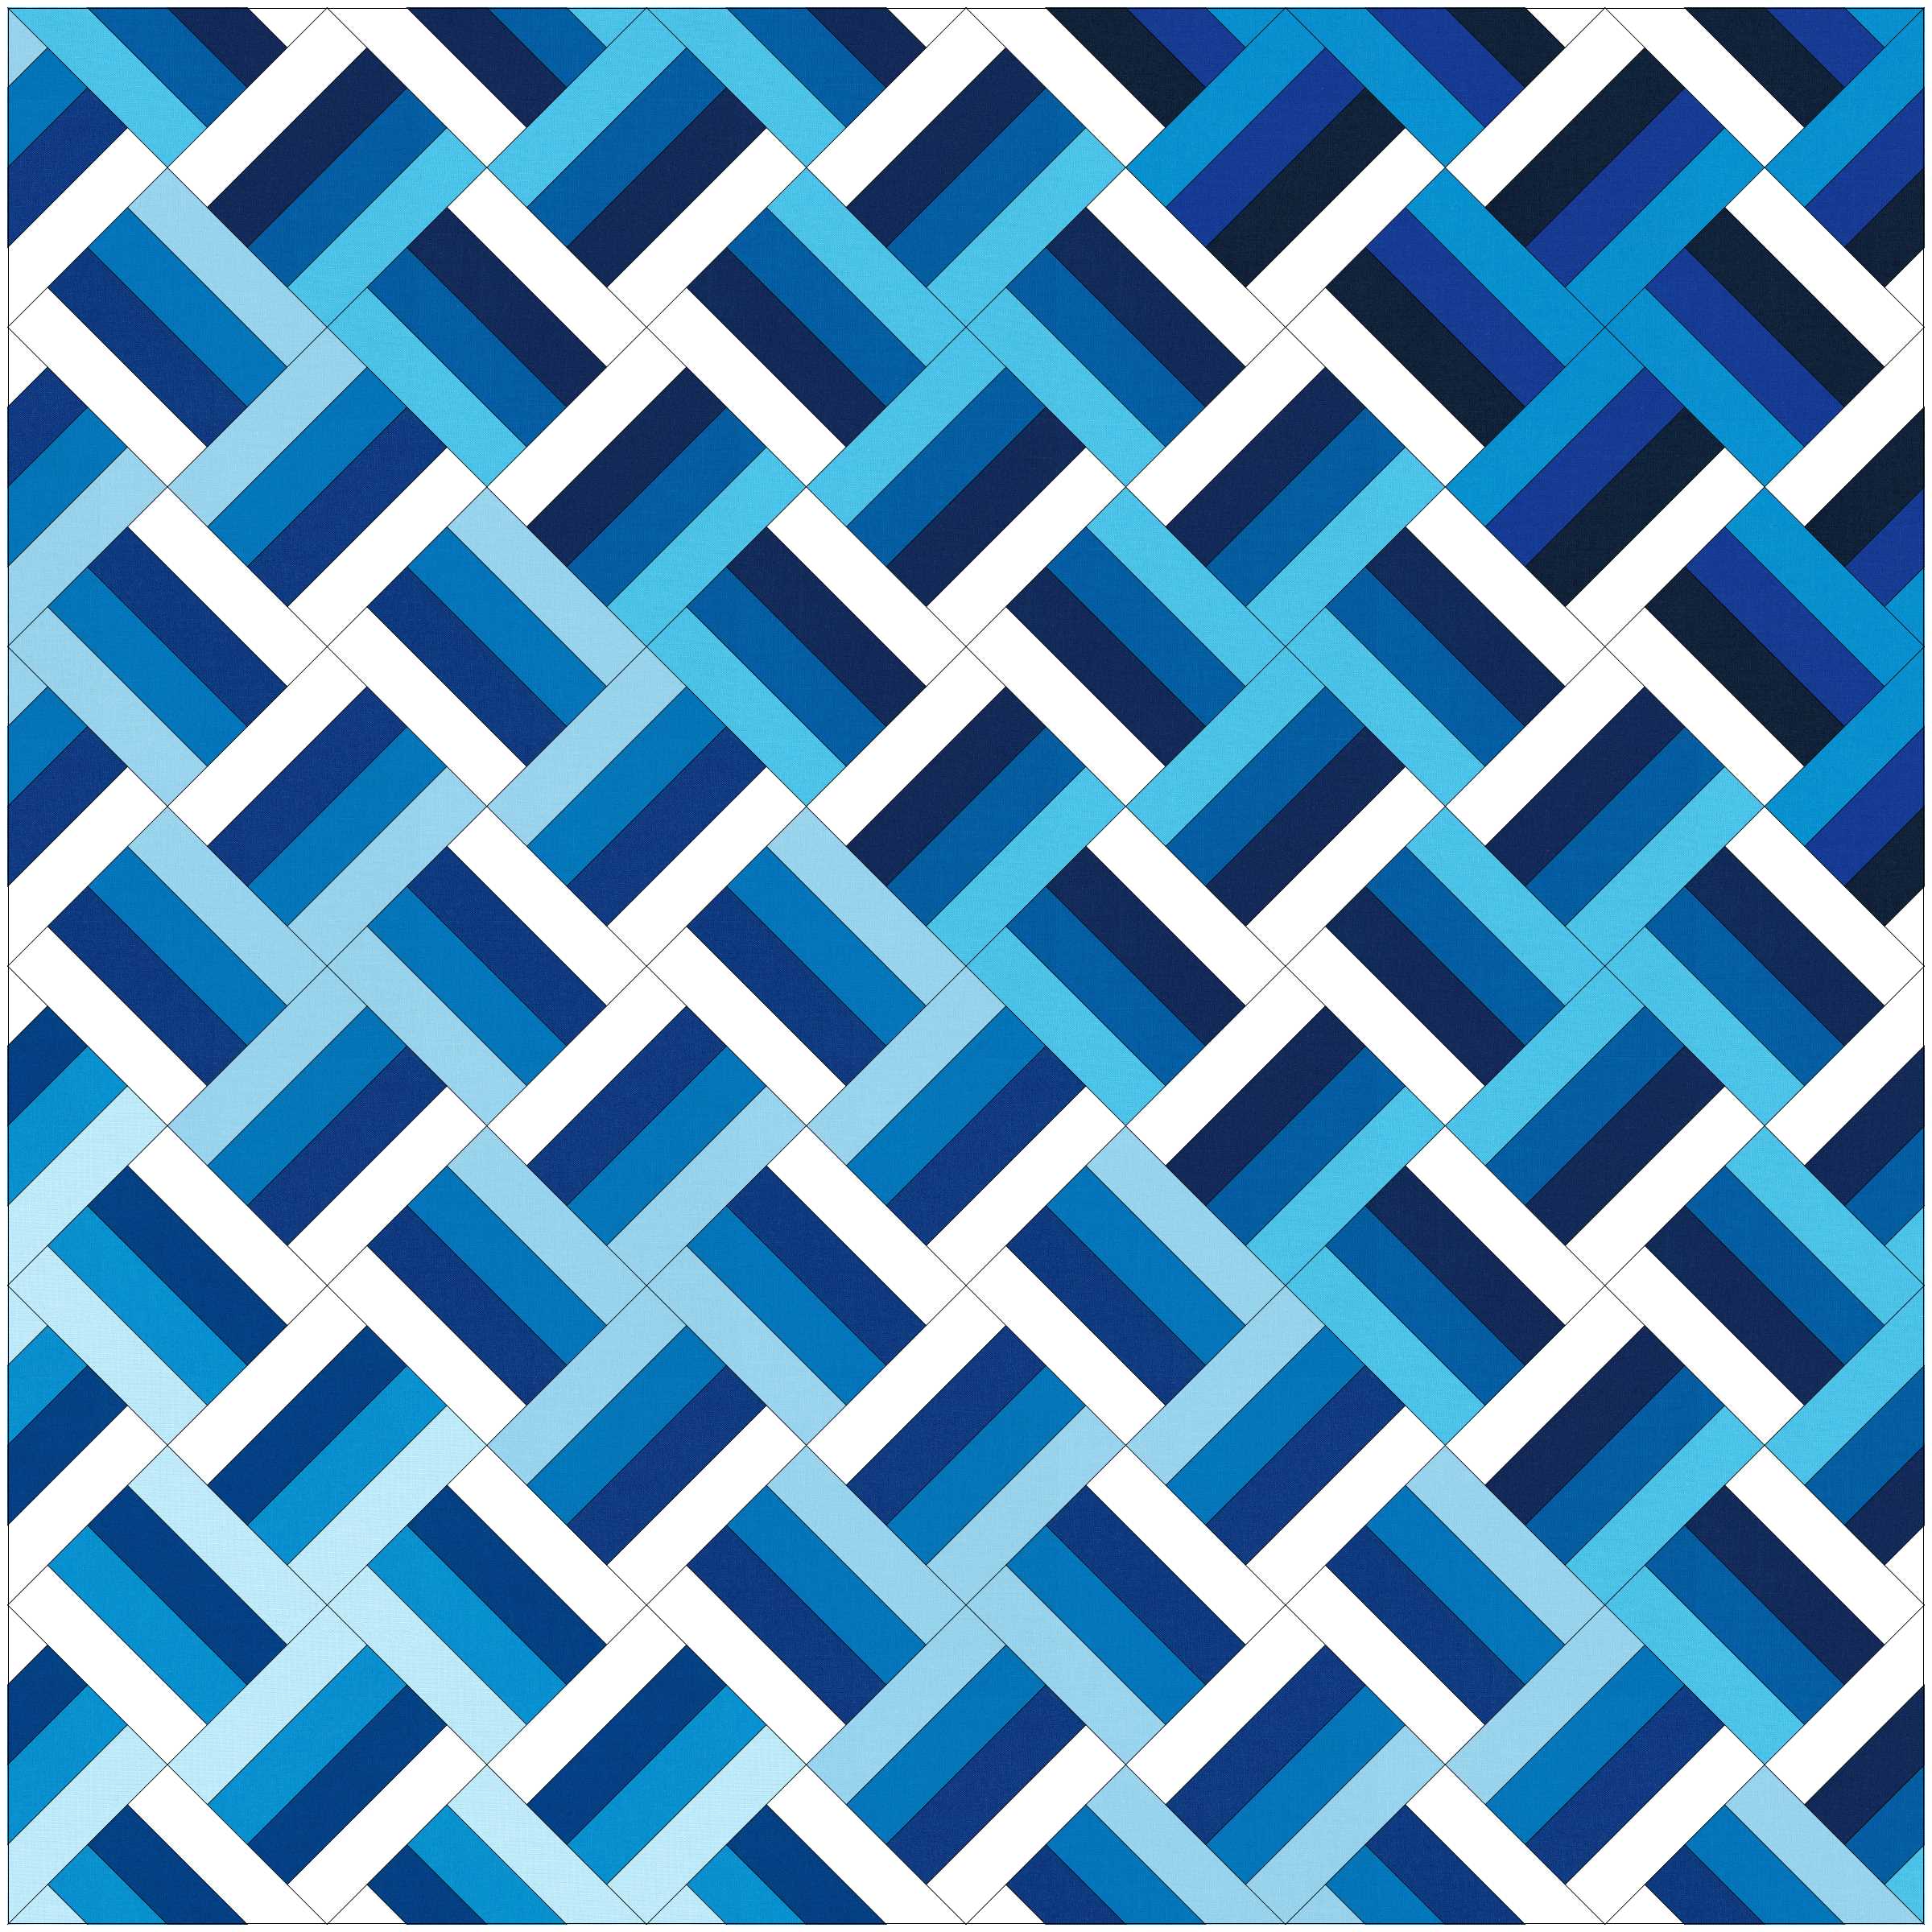
I have never made a rail fence pattern. Finally after much deliberating, decided that I would do a rail fence on point. Working in EQ8, I came up with the general pattern idea. Unfortunately, I didn’t do the quilt math exactly right the first time.
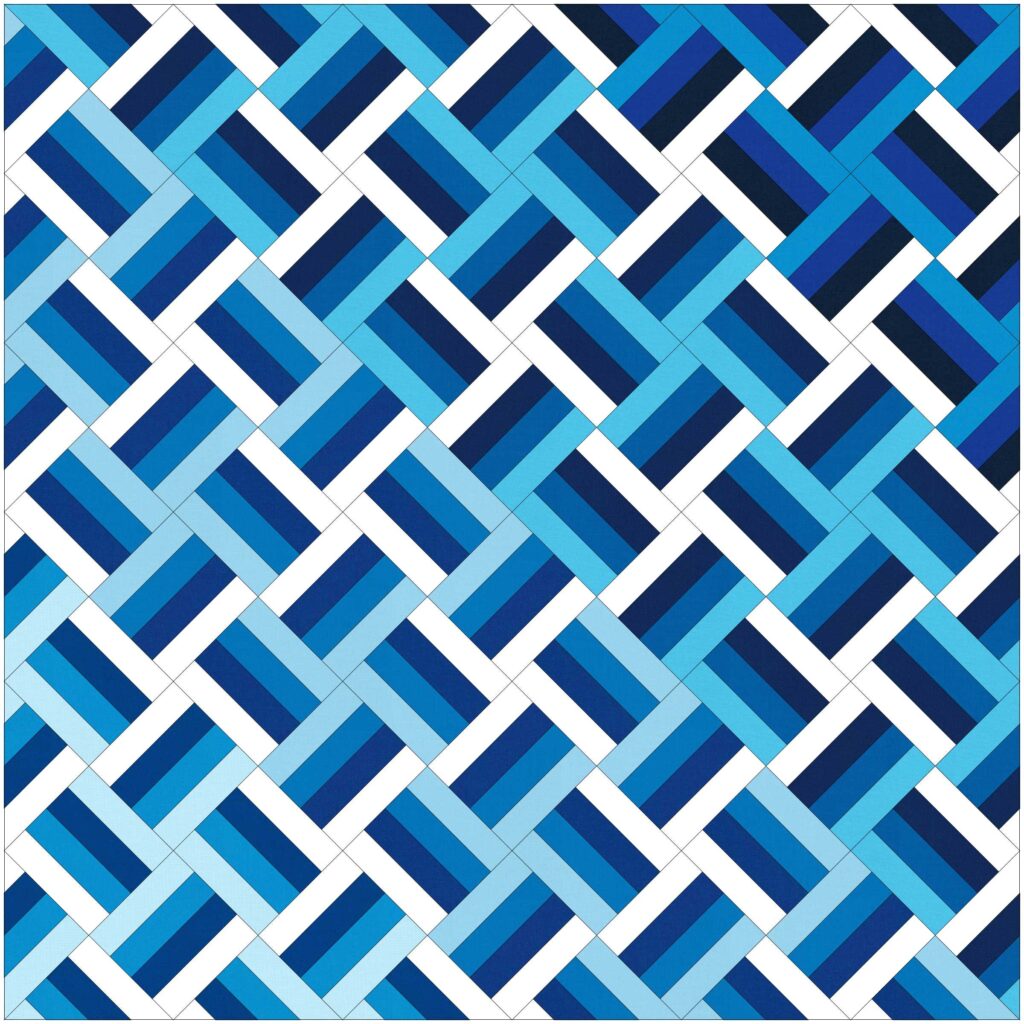
Cutting and sorting
First I cut 2 fat quarters of white fabric out of a bolt I had. Then I cut all the fat quarters into 1.5″ wide strips. Then I sorted the blues into 4 piles of 3 colors each.
Here’s a quick video showing how I separated the colors.
Sewing the strip sets
Then I sewed the colored strips together, first the white and darkest blue of each section together. Then the lightest blue and medium blue together. After sewing all the initial strip sets I pressed them, pressing the seams to the dark side.
Then I combined the strip sets making sure to sew the dark blue and medium blue strips to each other. Again, I pressed them all to the dark side.

Oops!
Then came the part where I had issues! I at first cut the strips to 4.5″, but after I cut them all out and put them on my design wall I realized they weren’t square! 😕
Off the design wall they call came and I ended up just trimming all of them to 4″ squares, which did take me a while. They SHOULD have been fine at 4.5″, so I am unsure what I did wrong, but I was just happy that I was able to square them all up and not waste all the blocks I had sewn together!
Putting the quilt top all together
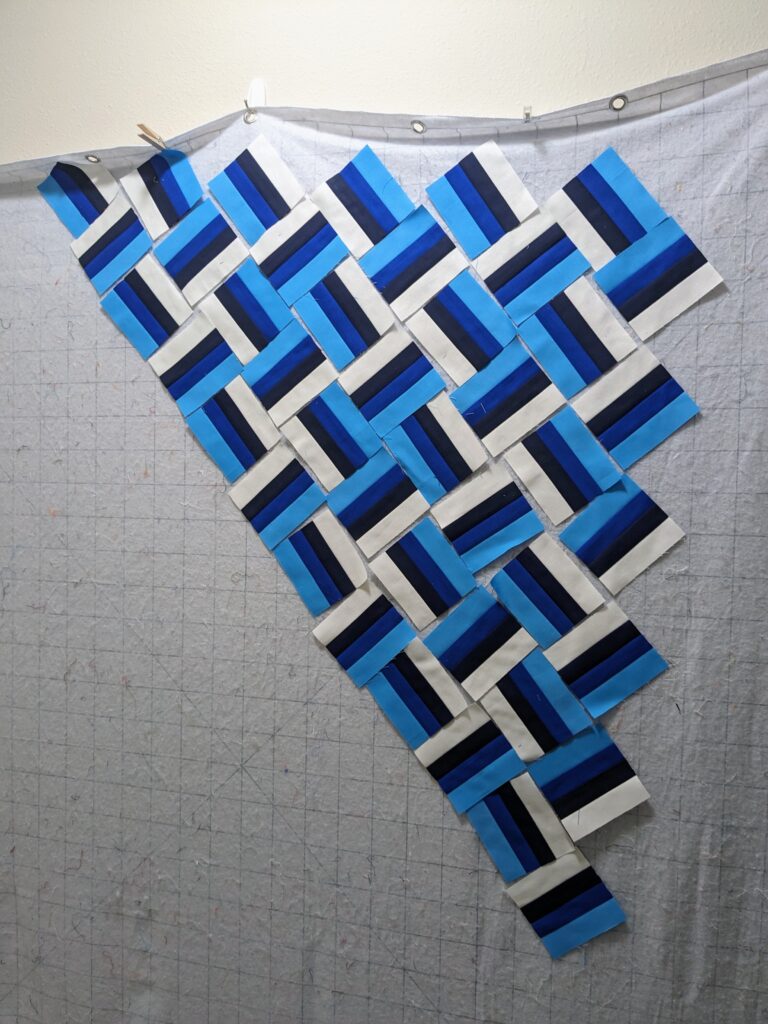
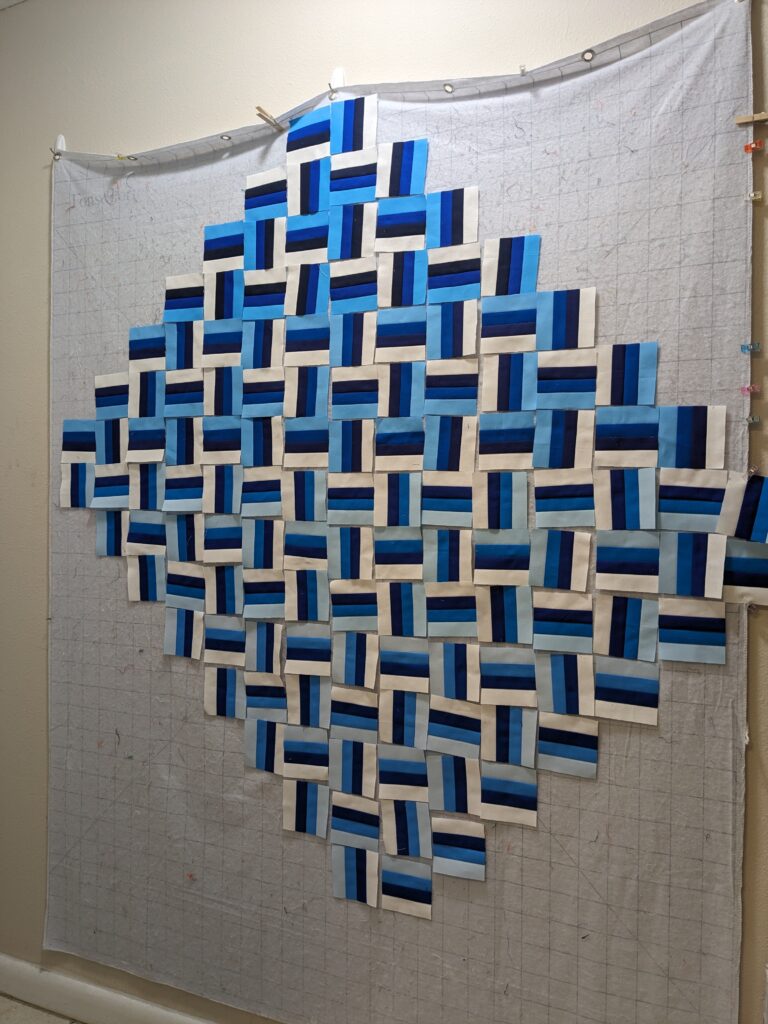
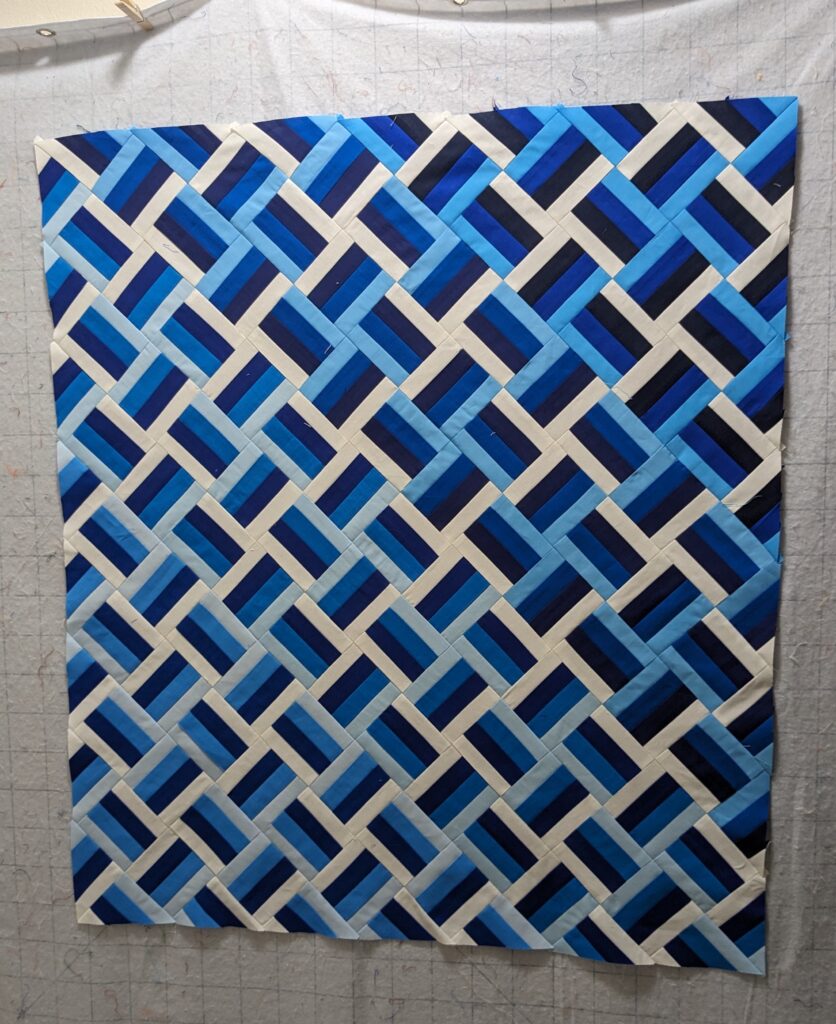
When I put them back up on my design wall to layout the quilt top pattern, I decided to put them into straight rows. It was a lot easier for me to see the rows I had to sew, without actually placing them on point.
I decided that I would sew the rows first and then after they were done, that’s when I would trim the end of each row. This was faster than trying to figure out how to make setting triangles with the blocks I made, as I wasn’t going to be using just a solid piece of fabric for a setting triangle.
Here’s the rows coming together with part of them sewn and trimmed.
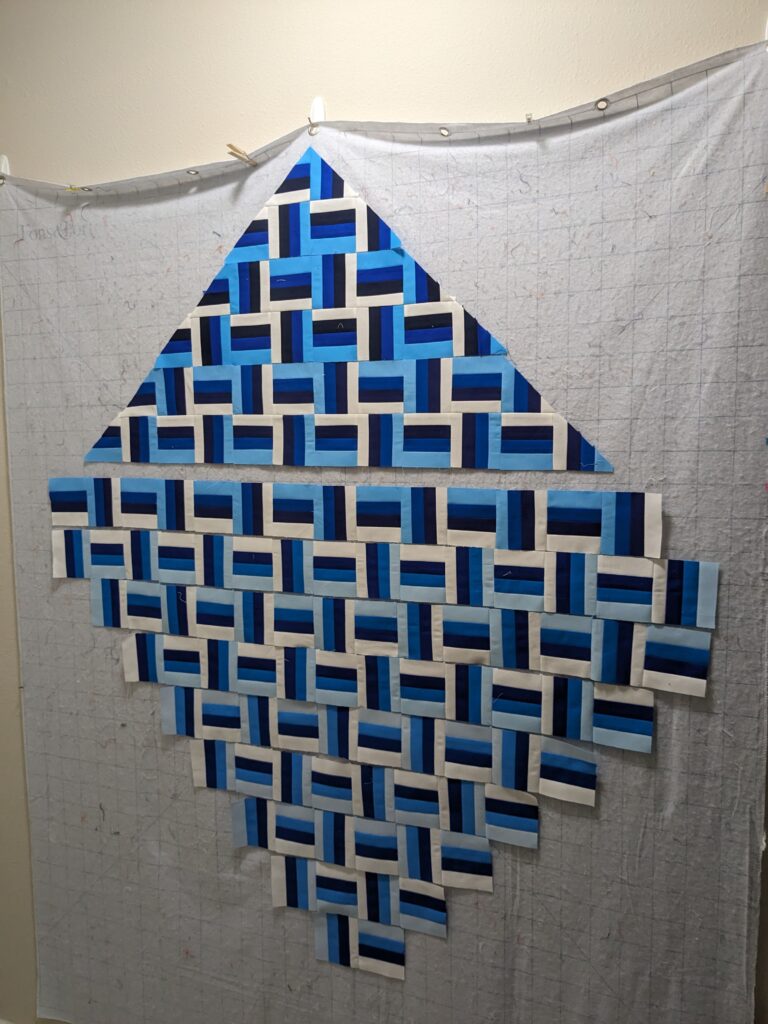
Once each row was sewn and trimmed, then I put the rows together. Here’s the quilt top all sewn together and turned in the correct direction!
The backing
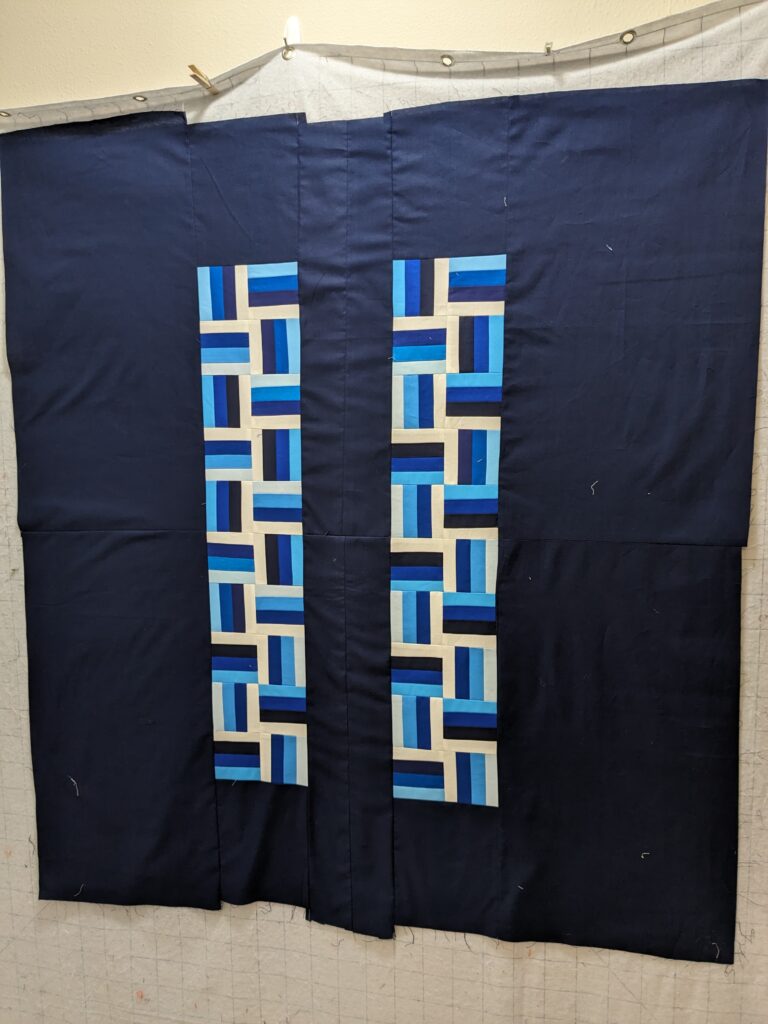
Now it was time to decide what to do for the backing. I had so many extra blocks that I wanted to be able to incorporate them into the backing. Back I went to EQ8 to play with layouts and designs. I decided I just wanted something simple since this “quick” baby quilt took me a lot longer than I had anticipated!
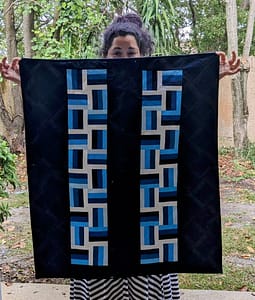
I also wanted to have the blocks on the back be straight and not on point. This is what I finally came up with.
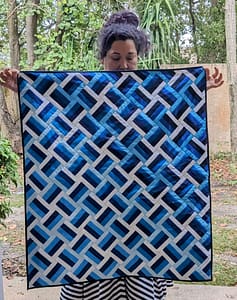
Finally on to the quilting! I was thinking of quilting this on my Cutie frame, but I decided to just quilt it on my Juki since I was going to do straight line quilting. I did a basic stitch in the ditch around each block by sewing on the diagonal one way and then the other way.
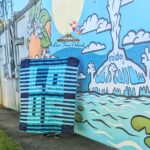
Here it is all done with the binding completed, but not washed yet. It’s actually currently in the washing machine getting ready to be gifted. It was a bit dreary out today, it was a little breezy and drizzling, but I wanted to get pictures outside before it started raining harder and got too dark for photos! (So please excuse my messy hair!)
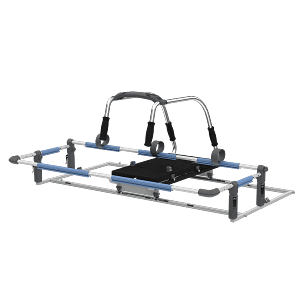
I hope you enjoyed my blog post! Although I didn’t use my Cutie frame to quilt it, the new Cutie Breeze frames are finally being sold to the public! You can order yours here!
Don’t forget I’m planning a 2024 Quilt Along!! Stay tuned next week when I show off the fabrics and design I have chosen for my quilt! Happy Quilting!!