I know I am late to the game, everyone has tried to make a new sew quilted Christmas ornament… except me!! Here’s my first attempt at them and a few tips I found helpful along the way.
I have been wanting to make holiday ornaments, but I have a huge project I am currently working on that I would like to get done by next week, so I haven’t had much time for Christmas ornaments. Then today I sat back and realized I am close to being done with my project, so I took some time to play!!
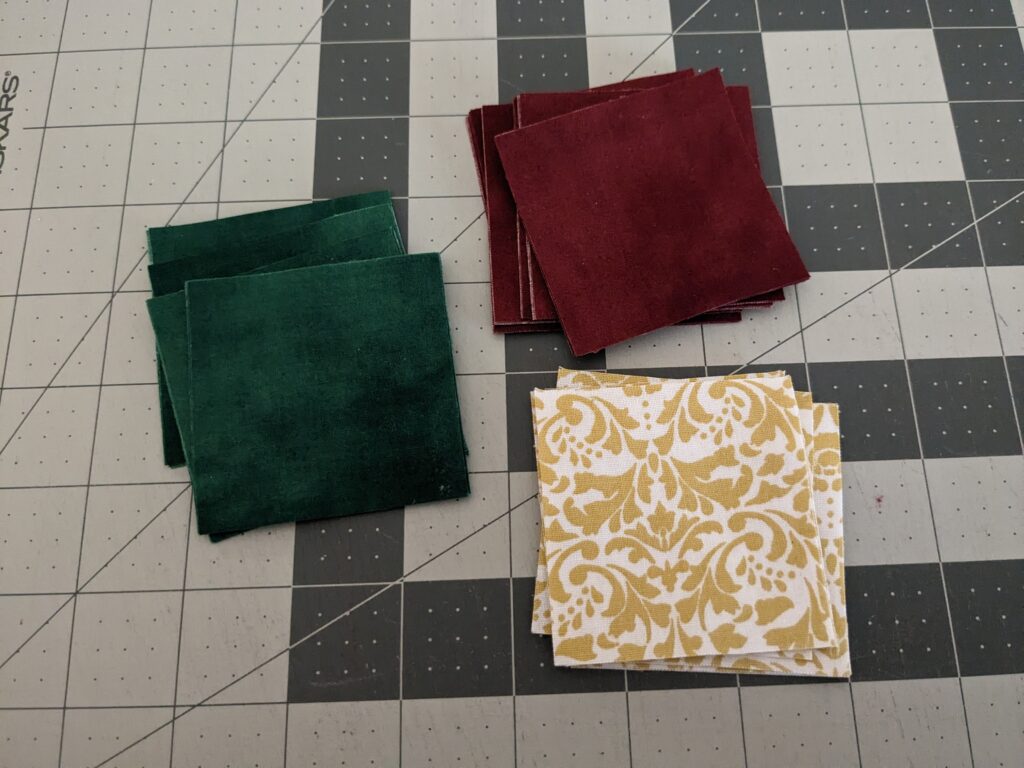
The supplies
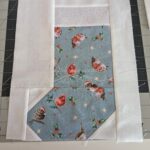
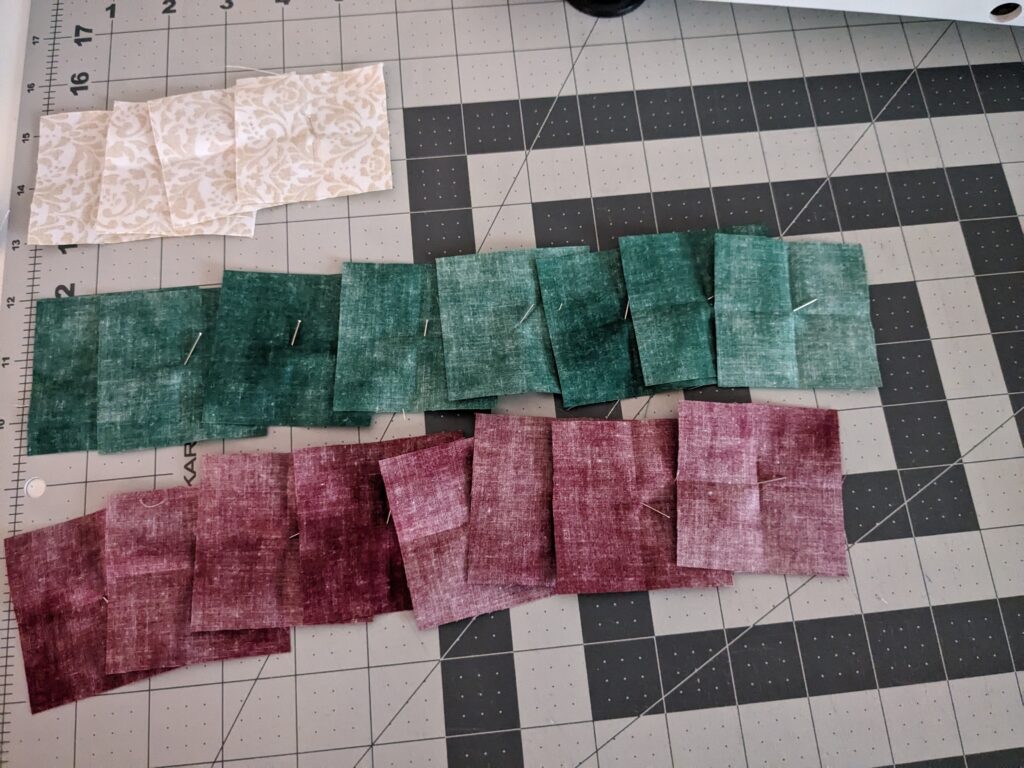
There was some cute fabric in my stash that I thought would look great in an ornament!

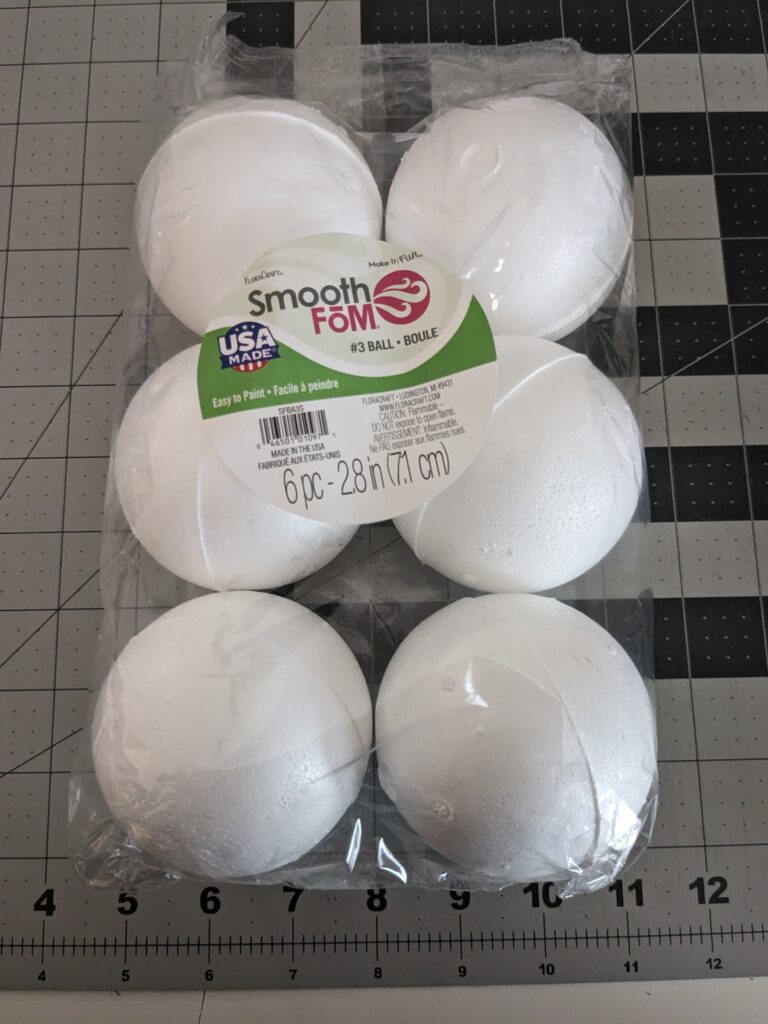
I found the styrofoam balls at Joann’s this past week. (You can buy them online from Joann’s here). They are almost 3″ (2.8″ to be exact), which is what most patterns call for. I would love to tell you what kind of sale price I got, but I honestly don’t remember. I went in to get the styrofoam balls only, and as usual they scanned my phone for coupons so I know at least one of them worked!
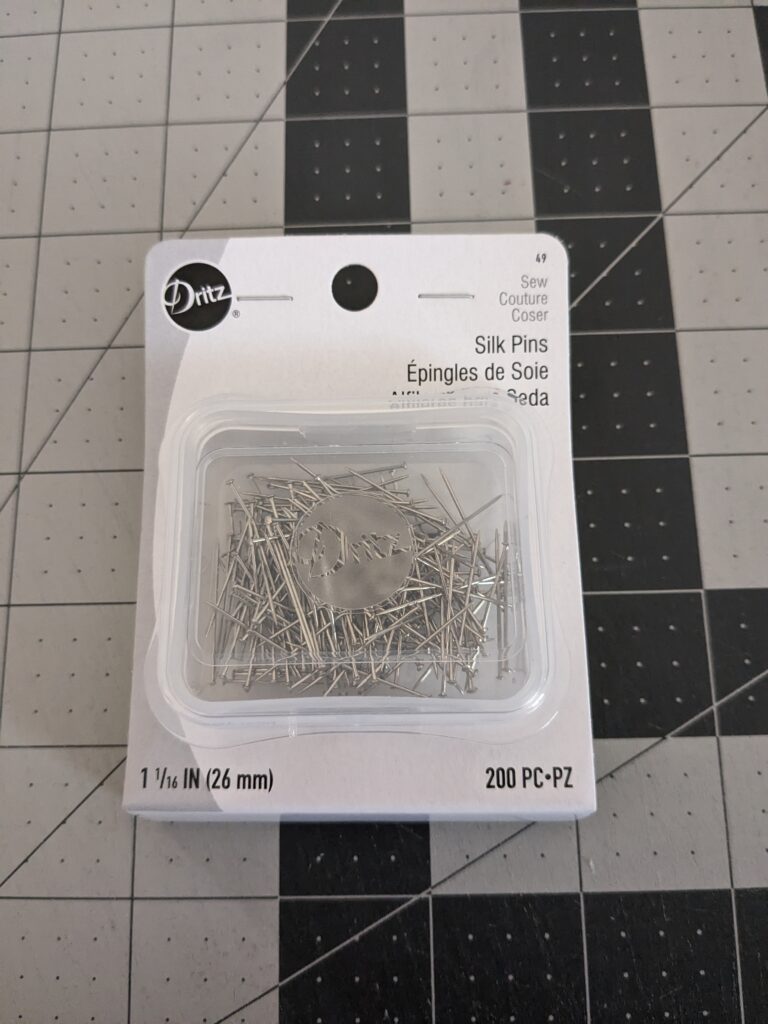
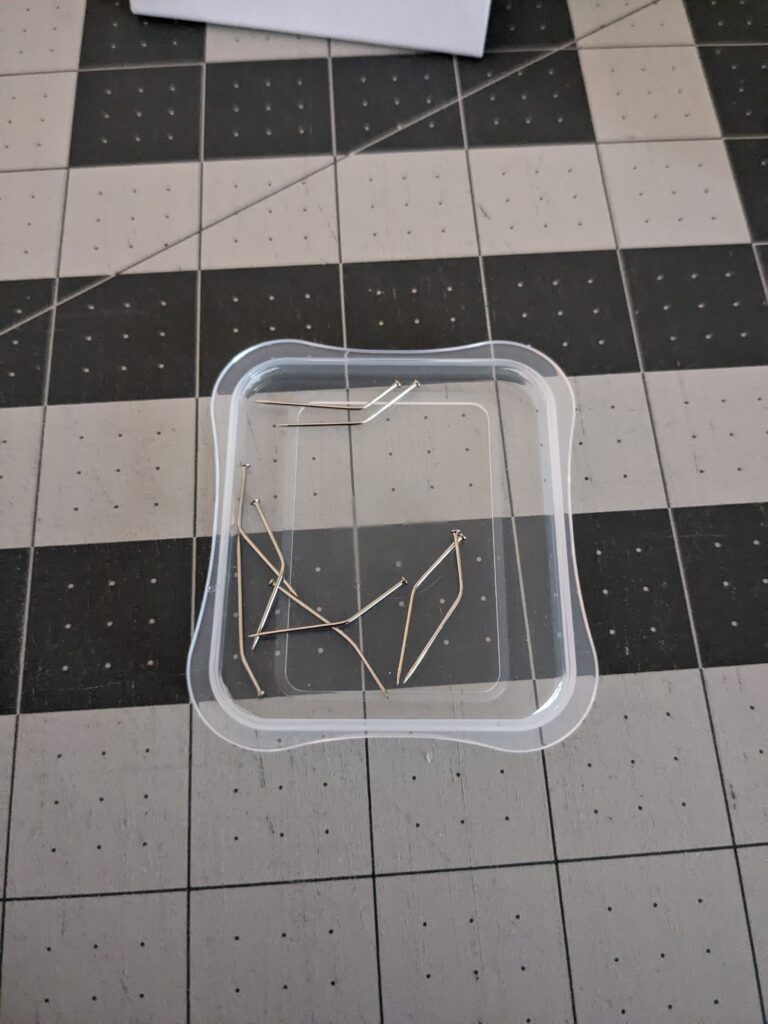
I already had the pins in my stash. Here’s the ones I used. I did end up needing more than one box, but you’ll see why later. I probably could have gotten away with just one box if I hadn’t screwed up!
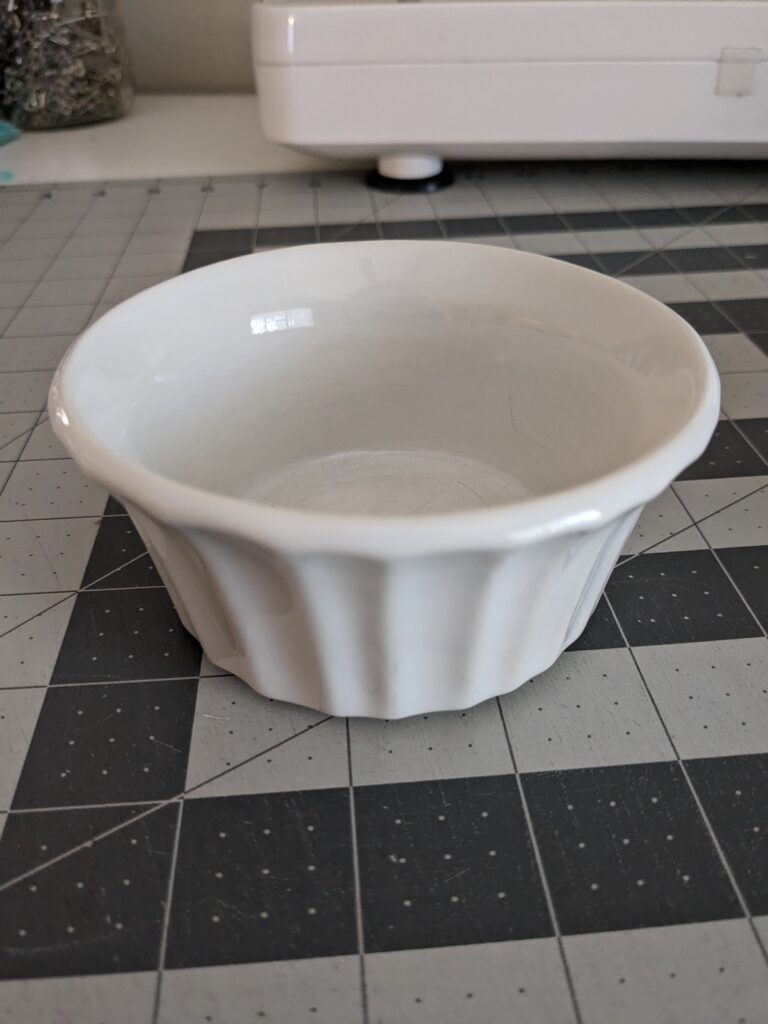
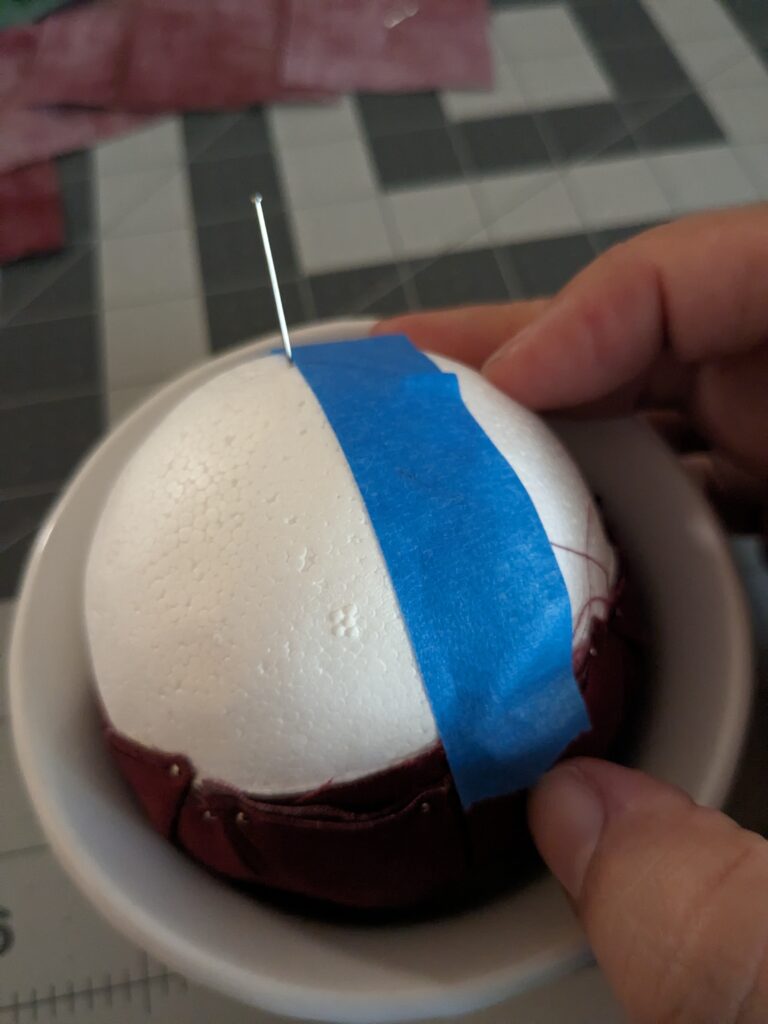
Technically that’s all you need to make these ornaments. I did find a few places recommend a dish to hold the ball in so it won’t roll away while you are trying to pin the fabric on. Genius!! So I used this ramekin.

The cutting
Your fabric needs to be cut into 2.5″ squares. You need 8 squares of the fabric that’s going in the middle, and 16 squares of the other 2 colors. These were fat quarters and I ended up just cutting two 2.5″ strips first and then cut them into 2.5″ squares. I did cut a third 2.5″ strip out of the white fabric that was going in the middle so I could use it to cover the edges around the ball at the end.
The pinning, and pinning, and MORE pinning!
Round One
Now is where you start pinning the squares to the styrofoam ball. I will say that after a few pins, I ended up using my thimble, because I didn’t realize how hard it was going to be to pin!
First you need to take a square of the middle (first) fabric and fold it in half both vertically and horizontally so you can find the middle point. Place your first pin in the middle with the wrong side of the fabric facing you. You want to pin this to the ball with the right side of the fabric facing the ball.
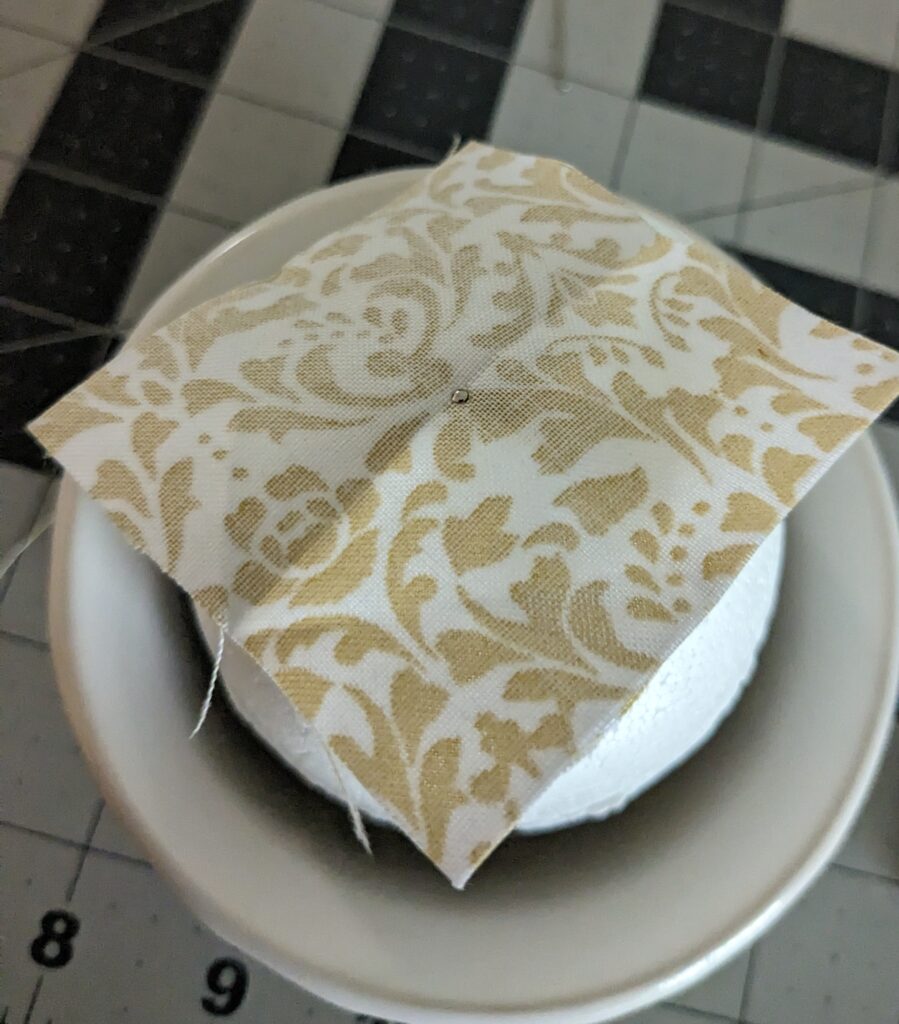
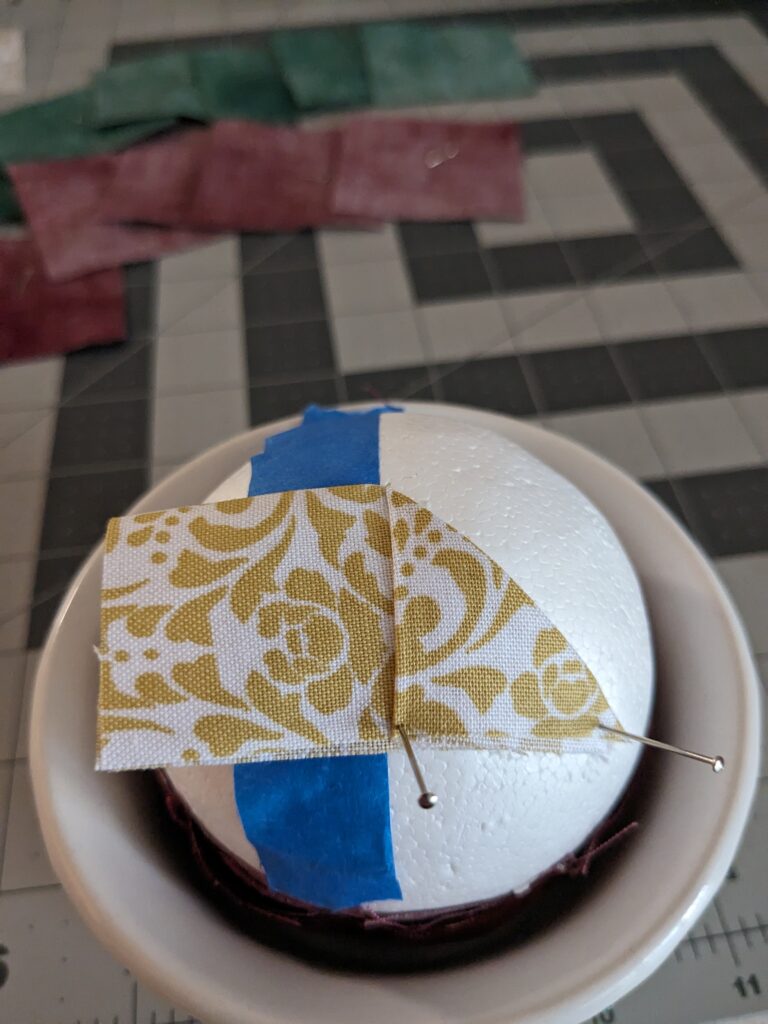
Then fold the square in half horizontally towards you so you have a rectangle. Then fold down the top sides of the rectangle towards you so that you have a triangle.
This picture is actually from side 2 (that’s why there’s painter’s tape there). Ignore that for now, as I’ll explain it later, but here’s how you start pinning.
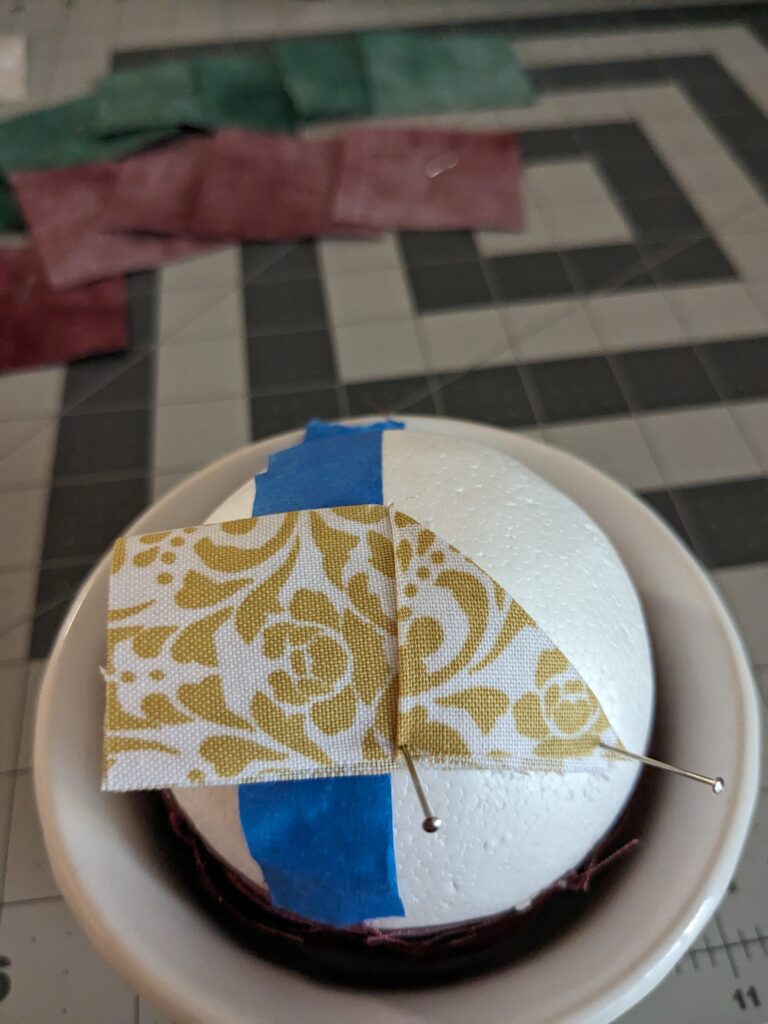
You will place 4 more pins on the bottom of the triangle to keep them in place. One in each corner of each triangle.
Here’s a picture of the first two triangles done.
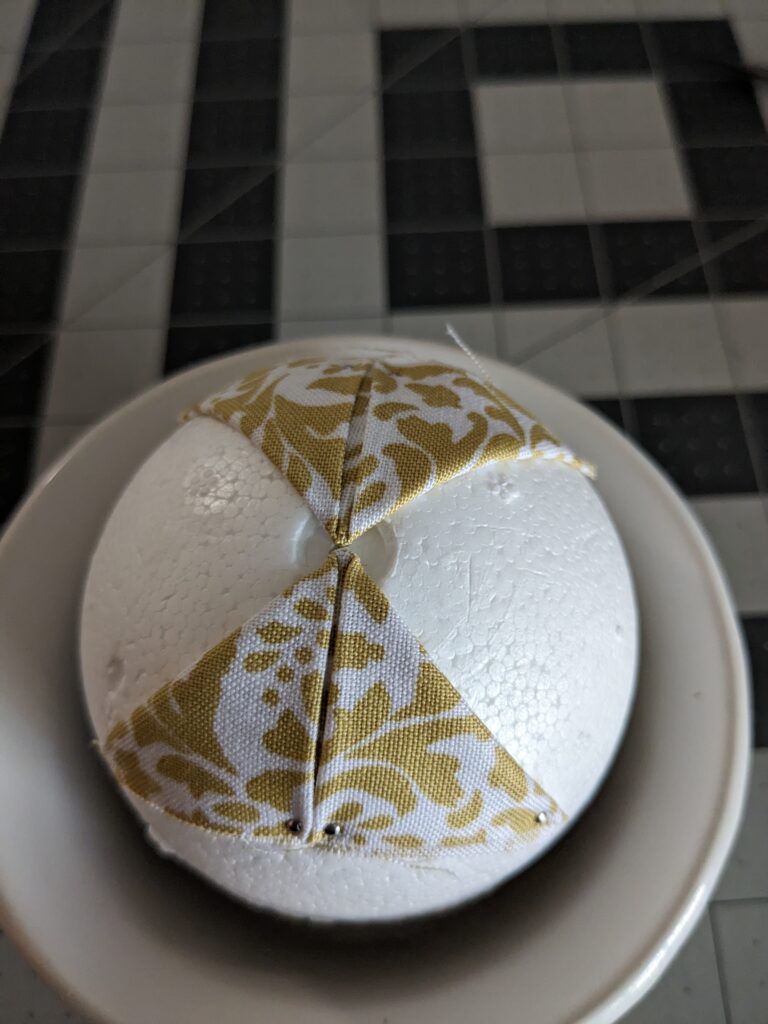
When I was researching how to make these I got confused with where the first pin went. In the picture above, the very first pin is in the center of the top of the triangle.
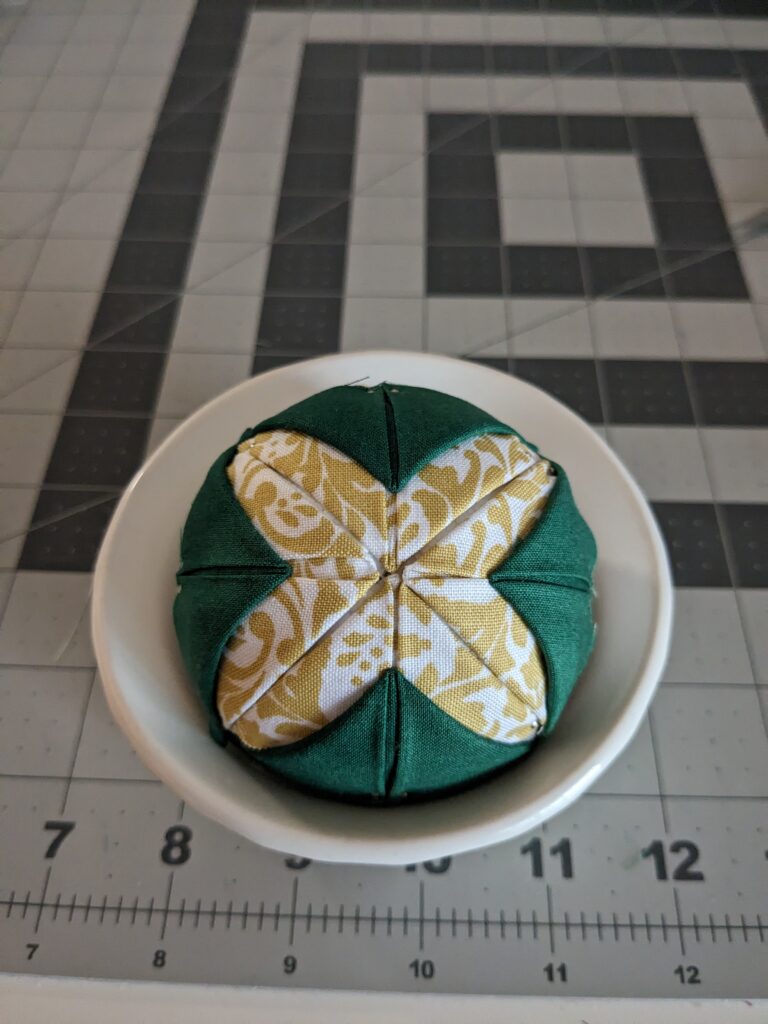
You are going to place 4 triangles together to make up the middle of the ornament. Make sure when you are placing the squares, you try to get the center pin as close to the others as possible to minimize any styrofoam showing through. I think next time I make some I’m going to place a 2.5″ square of white fabric (or other coordinating fabric) in the middle first so that I won’t worry so much about the styrofoam peeking through.
Round 2
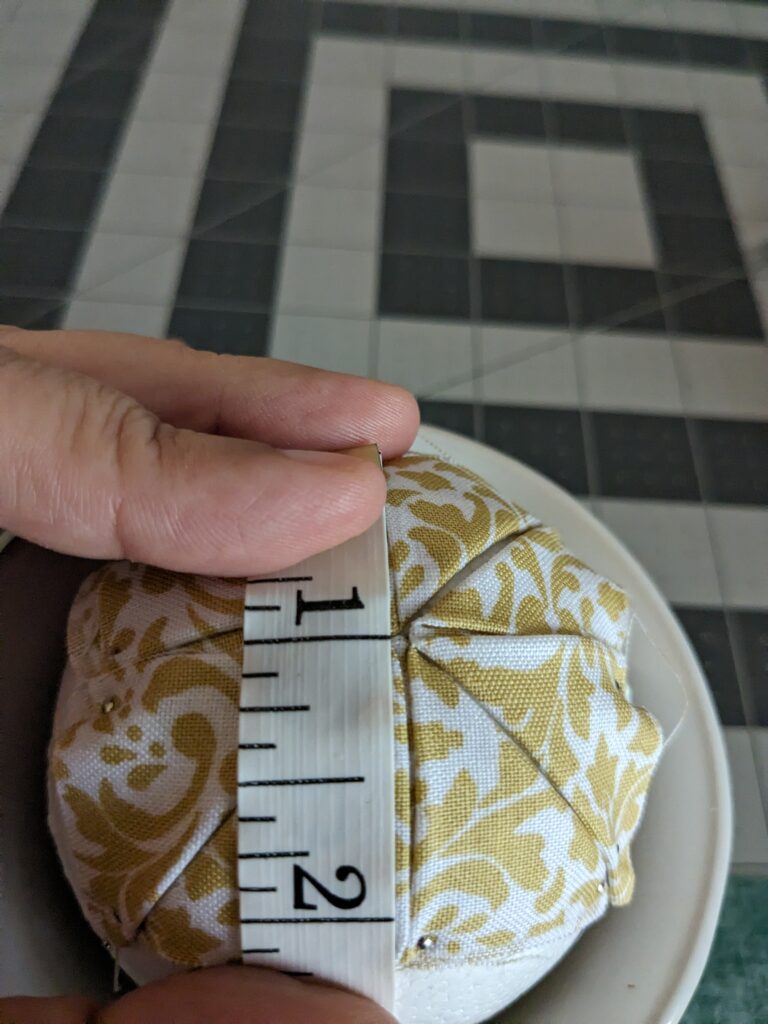
Now it’s time to use your 2nd fabric. For this Christmas ornament I used a grunge green fabric for the 2nd round. You are going to make the same triangles but 1/2″ away from the point of the first fabric. I used a tape measure since I figured it would be easier to get an accurate measurement on a sphere than I would with a regular ruler. Also, in the picture I’m using the 1″ mark as my starting point. I liked being able to use the line from the 1″ mark to line up the tape measure with the triangle point from the previous section.
I started the next section by placing my green squares/triangles over the first round of triangles. This round is easier as you aren’t worried about making sure the points match in the middle. You are just measuring and then placing the squares.
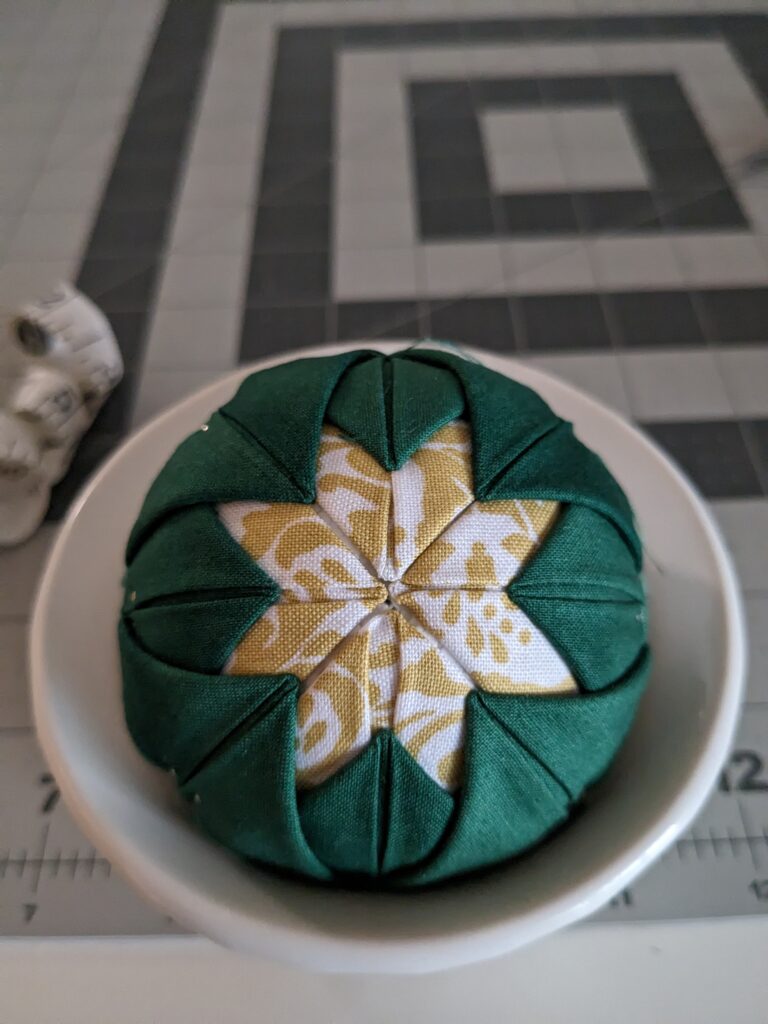
Here’s the first 4 green squares/triangles done. They are all on top of the previous squares/triangles that were completed.
Now you’ll do this again with 4 more squares of your 2nd color, but this time you are going to place the squares/triangles in between the original squares/triangles you did.
Round 3
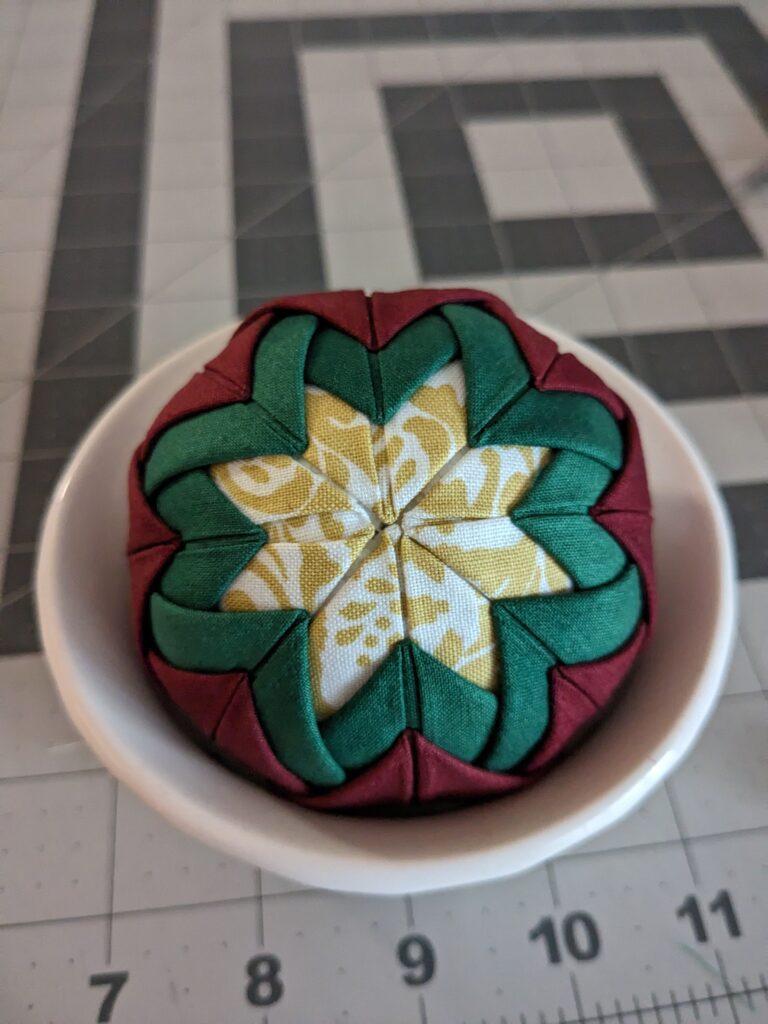
Now it’s time for your 3rd color. I chose another grunge fabric, but I went with red. I mean what’s more Christmas-y than red and green! (well and white and gold too!).
You are going to do the same exact thing you did in round 2. This time it’ll be 1/2″ away from the tips of the triangles from round 2. It doesn’t (in my mind) matter where you start your 3rd round. Just make sure that if you are starting with the most recent triangles (or with the ones you made 2nd) that you just do those 4 first, THEN move on to the other triangles.
Here’s my round 3 all done.

Side Two (And some hints!)
Now that your first side is done, you’ll turn the styrofoam ball over and do side 2! By this time I felt I was a pro (ha!), and did a few things differently.
First I made sure that all my fabric was prepped before I started pinning. I got all my squares folded in half and a pin placed in the middle all ready to pin in place. I found this made the whole process a little easier and a lot faster!
When I was trying to figure out where to start on the second side, I used some painters tape to try to keep the middle lined up. Now, I didn’t do a 100% perfect job, but I’m not upset with how it turned out. I put a pin in what I figured to be the middle next to the painters tape so I could get an idea of where to start.
Once I got the one side of the first triangle done on the second side of the sphere, I removed the painter’s tape.
Now you just do the second side the same way you did the first side! Easy peasy!!
Here’s a few more hints. One is to really make sure you know what side of the pin you have in your hand before trying to push it in! Ask me how I know! OUCH! The pin heads are really tiny, so you may have to look really hard to make sure you aren’t pushing on the sharp side instead of the pin head side!
I ended up using a thimble for most of the pushing. I would get the pin pushed in a little with my finger, place two fingers from my left hand on either side of the pin to keep it stable, and then push it all the way through with the thimble.
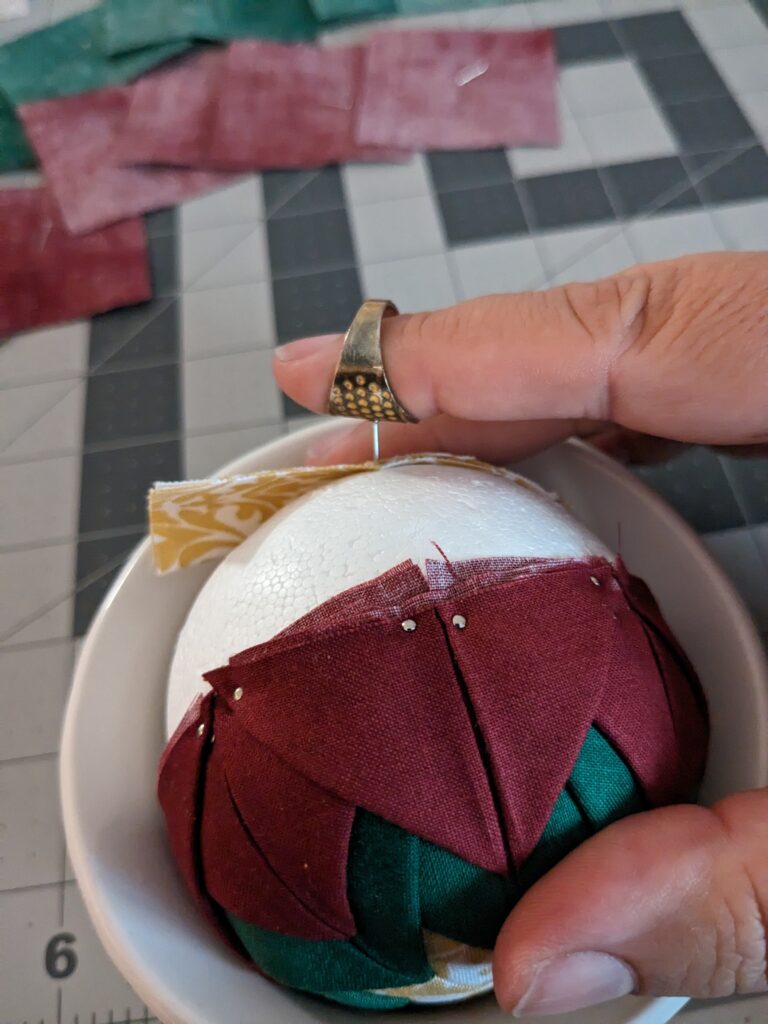
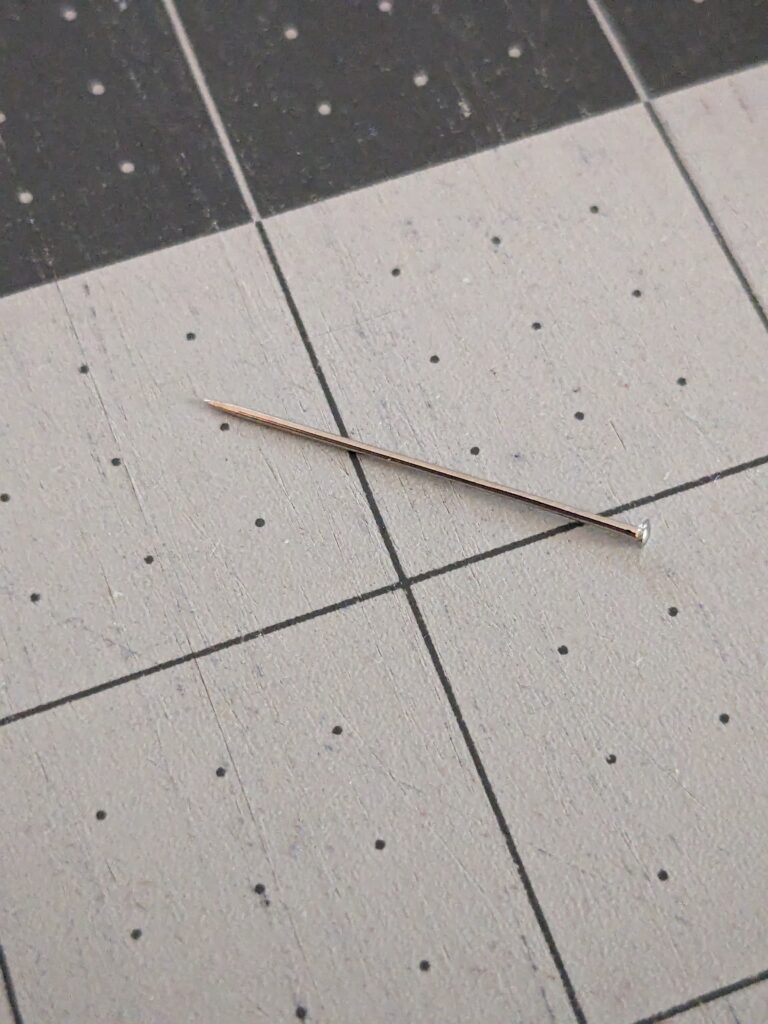
And here’s how I found out I had to use two hands to push the pins in. If I didn’t hold the pin in place while trying to push it in with the thimble, the pins bent! This is also why I said I had to use more than one box of pins.

Finishing up the Christmas Ornament
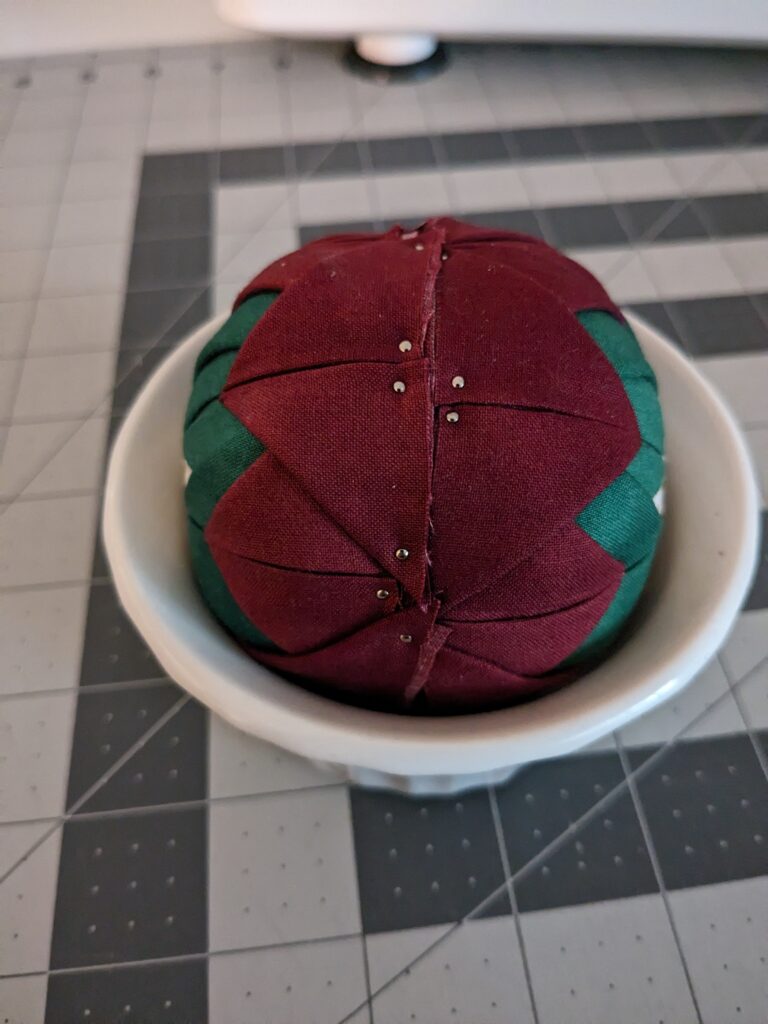
Once you have finished both sides, now it’s time to place a ribbon or a strip of fabric over the styrofoam ball to hide where the two sides meet. Here’s what mine looked like after pinning. I’m actually pretty happy with how close I ended up!
I used a mixture of pins and a glue gun to get the fabric around the ornament. When attaching the ribbon, I also used a pin with a little bit of glue at the end to push into the ribbon. I still need to work on how to finish it off, as I’m not that great with making bows. But that’ll have to be a project for another day!
Here’s my finished Christmas ornament!
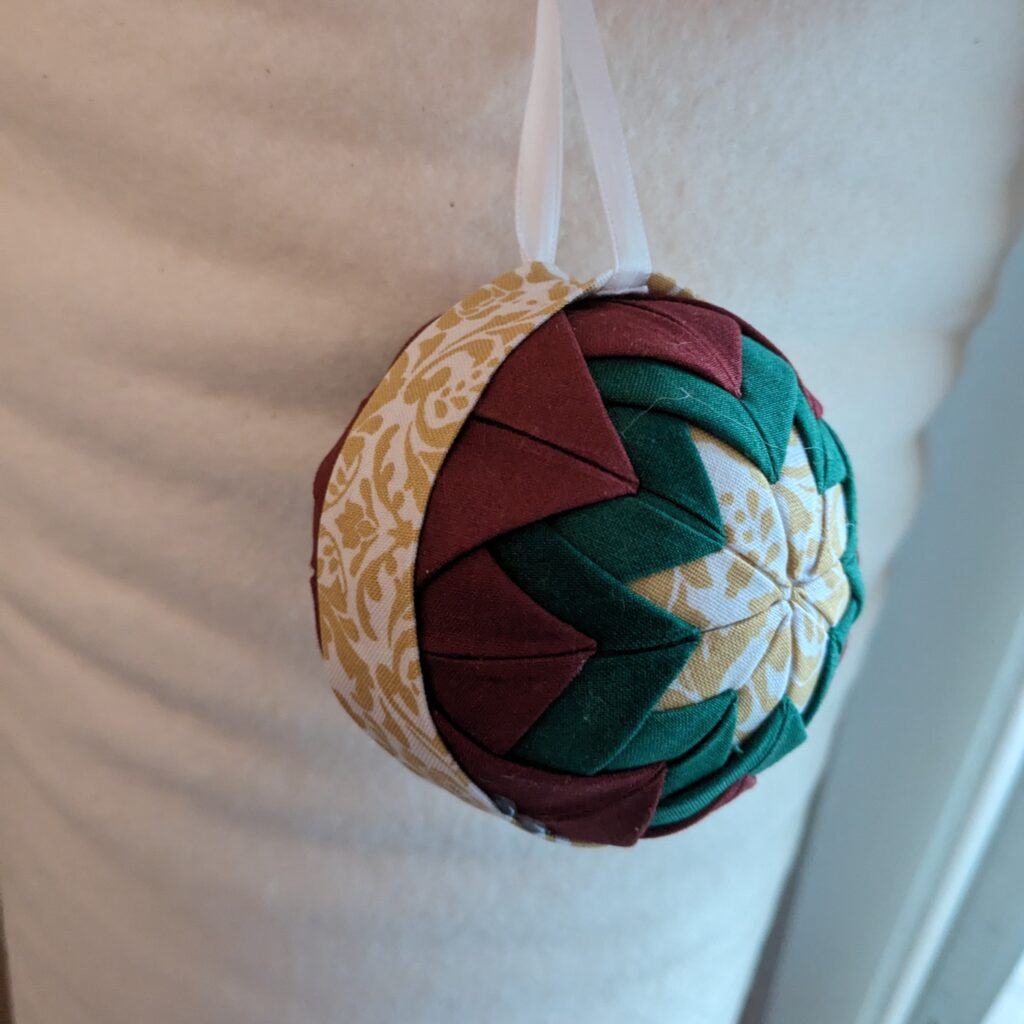
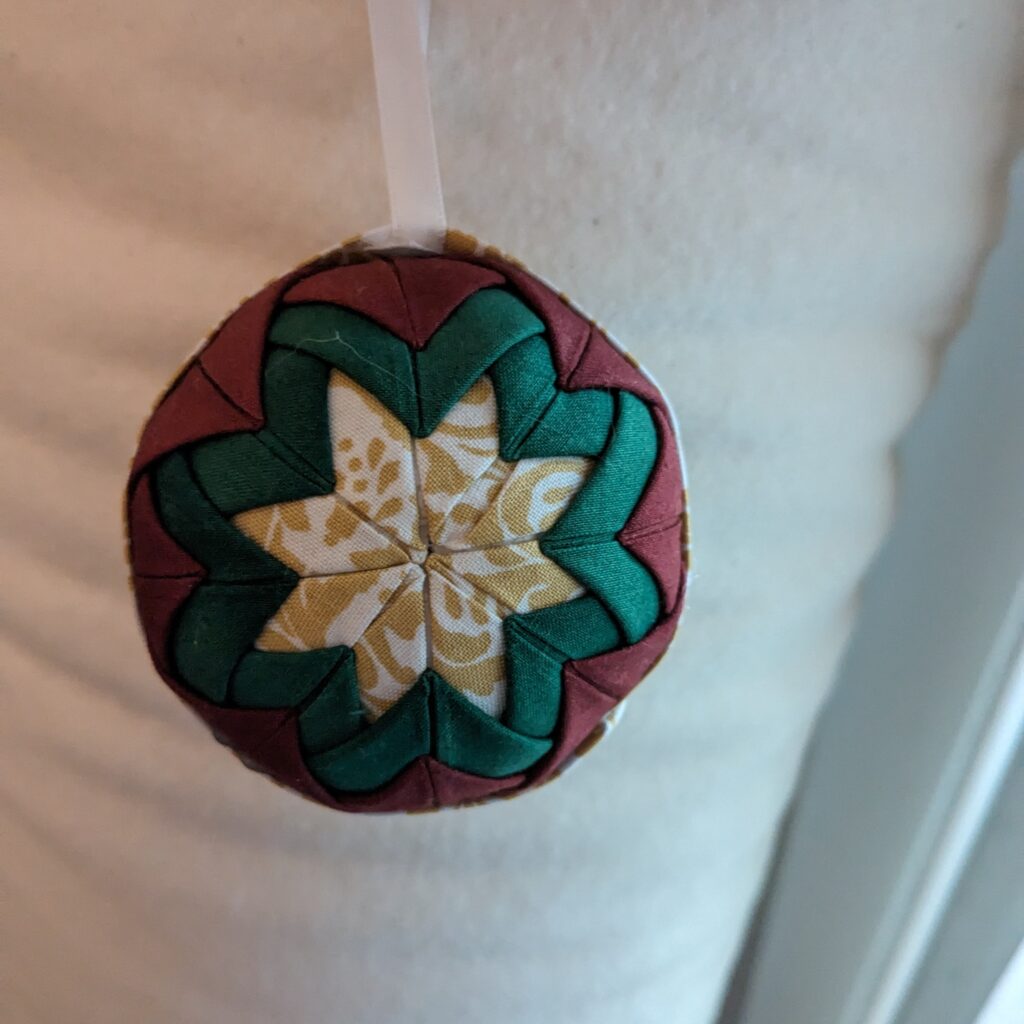
I’m so excited that I finally got to try making these ornaments, and that it wasn’t as hard as I thought it would be!
Want to try something for the first time? How about making a temperature quilt with me next year? I’m doing a Temperature Quilt Quilt Along for 2024! Read all about it here.
Thanks for reading my blog post and happy quilting!!