Today’s the first day of school here in Orlando! And it is the very first one where my son isn’t going!!! I’m having a bit of a time dealing with that reality. We are still adjusting to our new normal. But, I am getting time to work on my quilting and continuing to update my skills!
If you missed it, the last two weeks I posted about quilts that I made and gifted. Here is the post about the quilt for the principal. And here is the post about the quilt for the assistant principal.
This week I’m showing you the quilt I made for the school secretary!! She is an amazing woman, who puts up with A LOT. I mean can you imagine dealing with all those parents on a daily basis! She did everything with a smile and always a kind word. I knew I had to show her how much I appreciated all her help over the years.

She had told me her favorite colors were sky blue and yellow. It took me a bit to figure out what kind of pattern I wanted to make her. She is definitely a STAR and deserves a star quilt!
I came up with this pattern in EQ8 (Electronic Quilt 8). I love using EQ8 to come up with ideas or determine how much of a particular fabric is needed for a pattern.
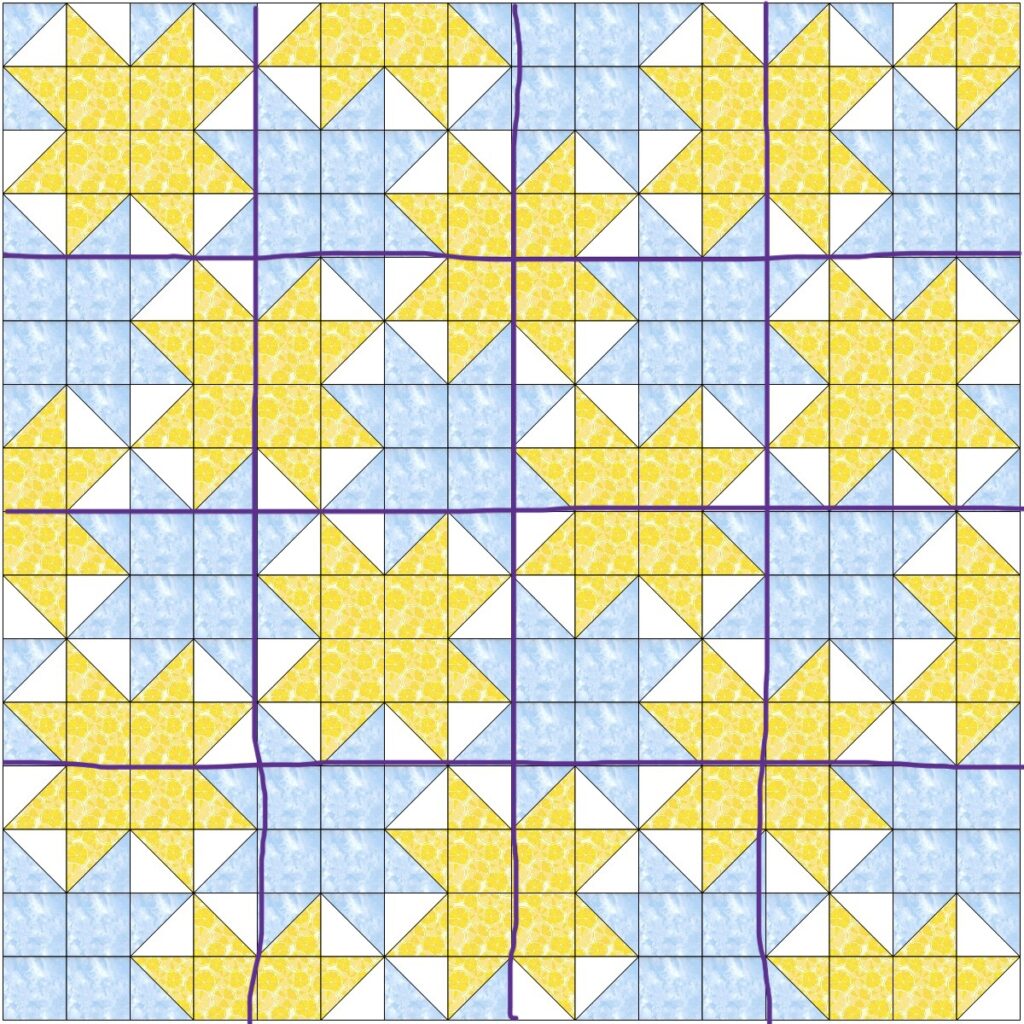
The darker blue lines are ones I added after I designed the pattern to show me how to make the quilt into blocks first. I like breaking up a pattern into smaller blocks and then I can put the blocks together. I also love that you can import photos of the fabric you are using into EQ8, so you can get a realistic idea of what the finished quilt top will look like.
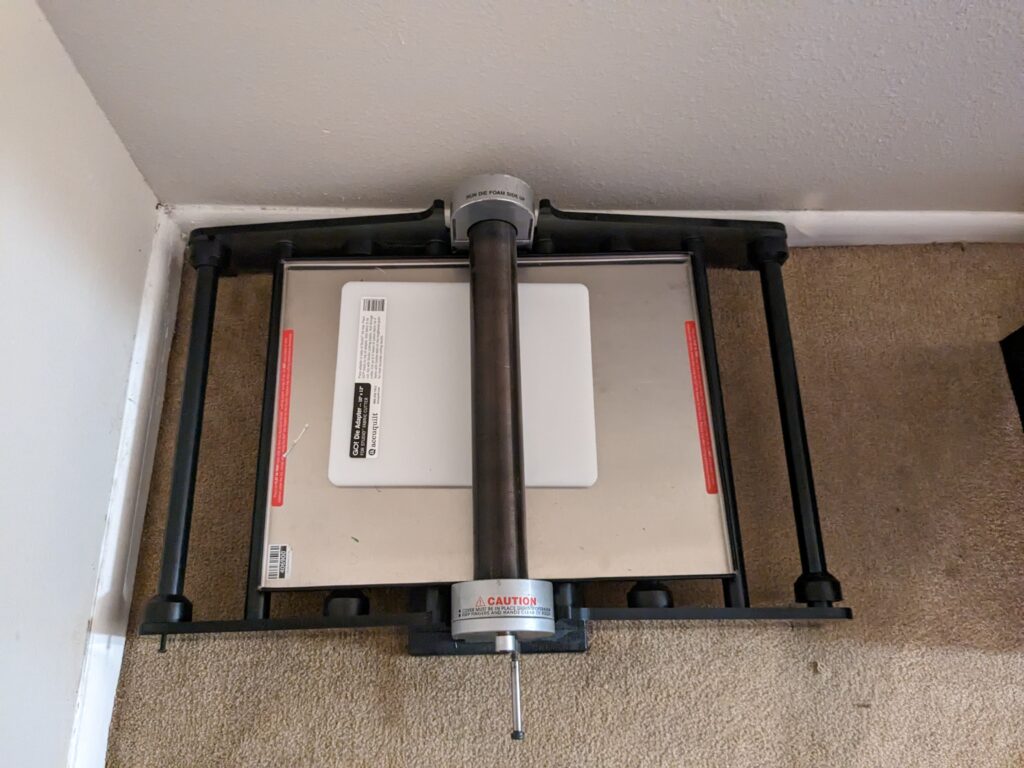
At the time I was designing this pattern and making the quilt, I was using an AccuQuilt to cut out my fabric pieces. I have since stopped using it, as it was just too much work to cut out all those triangles and squares and then sew them all back together. If I were to make this pattern today, I would make the HSTs (half square triangles) by using the 8 at a time method. It’s so much easier and is a time saver!
Here’s the AccuQuilt I had that I was using. It was the original Studio (now they sell the Studio2), and I got it used. I had really high hopes for using AccuQuilt, but I realized it just wasn’t for me. I do know that there are a lot of piecers who use it because they have arthritis or other mobility issues and it helps them to cut their fabric without the pain. I’m glad I was able to sell it to someone who really wanted it and is using it!
When I was putting the pictures together for this blog post, I realized I don’t have a lot of pictures for this quilt! This was made in November and I was really rushing to try to get all the quilts done in time to gift them before the end of the semester. Which is sad because I really enjoyed quilting this one and it came out so cute!
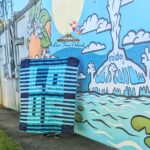
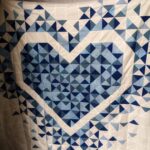
Here’s the quilt on my Cutie frame.
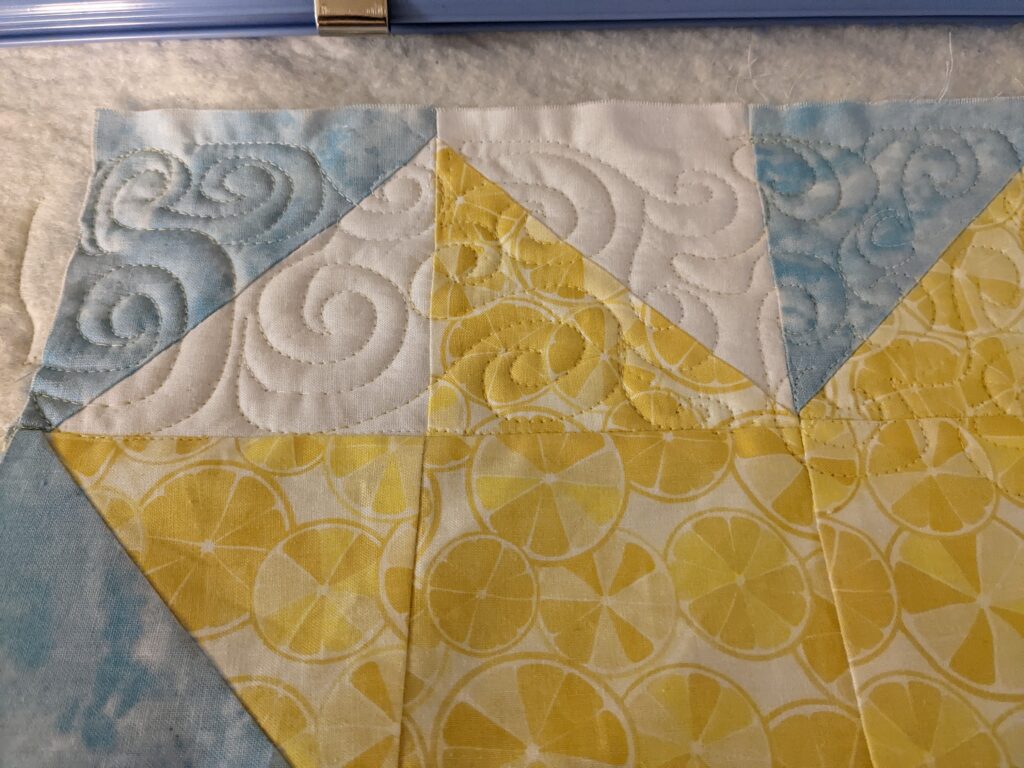
I quilted this with an all over swirl pattern. I was just starting to learn how to do swirls, but I think it came out okay.
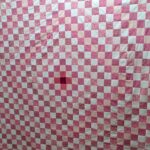
Here’s the only pictures I got of the whole quilt. And yes, I know I have to take better pictures of my finished quilts! I am still working on making sure I get a good picture of every single quilt!
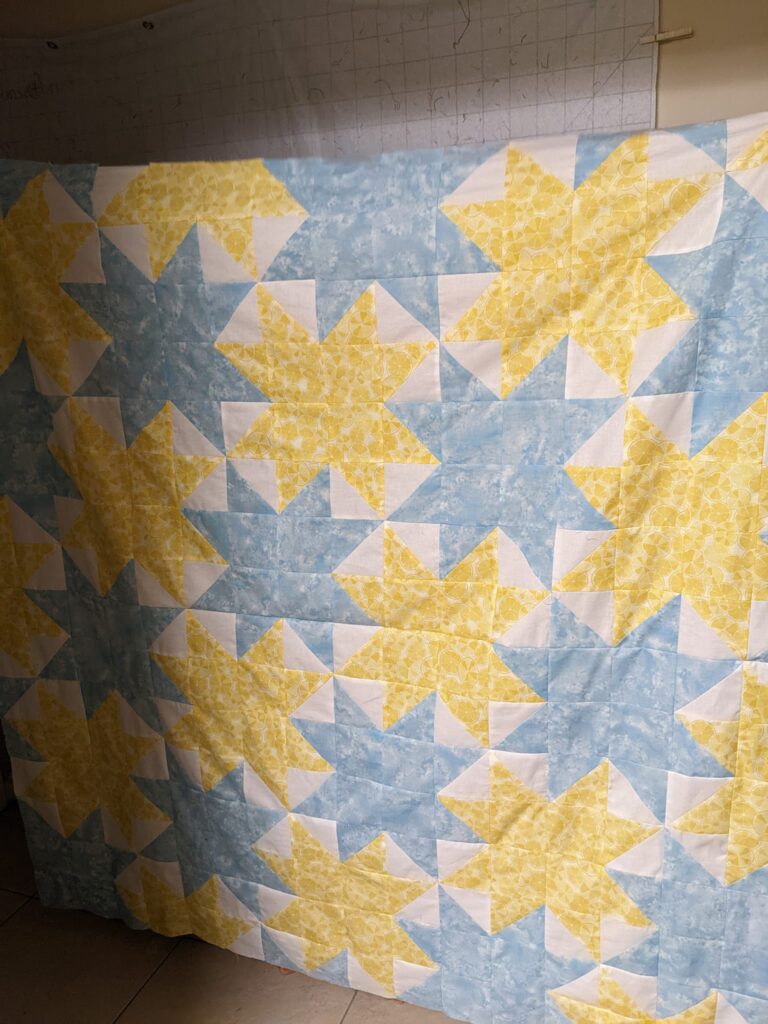


This last picture looks better since I took it in sunlight.
Overall this one wasn’t hard to put together and the school secretary ended up loving it, which made the whole process worth it!!