I’ve had a love hate relationship with basting since the moment I started quilting. I know I’m not the only one who doesn’t like to baste a quilt top! Since I taught myself to quilt through YouTube and reading books, I honestly didn’t know enough about basting at first. I’m not even sure that I basted that first quilt that I made!! Ha!
The Pin Baste Method
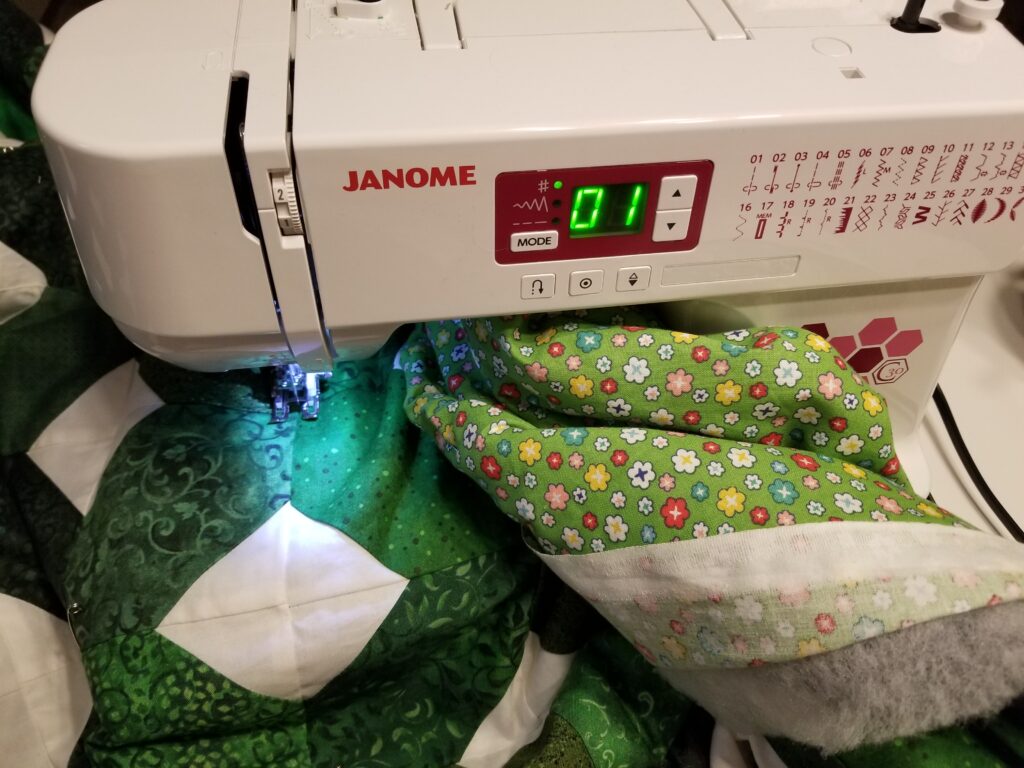
Then I learned about pin basting. I still didn’t like doing it, but it did help a lot to keep the layers of my quilt together. I watched a ton of videos on how to use safety pins to baste, but I stuck myself with pins soooo many times!!
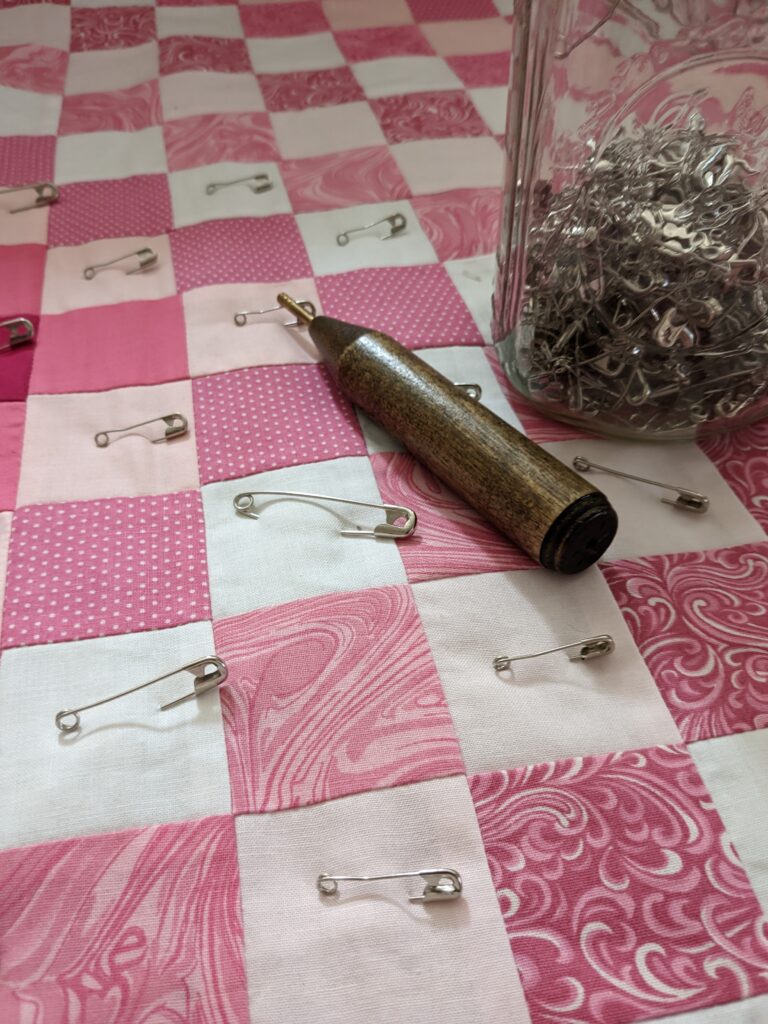
That’s when I heard about the Kwik Klip! This was truly a game changer for me. It was so easy to pin baste my quilts. The biggest issue I faced was that it was still super time consuming and I didn’t have a table big enough to baste some of the larger quilts that I made. But I pressed on and kept using the safety pins with the Kwik Klip.
Even with the safety pins though, I still sometimes got tucks in my backing, which is what annoys me the most about quilting. I know that it’s on the back, so it doesn’t matter as much, but it is my biggest pet peeve! You work so hard on making the front so pretty, and then you get a tuck in the back!

The No Baste Method
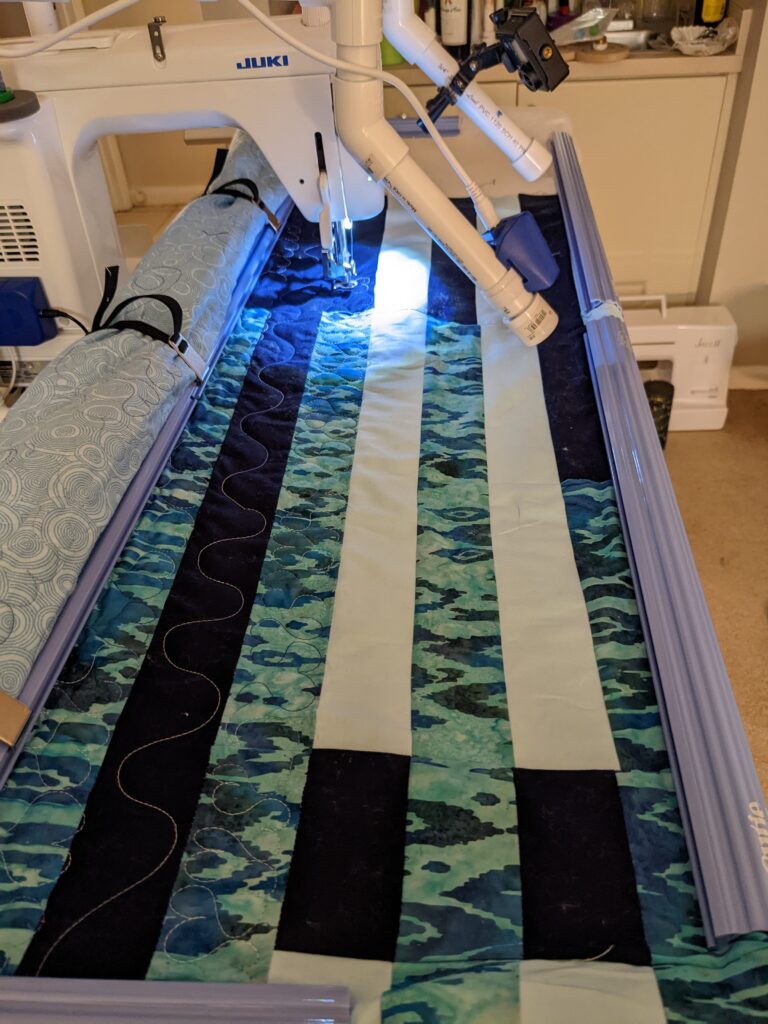
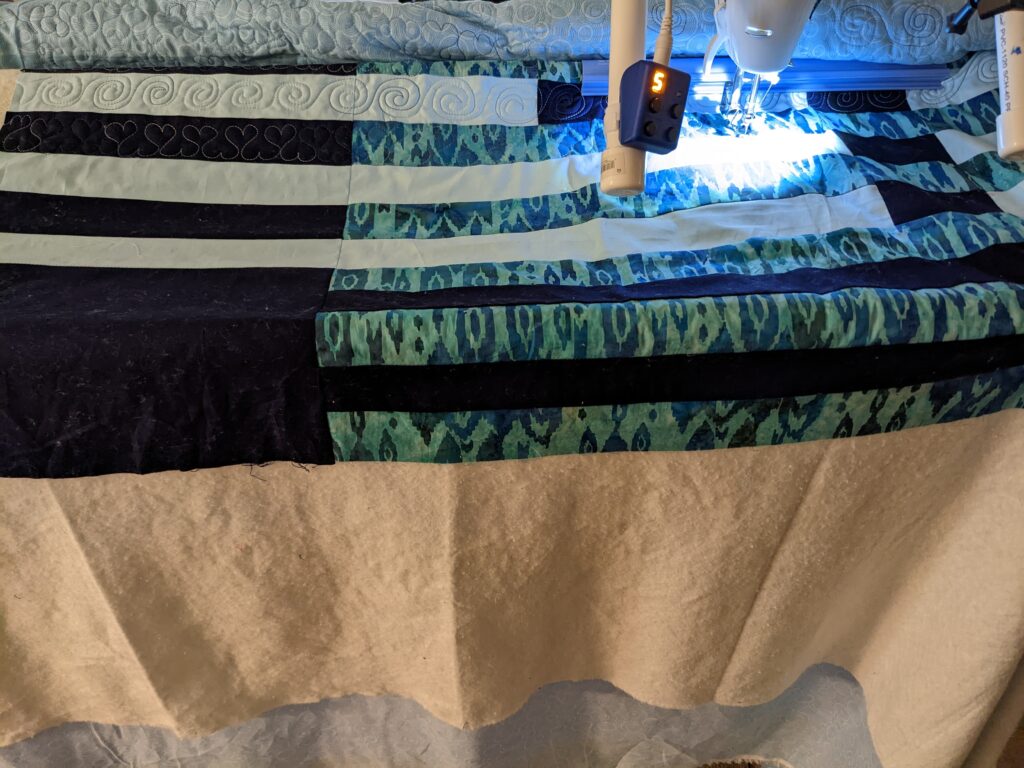
Then I got my Cutie frame and thought that I would never baste a quilt again. I got lucky with my first few quilts. I used the leaders that I got with my Cutie and would pin the backing and batting to the leader at the top, and let everything else just float.
Here’s a picture of the Cutie frame with the clips off as I was repositioning the quilt. You can see I just had everything floating.
At first it worked great! No pinning, no basting!! And then I realized that if I didn’t pay super close attention to the backing and making sure it was smooth, it could bunch while I was repositioning/rehooping the quilt and I would get a dreaded tuck in the backing!
Now, I could just go back to pin basting, as a lot of people do, but even with pin basting, it isn’t fool proof. I still have my pins and Kwik Klip. I mostly use them now to pin the backing and batting to the top leader and to pin the side leaders. It helps a lot so that I don’t kill my fingertips when pinning. But I’ll admit it, I’m lazy and HATE to baste!
The Spray Baste Method
Why don’t I just use basting spray? Well I tried two different kinds. I bought spray baste product, and hated it. It’s messy and it needs a well ventilated area, which my apartment living room is NOT.
Then I tried one of the homemade concoctions I found online. I didn’t like that either, and just kept floating my quilts.
Then the last quilt I made I had to rip out a BUNCH of stitches due to a huge tuck in the backing. It got me so frustrated that although I have been sewing a lot, I haven’t put another quilt on the frame in over a month. I thought I was soooo careful with that last quilt. I checked the backing and worked so hard every single time I re-hooped. And yet, I still got a tuck and didn’t see it until I rolled up the quilt enough to see the tuck. 😞

The Glue Baste Method
Since a 10 foot frame, where you don’t baste at all but pin everything to leaders is NOT in my budget right now, I decided to try something new! I had read all about using glue to baste a quilt, but had never tried it.
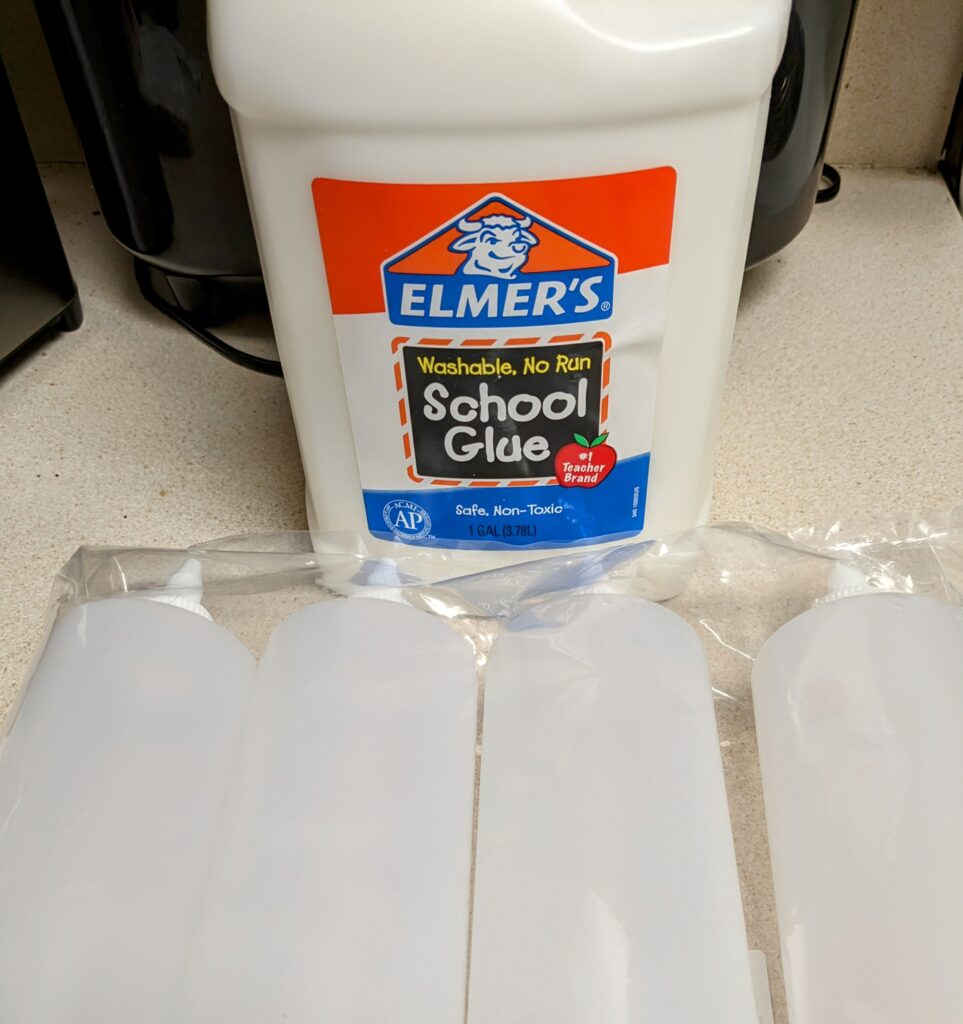
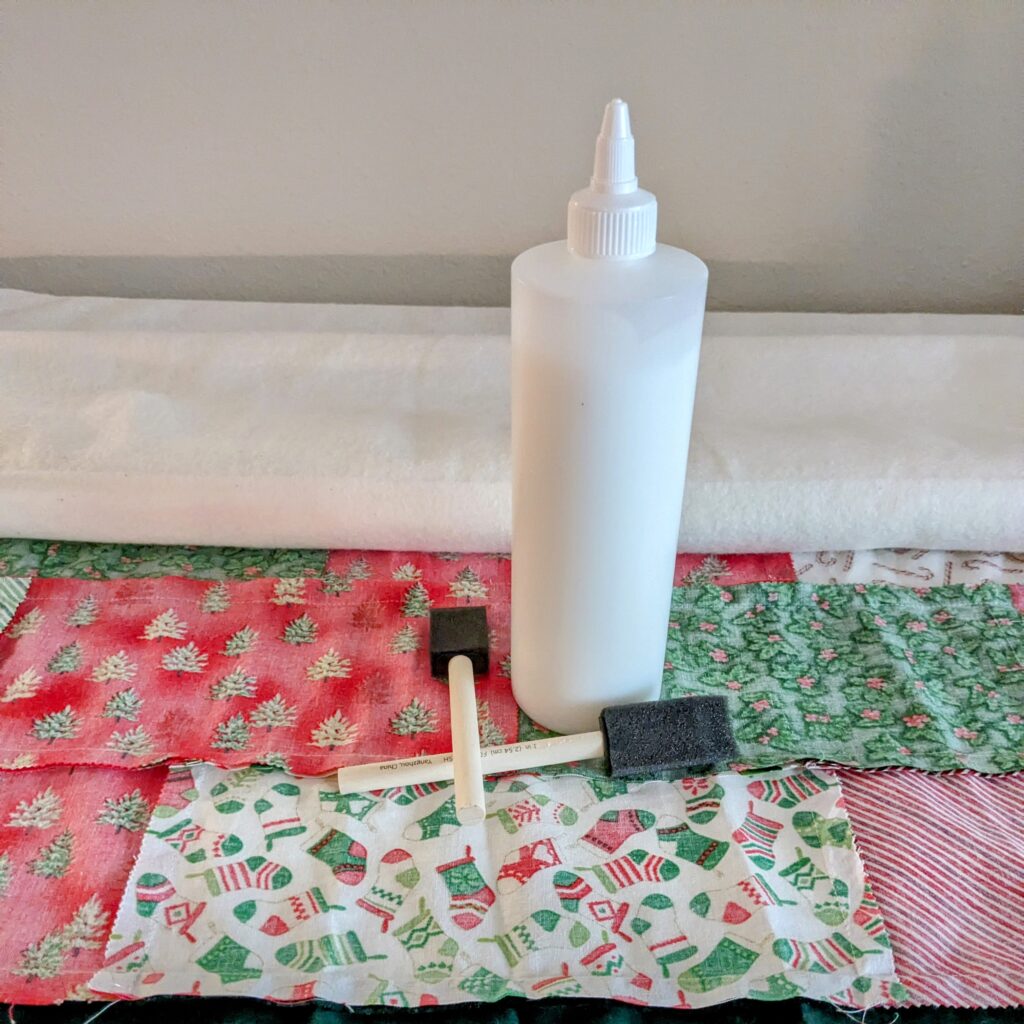
You use Elmer’s Washable School Glue for this method, so I bought some (okay, so I bought A LOT), and some squeeze bottles to dispense the glue. I figured if I didn’t actually like the glue baste method I knew I could find another craft/kid friendly use for the glue.
I also got some foam sponge brushes to spread out the glue once I laid it down.
At first I thought things were going pretty well. I squeezed out some glue….
Then I spread it out with the foam brush….
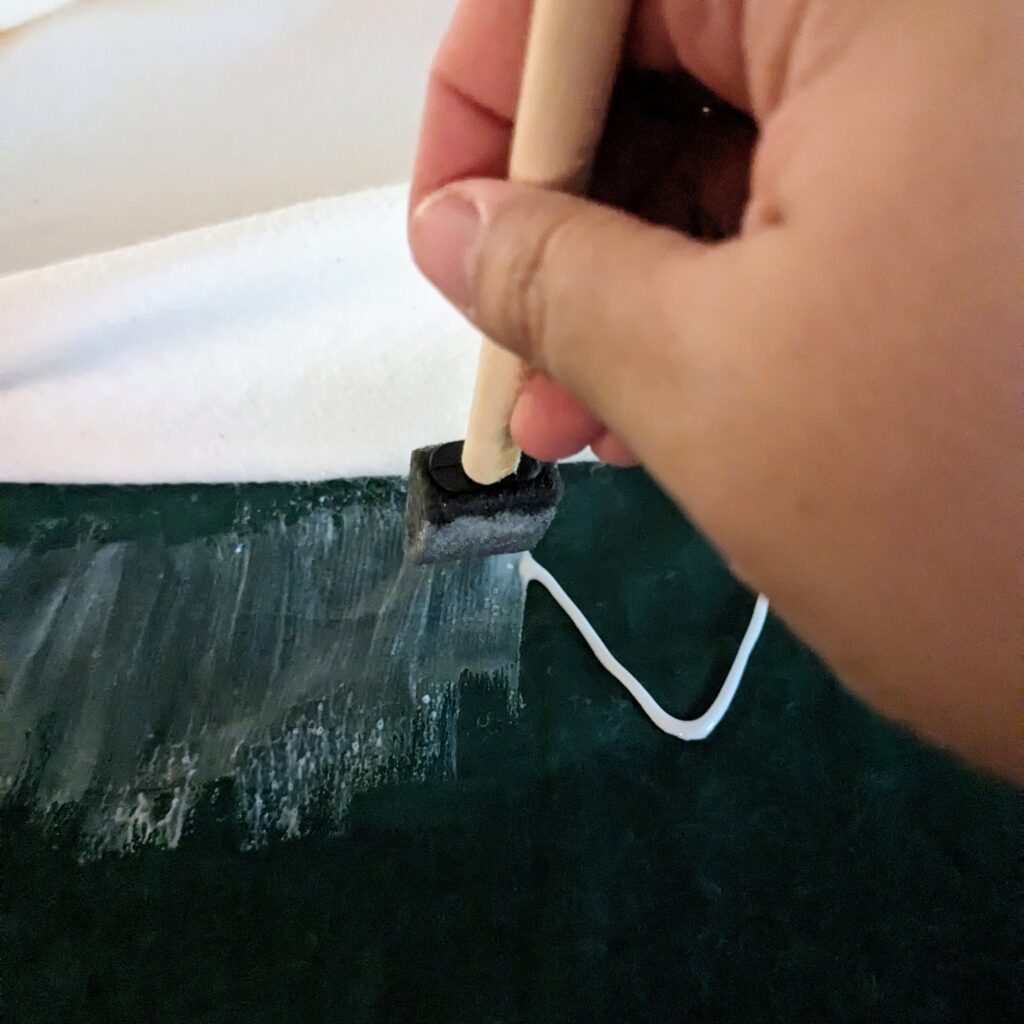
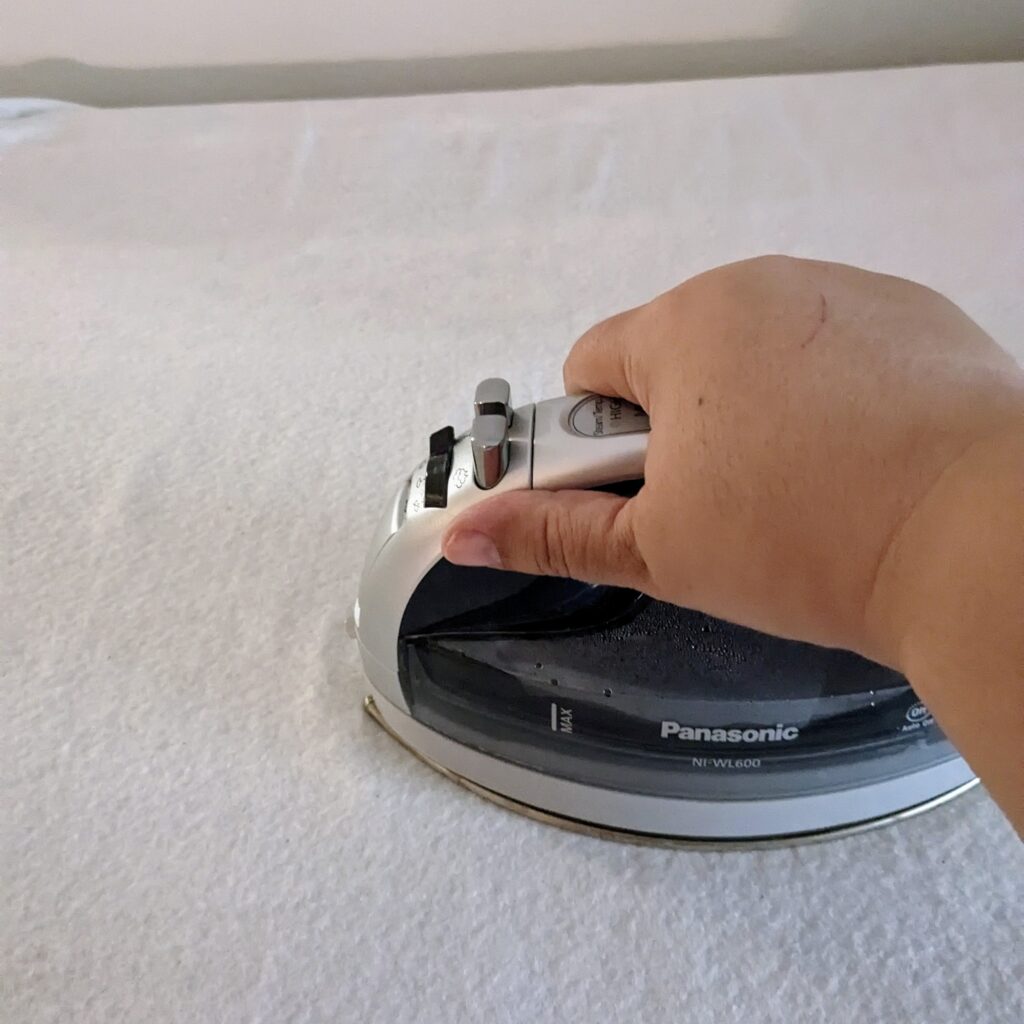
And then smoothed the batting over the glue sections and then pressed it with my cordless iron to set the glue.

Uh oh!
Now I will never EVER tell you I am an expert in anything. Why? Because I’m not! I’m learning along with all of you as I try new techniques. Plus this blog is about my wins and my horrors as I learn how to do things. So, as I was pressing the glue basted sections I found that the section that I had just pressed was re-wrinkling. 🤔
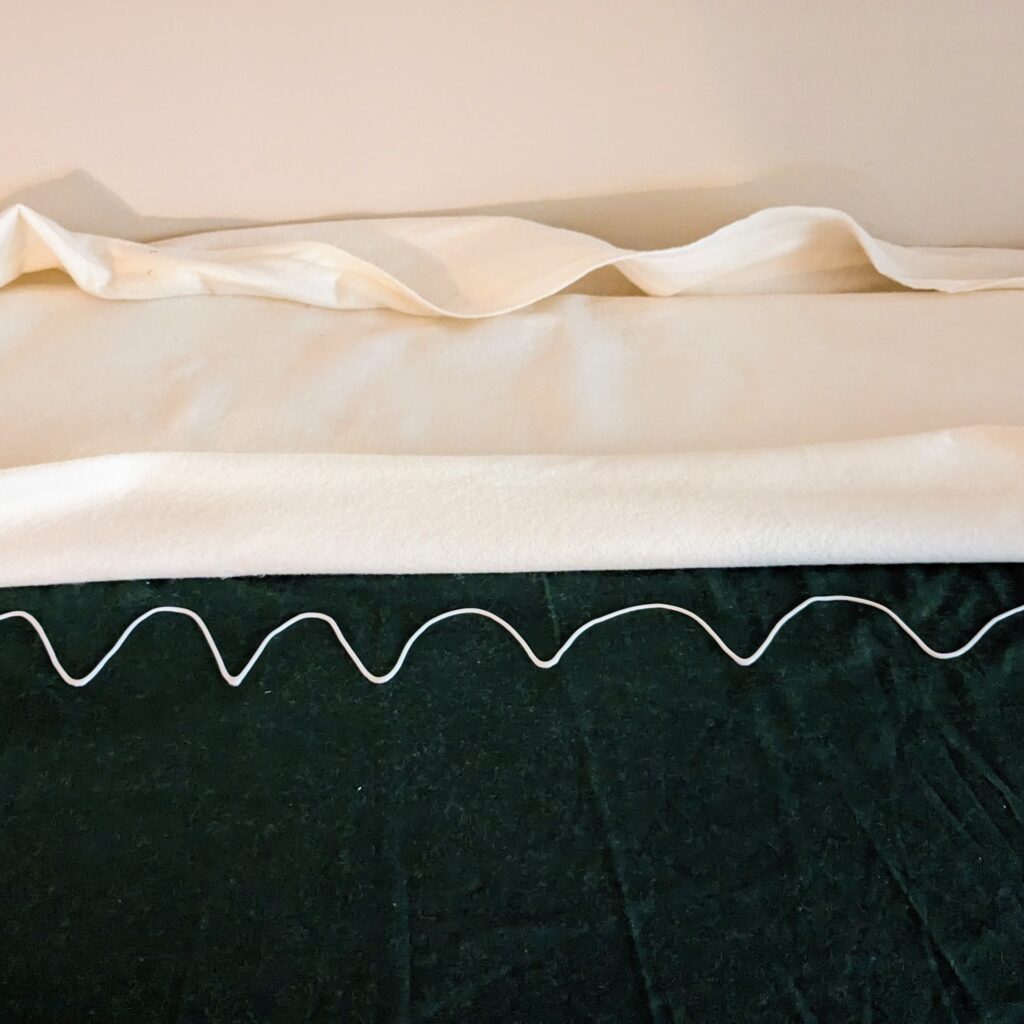
That’s when I remembered that I should have had the batting down on the table and the backing on top! So I turned everything over and saw this mess!
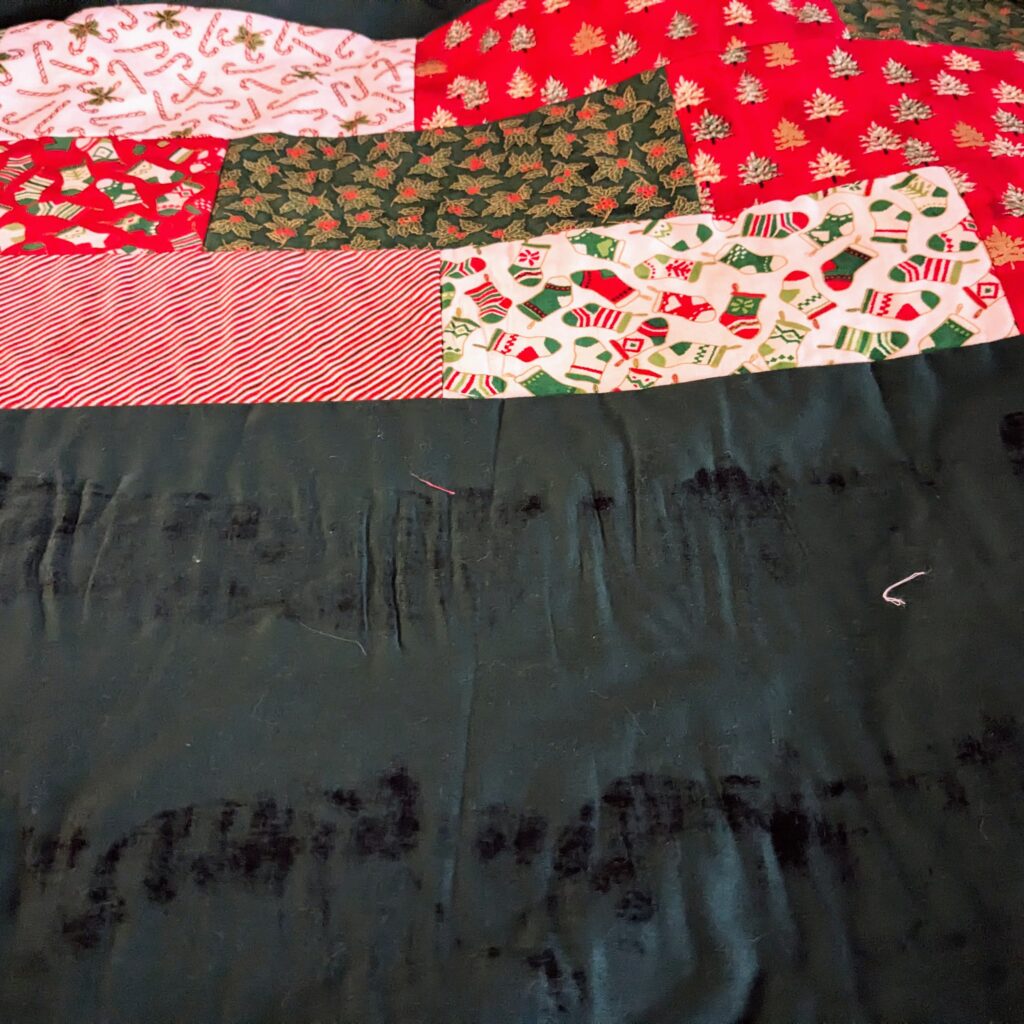
I am using WAY TOO MUCH glue, and because the fabric was on the bottom it was puckering. I pressed it as best I could to salvage what I had already done and walked away from it for a few hours. Here it is right after I pressed it.

I’m planning on trying again in a bit, but you know how you just have to walk away sometimes? I will use a lot LESS glue next time and I think it’ll get better. I am not going to worry about the tucks that are in it now (ironic that it has tucks!), because I think it’ll be better for my sanity! LOL.
Once I try it again, I promise to update on how my second attempt went. And hopefully, I’ll finally be able to quilt this months late gift for my sister!
Quilt Along Zoom Meeting!
Just a reminder that we are having a monthly Zoom meeting next week for the 2024 Temperature Quilt Along! How are your blocks coming? Have you finished January yet? I’m still working on my English Paper Piecing blocks, but I hope to have them all done for the meeting!
Sign up here to join me next week where we will get to show off our blocks and just have a great time chatting about our temperature quilts!
Happy Quilting!!