I attended my very first Come Out With Pride Orlando event October of 2023. I’d heard of Free Mom Hugs, and of course the event, but wasn’t able to volunteer or attend the event before. Finally, I decided it was past time I got out into the world and help spread some love and hugs!
The event was fun, inspiring, and emotional in a good way. With the very first hug I gave, I was crying, they were crying, and when it was all done, we both felt better! I don’t attend as many FMH (Free Mom Hugs) events that I would like, but I am definitely planning on attending again this October.
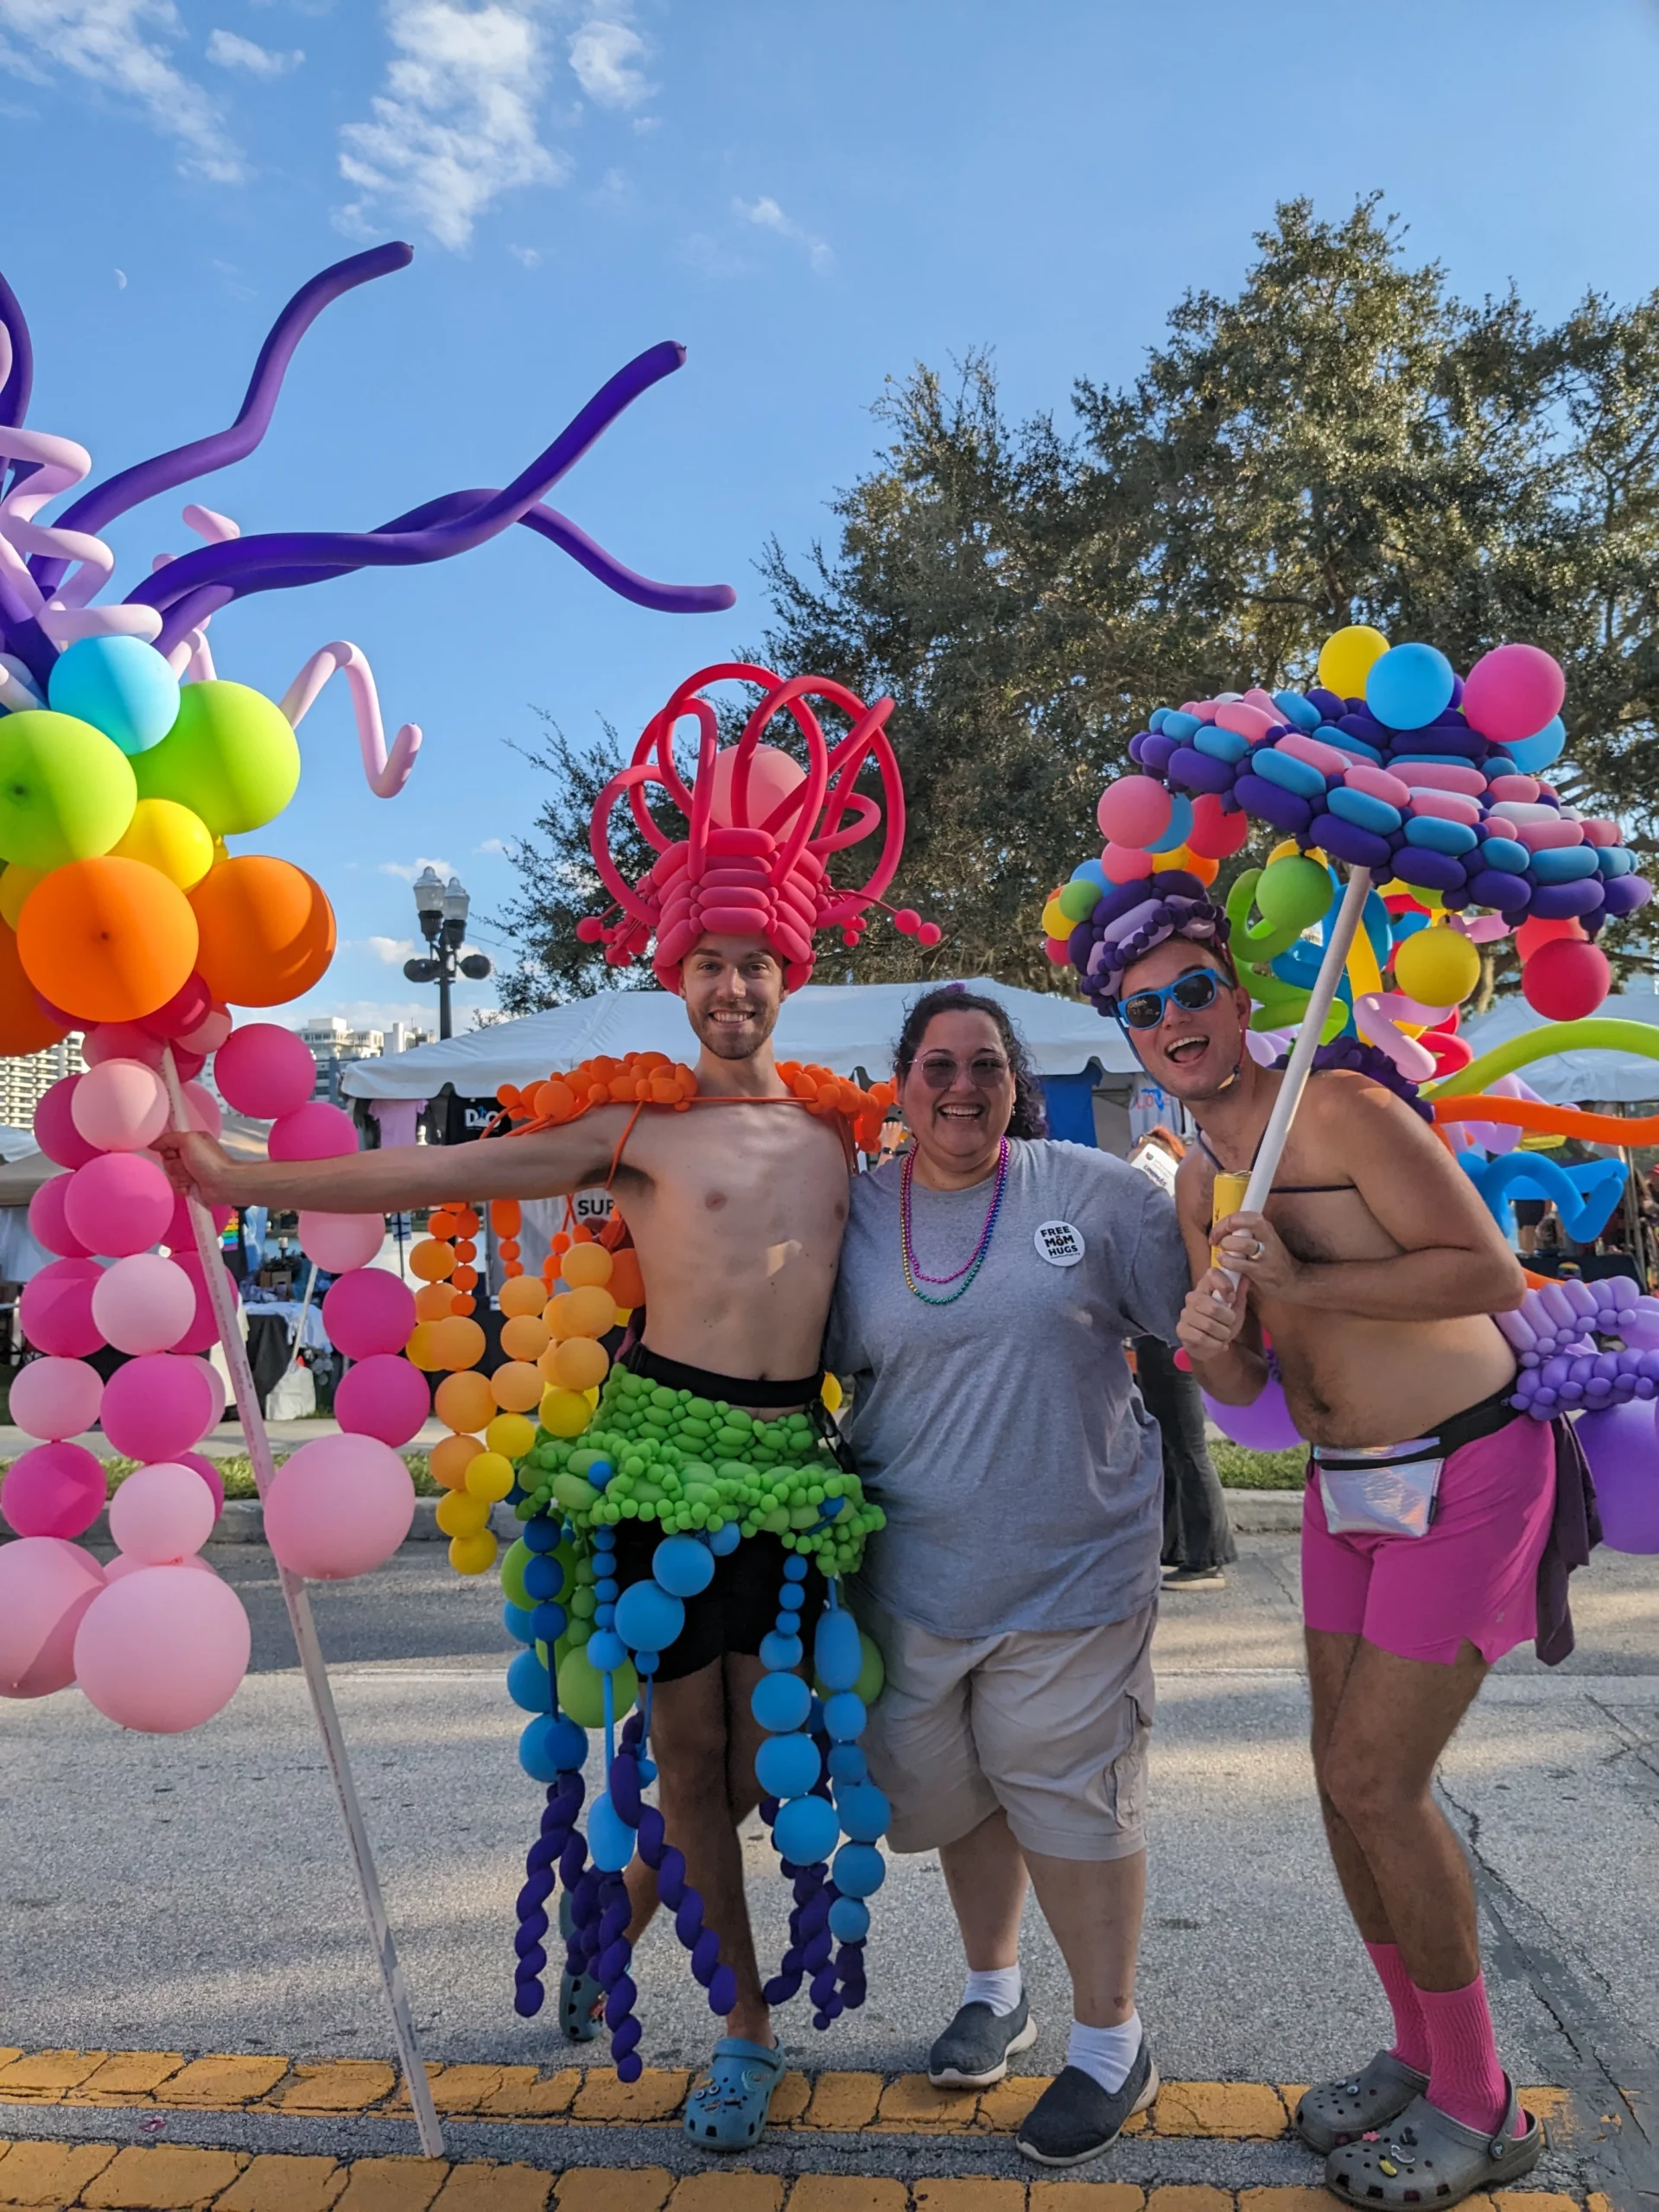
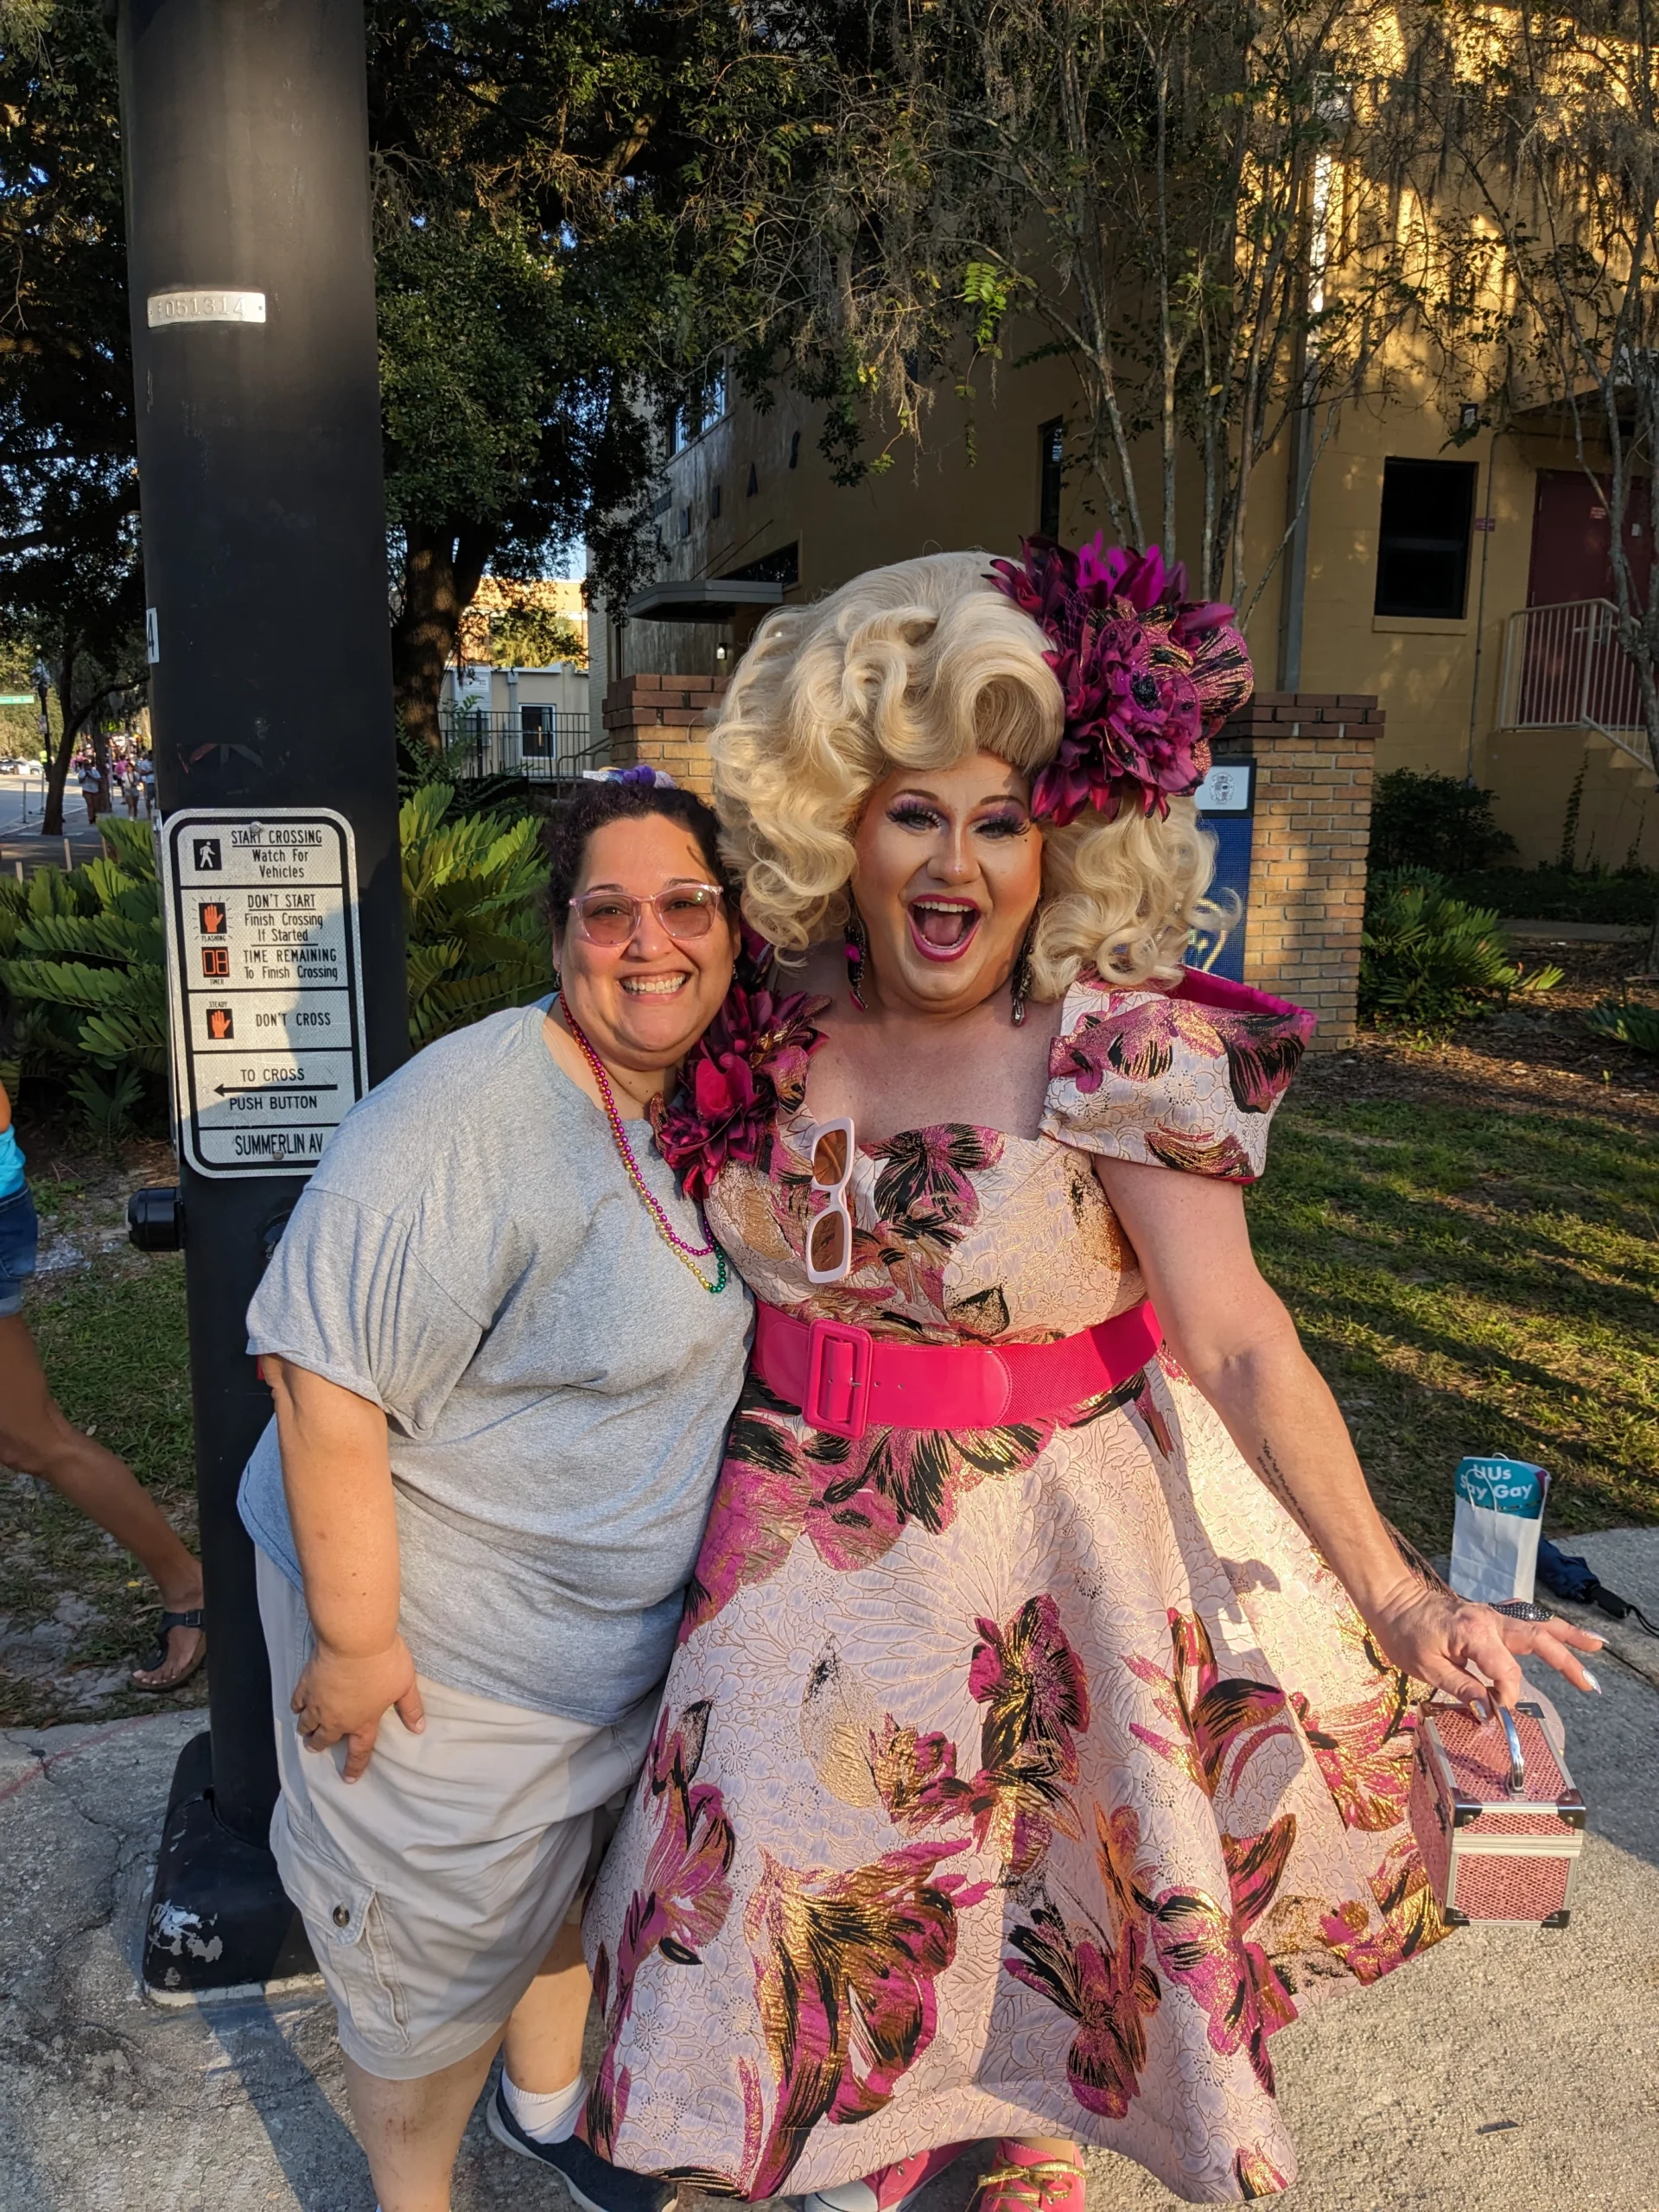
Here are a few pics from the event!


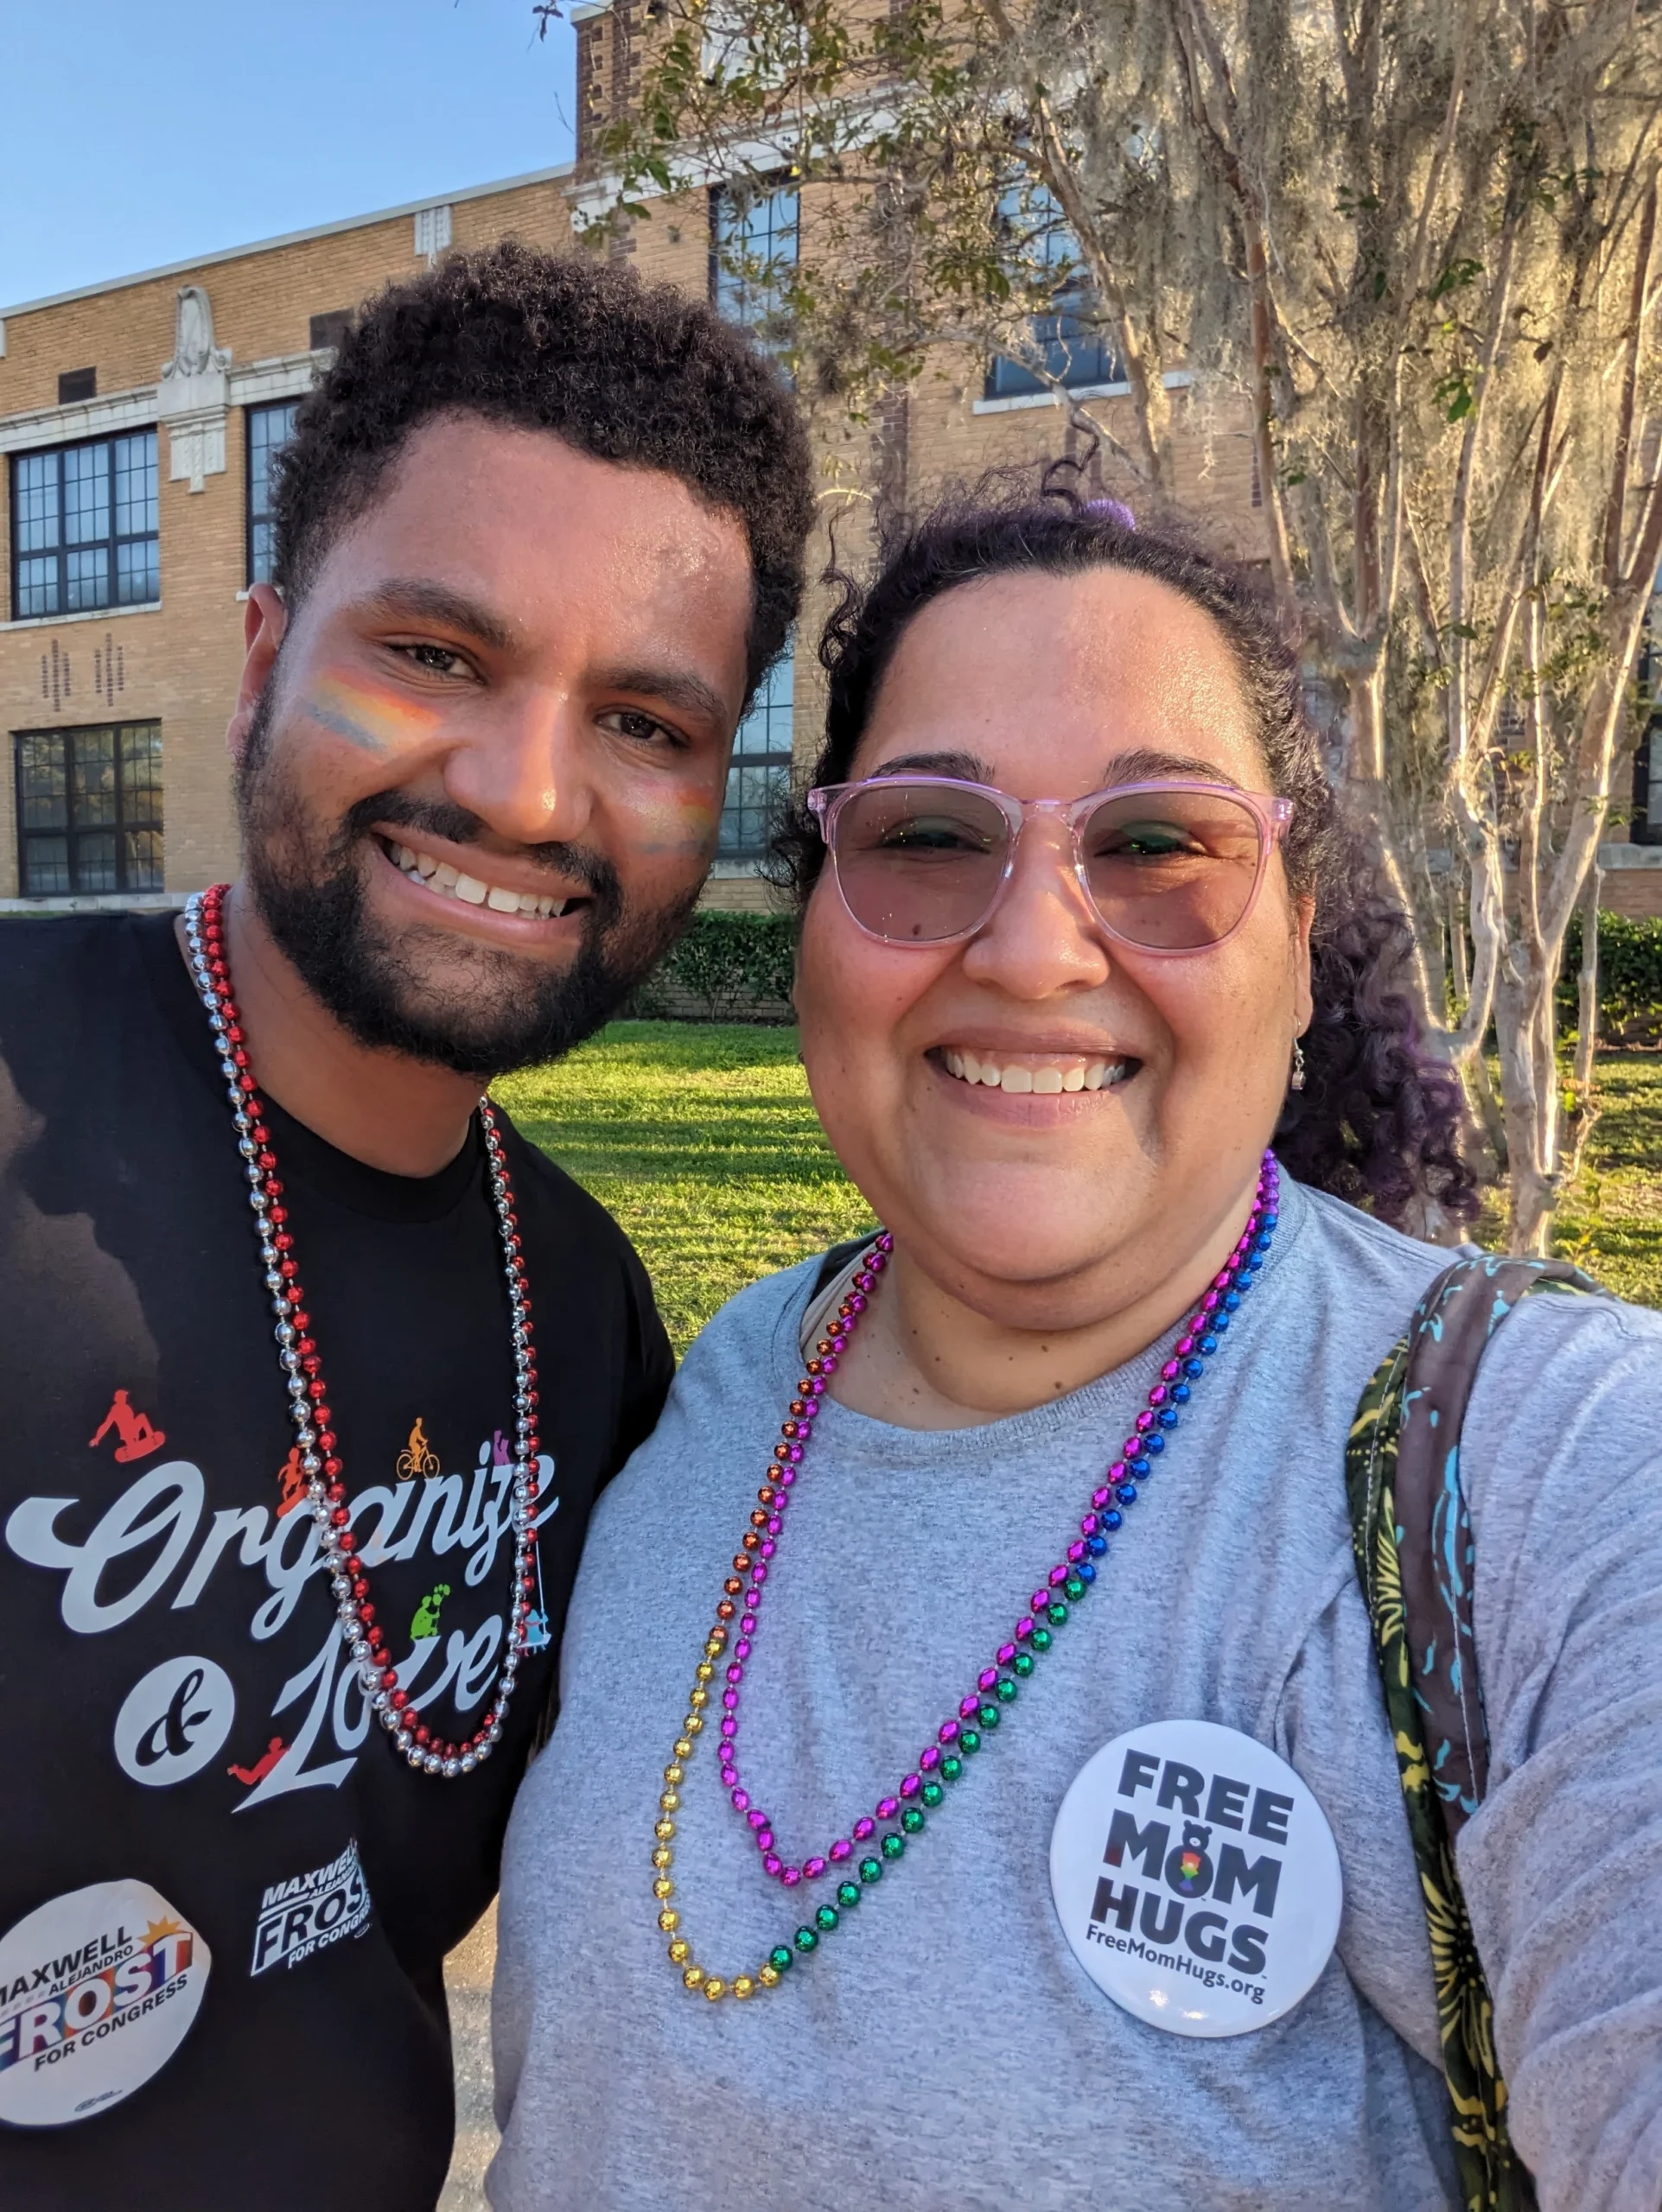
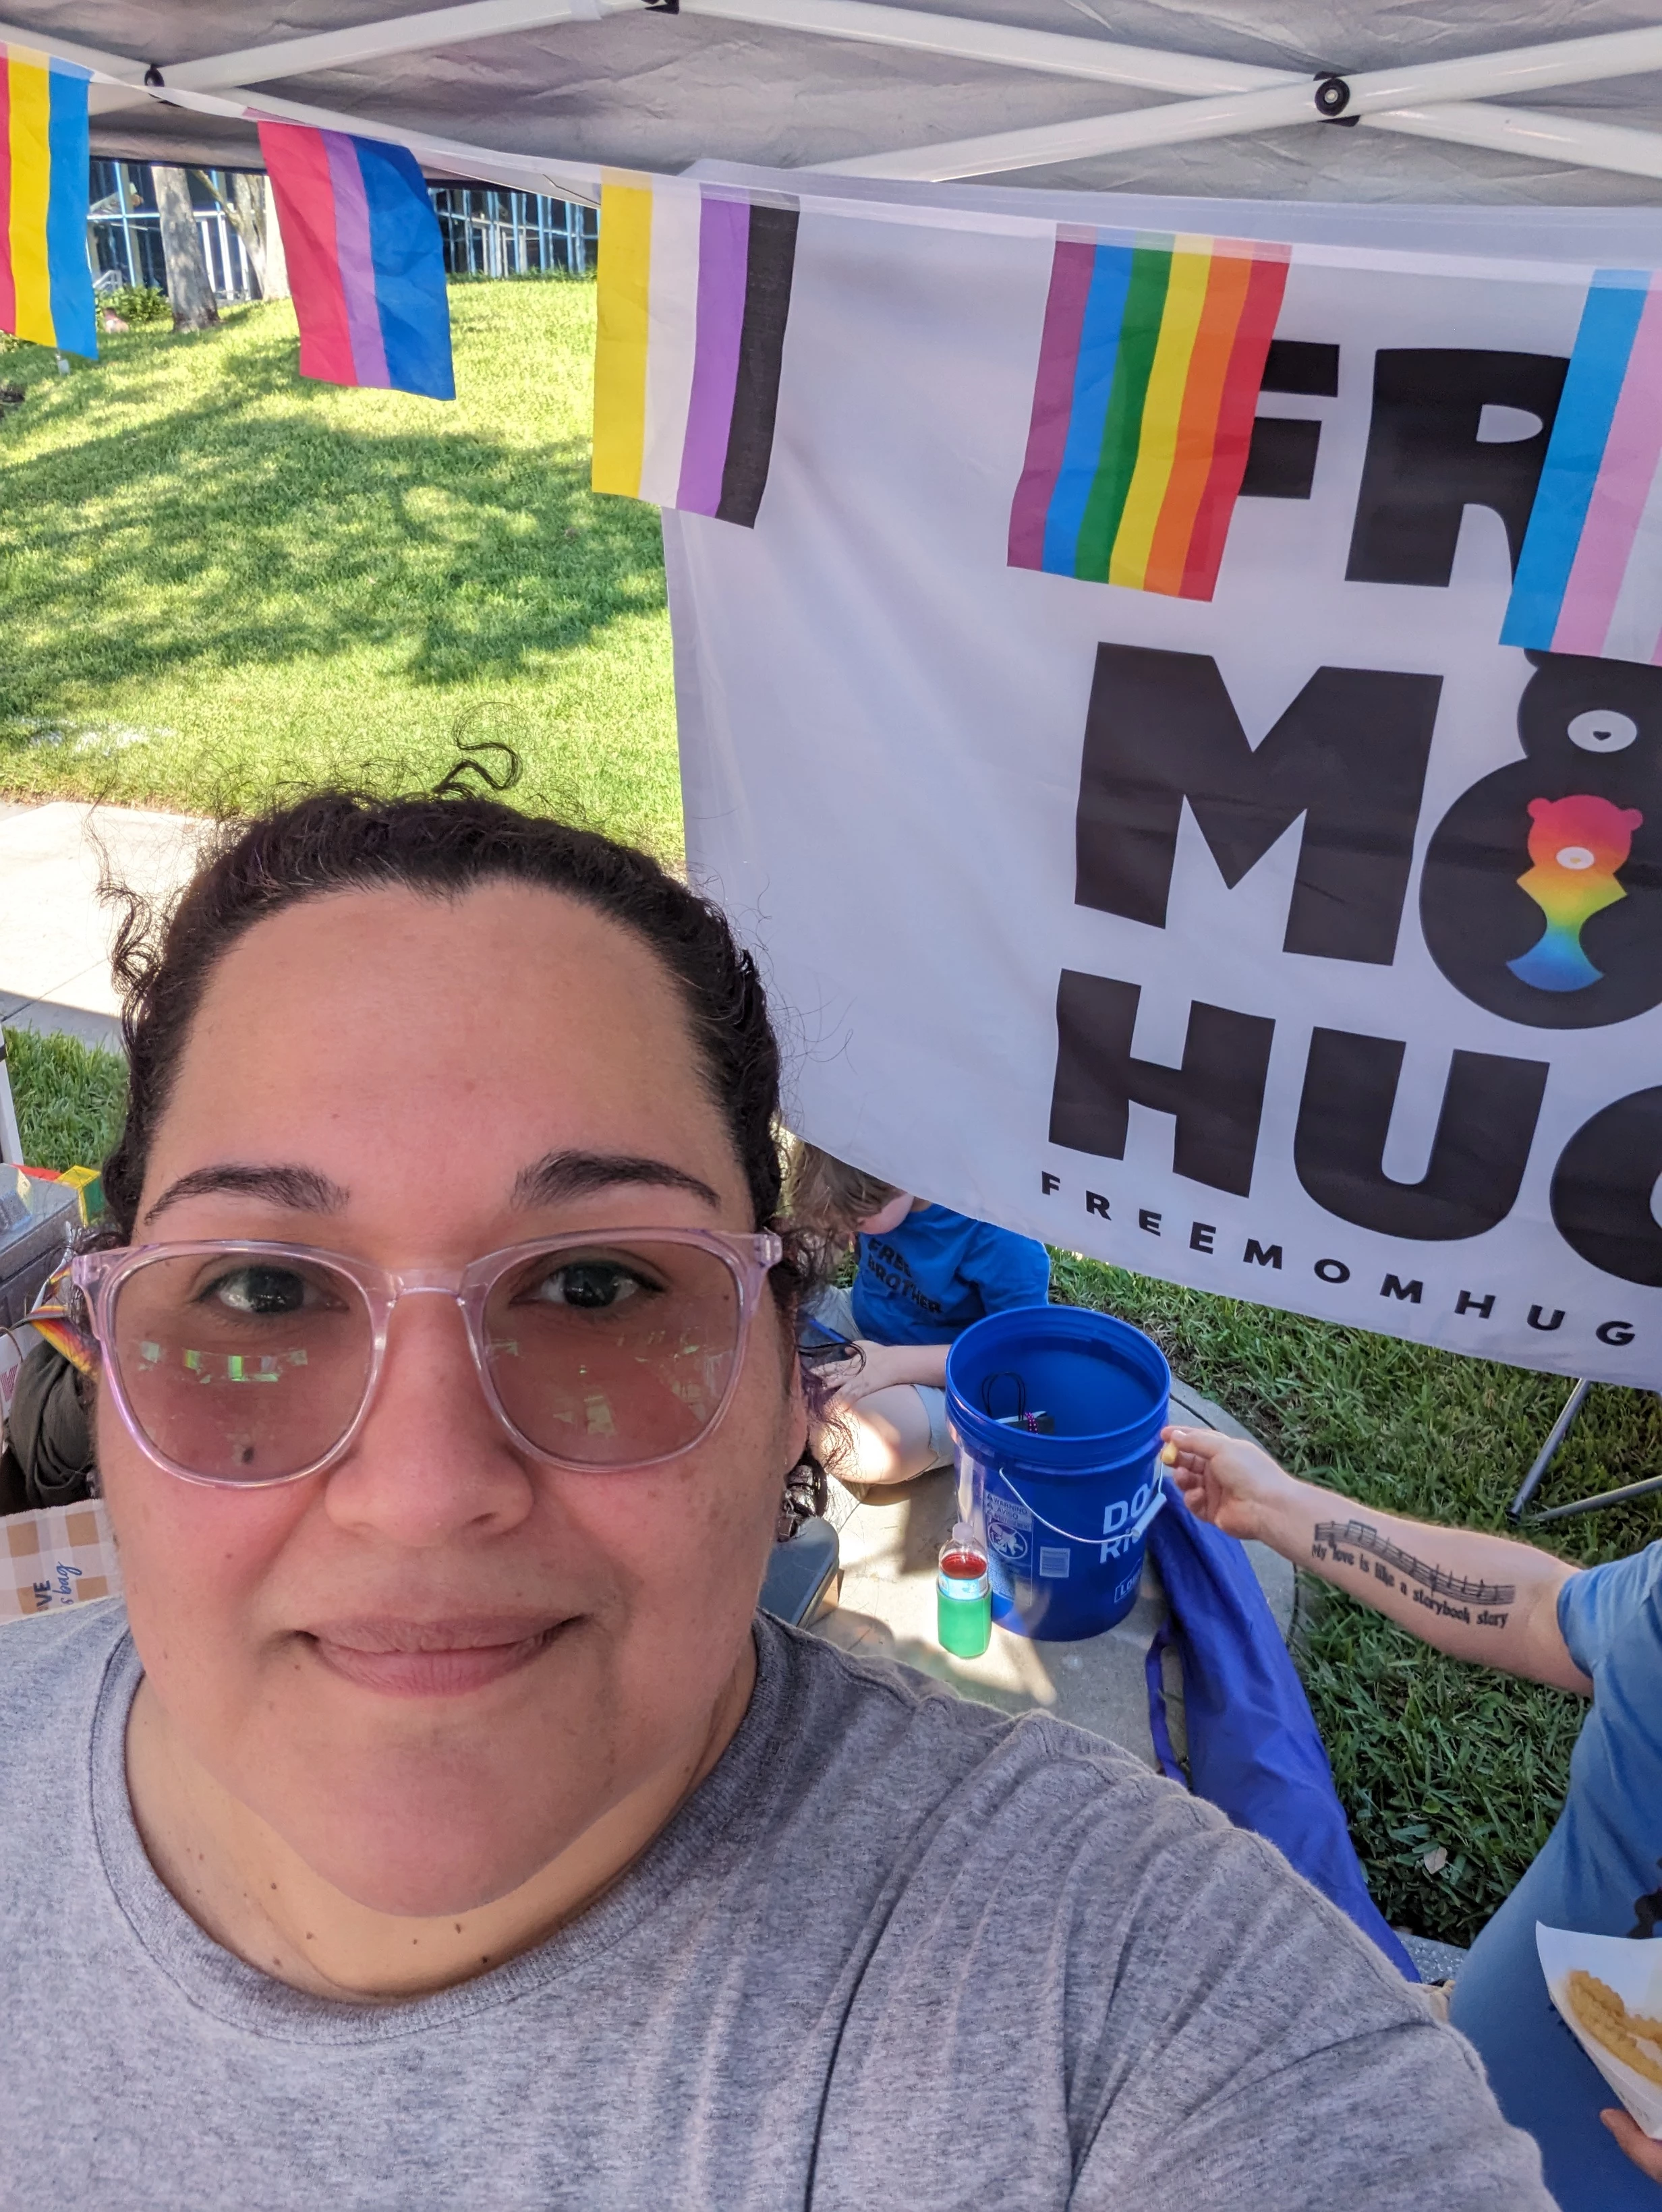


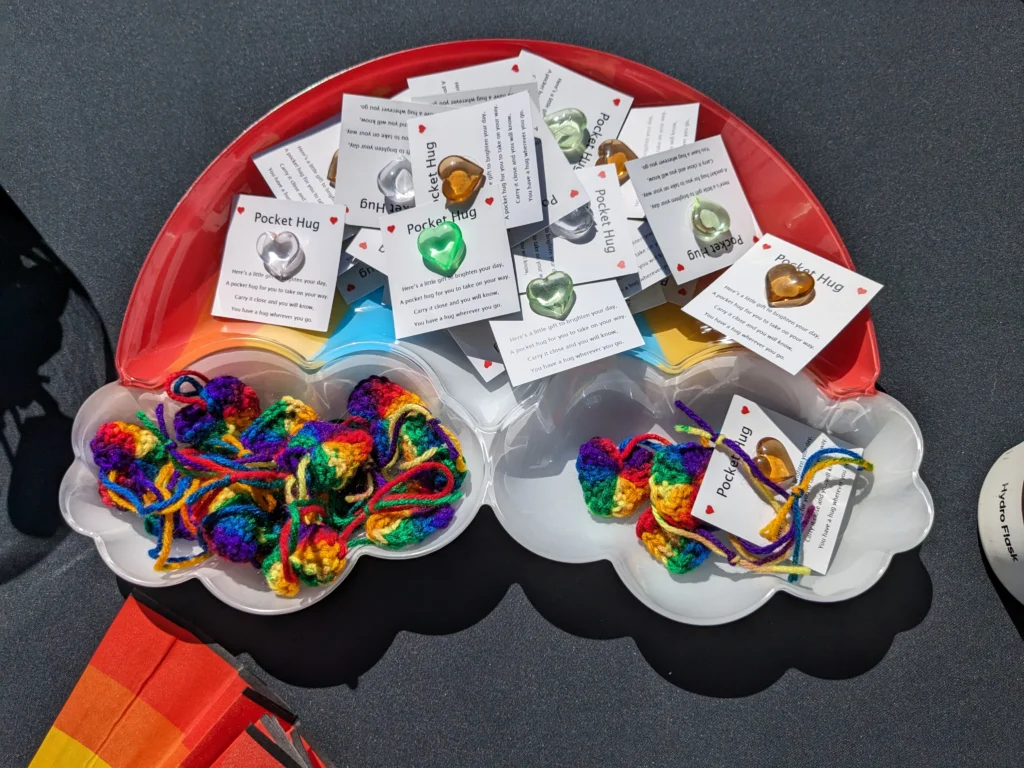
I loved giving out hugs and taking pictures with everyone. The other great thing that FMH gives out at events are pocket hugs. Anytime someone needs a reminder of the great hug they received at the event, or even just a tiny reminder that they are loved, they can pull out a pocket hug.
Making My Own Pocket Hugs
Since I can’t be at many events, I decided I needed to make some pocket hugs to help spread more love! I had been wracking my brain on how to make small (no bigger than 2.5” in any direction) hearts that were sewing/quilting related. Then I was gifted with an embroidery machine and in my search for patterns, I found this cute little heart pattern from OESD. The pattern is really for a stuffed Valentine’s Day conversation heart made with minky fabric, but I was determined to make it work.

AND THEN I found these heart shaped LGBTQ+ flags on Etsy! I was so excited!! I just tried to find them again on Etsy to give you their link, but their store is gone!! ☹️ I’m not really sure why as the file worked perfectly. The only thing is that the little tails of the hearts make it heard to put them on the pocket hearts when they are smaller.
Thankfully, I found out about the SewWhat-Pro software from an embroidery group. It helps me to resize patterns, delete certain stitches, merge patterns, and more! I really love the feature that lets me add a basting stitch to the inside of the hoop, which I’ve used a bunch of times already. I merged the files into SewWhat-Pro, made them smaller, placed three of them into one hoop, and removed the tails of the hearts on each flag.

Getting Ready For Embroidery
These pocket hugs are perfect! They are all made on my embroidery machine, which is great since I still haven’t finished cleaning and organizing my sewing room. Honestly, I still haven’t even finished unpacking my sewing machine and other sewing notions since I got back from my quilting retreat!! (Yup, be on the lookout soon for a before and after of my room… that is if I ever get it as perfect as I want.)
First, you need to cut a piece of cutaway stabilizer. The first cutaway I used was pretty heavy, and I realized quickly that I didn’t need something that heavy. The second time I made a set of hearts, I used a lighter weight cutaway that my friend gifted me when she gave me the machine, so I actually don’t know what brand it is, but it worked great!

Here’s my hoop with just the stabilizer. This video from Kay’s Cutz showed me how to use double-sided tape on my hoop and the pin method. Both have helped keep my stabilizer from shifting and really helped when I made these cute free standing lace sewing machines!
I cut 6 pieces of material, 2 for each heart, about 3” square. They aren’t perfectly cut as they were scraps, and I wasn’t too concerned if they weren’t really square, as long as they were big enough.
In The Hoop
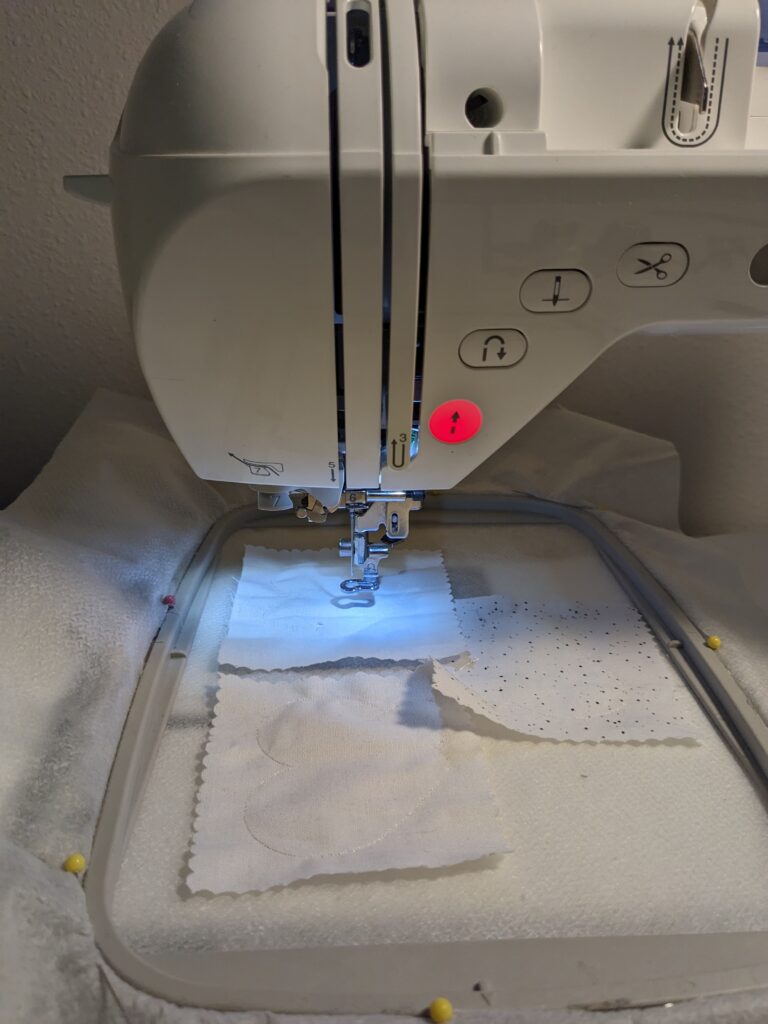
Once the hoop is on the machine, I changed the pattern in SewWhat-Pro to stitch a placement stitch in each location. Then it’s ready for the tack down stitch of each heart. This helps me make sure I have the fabric in the right spot for each heart. Here’s the hoop after the fabric has been tacked down for all three hearts.
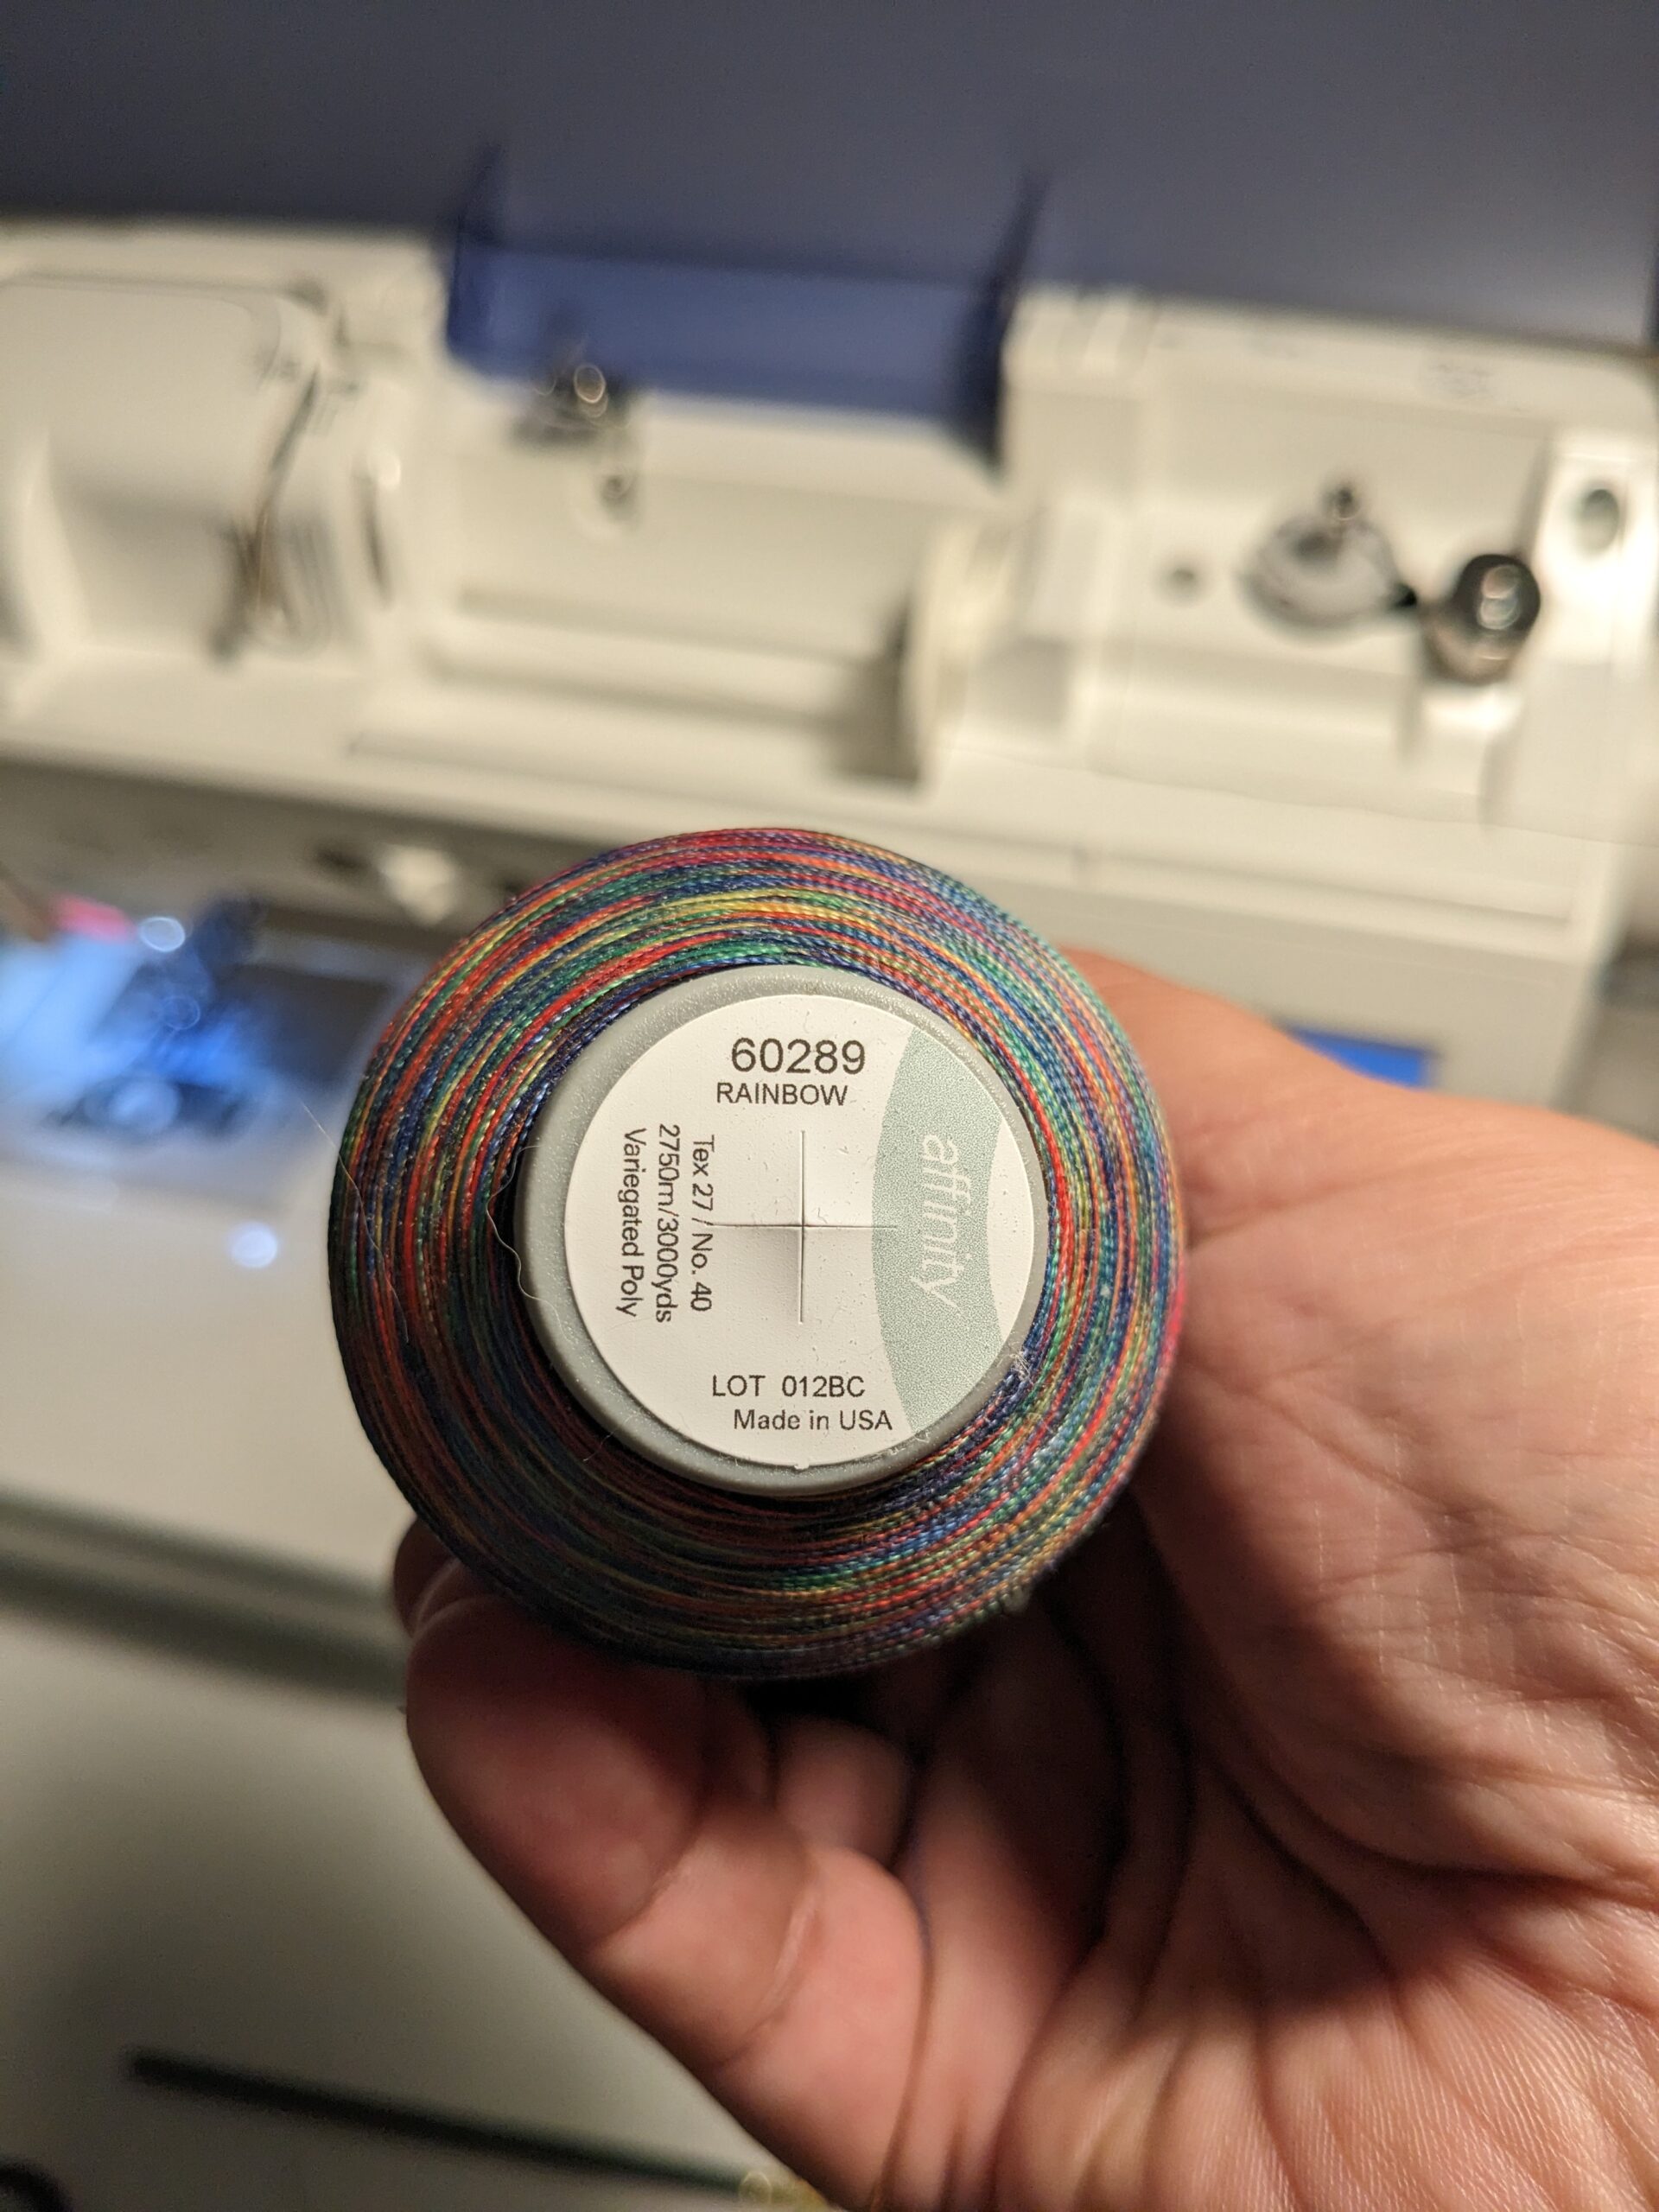
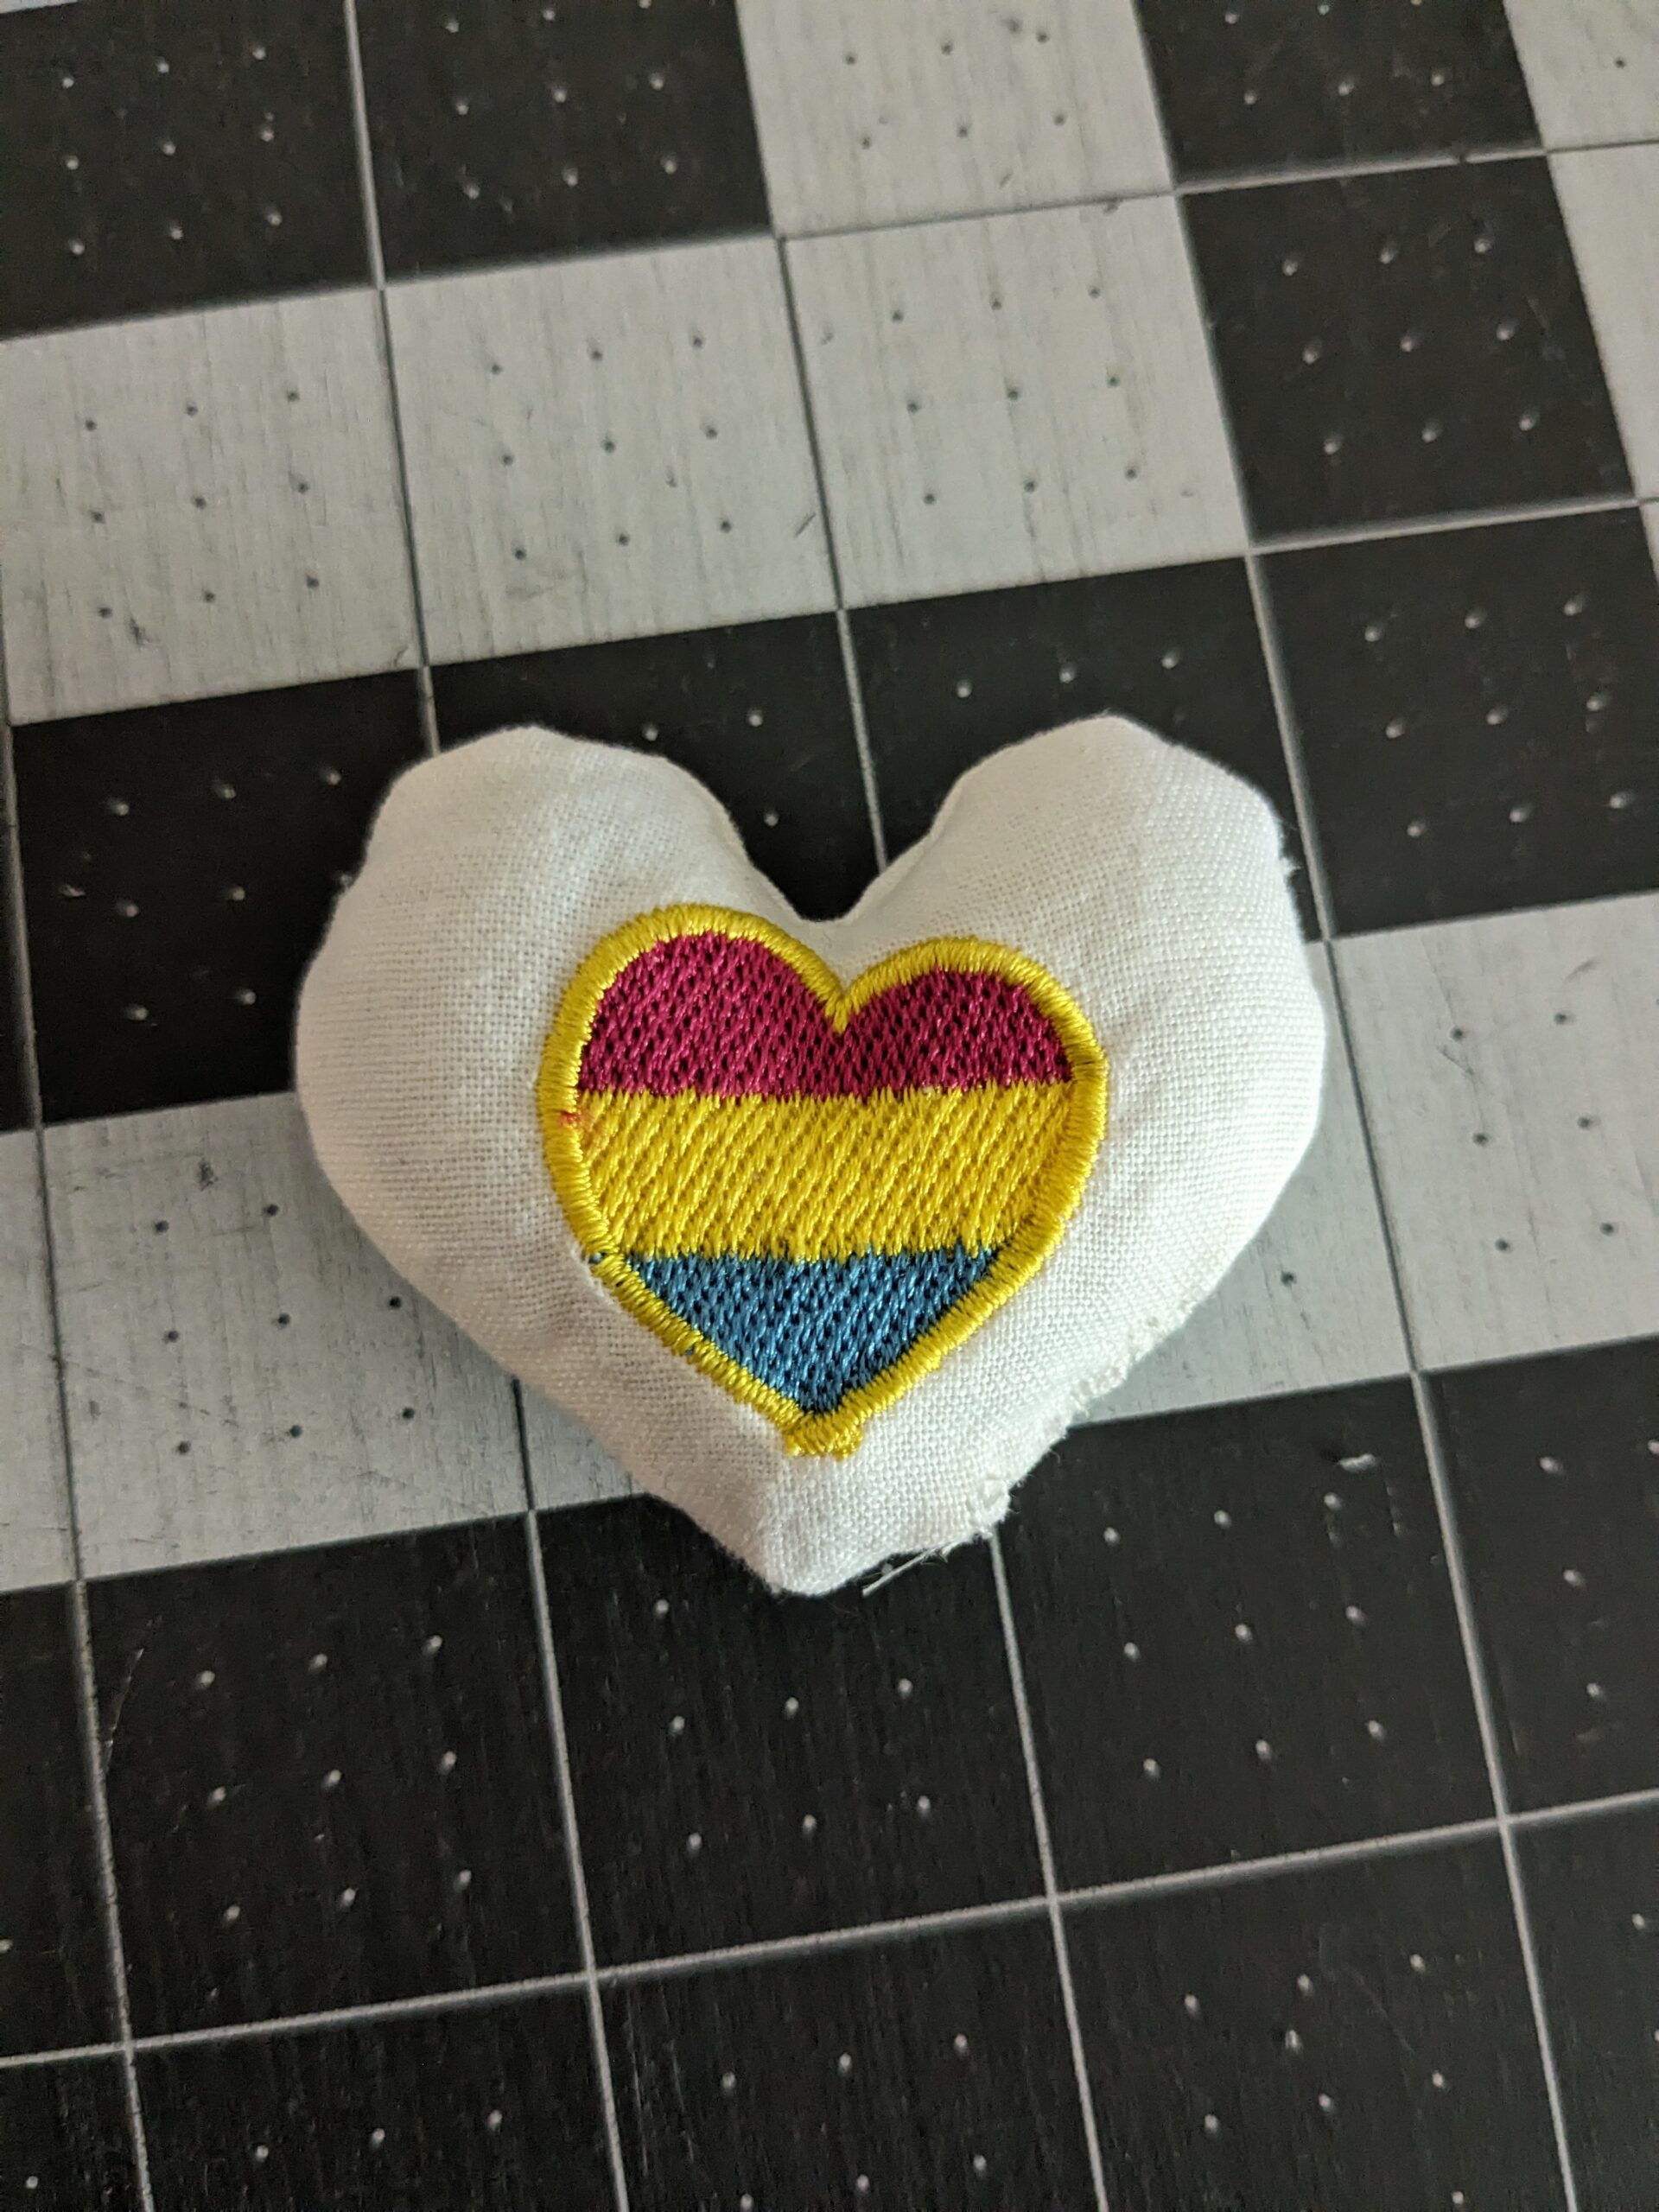
Next comes the actual embroidery! I haven’t finished all the pocket hugs that I plan on making yet, but with the embroidery file I purchased from Etsy, I have flags that represent: Asexual, Bisexual, Lesbian, Pansexual, Pride and Transgender. I even used some fonts I purchased and have added the words “Pocket Hug” to the heart for another version using this rainbow thread!

Once you’ve made it through all the color changes and the heart is done, now it is time to place the second piece of fabric for each heart. If the fabric has a wrong side and right side, it needs to be face down. Then the machine will stitch the seam or the final stitch.

Finishing the Heart

After the hearts are unhooped, it’s time to trim everything. First, I trim the hearts away from the stabilizer. I try to trim about a 1/4” seam allowance around the hearts, but I am eyeballing it, so it definitely isn’t exact. Then I trim the cutaway stabilizer, and any jump stitches or thread tails. Lastly, I snip into the seam allowance to help with the curves.
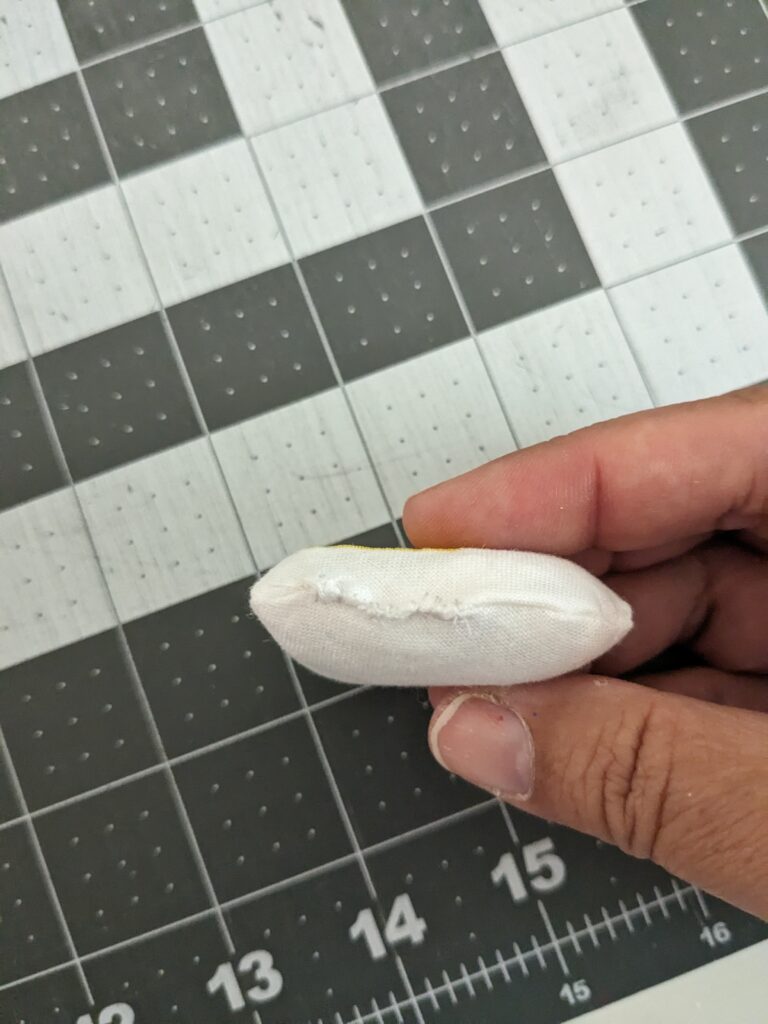
Then comes the super hard part… turning the heart inside out! They are so small compared to the original size of the pattern that it is really really hard to turn the right side out. I finally realized it was easier to do this with tweezers. That way I can really grip the opposite seam of the hole in the heart and pull it right side out.

I was using my purple thang to turn the seams, but since I got back from my retreat I’ve been using the handle of a paintbrush, which works great too! Once it’s turned right side out, then it’s time to stuff it! I’ve been using up some Poly-Fill that I bought ages ago that I’ve never used. I guess it was just waiting around for me to make these Pocket Hugs!

Sewing The Last Seam
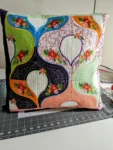
I was really happy with how they looked once stuffed…. but you need to sew that last seam. I think I might purchase some permanent fabric glue since my hand sewing is better when it is going to be invisible, like when making EPP (English Paper Piecing). But I know that even if they aren’t perfect, they are going to be appreciated, because they were made with LOVE!
Here’s one all done and sewn. I can’t wait to finish them all up and give them to the local Free Mom Hugs chapter to use at the next event!
I hope you enjoyed this post and find a way to sew/quilt/embroider some of your own love to spread around!
Didi