I have been mesmerized by pixel quilts since I first saw Dee from Pixel Quilts at the Grace Company’s Spring Fling. I had seen a basic pixel quilt that looked like the pixelated games we used to play as kids. Dee’s quilts were something totally different though! I dreamed of designing my own, but as we all know life, my son, and other quilt commitments got in the way.
A Must Have Pattern
Then I saw that she was selling the Father Christmas pattern on her website (you can get it from her website here) and I jumped at the chance to buy it! It reminds me of the old Christmas cards my parents used to send out when I was a kid and the nostalgia took over. I had no idea when I was going to make it, or for who, but I knew I HAD to have that pattern.
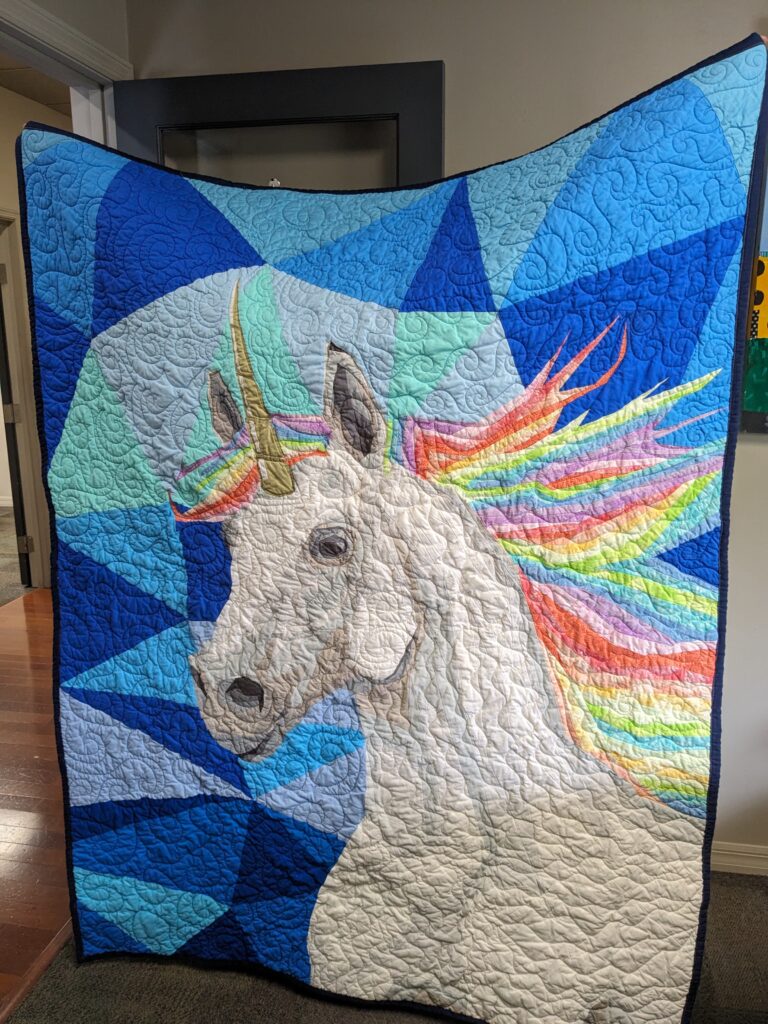
Of course, I was in the middle of making the Unique-orn quilt (pattern by And Sew I), as a commission quilt for a friend. So I had to put this pattern to the side until I could give it the attention it deserved.
Finally I decided that I wanted to make the Father Christmas quilt for my sister. Her birthday is December 27th, and she told me that when she was little she thought all the Christmas decorations were for HER birthday!! How stinking cute is that! She’s older than me (I’ll be nice and not say by how much, lol), so I wasn’t around to see that.
Needless to say when your birthday is 2 days after Christmas, you get used to having your birthday associated with Christmas. I felt she wouldn’t mind a Christmas themed quilt for her birthday. Unfortunately, I decided to make this for her literally a few days before her birthday! Crazy I know, but not too crazy since she is forgiving and wouldn’t mind it being so late.

Piecing the Pixel Quilt
When piecing this quilt I learned a lot about making pixel quilts. I learned even more about my own abilities, or lack thereof. The adage, “done is better than perfect” has definitely helped me through all my quilting difficulties up until now. Well this quilt although forgiving once quilted and washed, definitely showed me that I need to be more precise in my piecing.
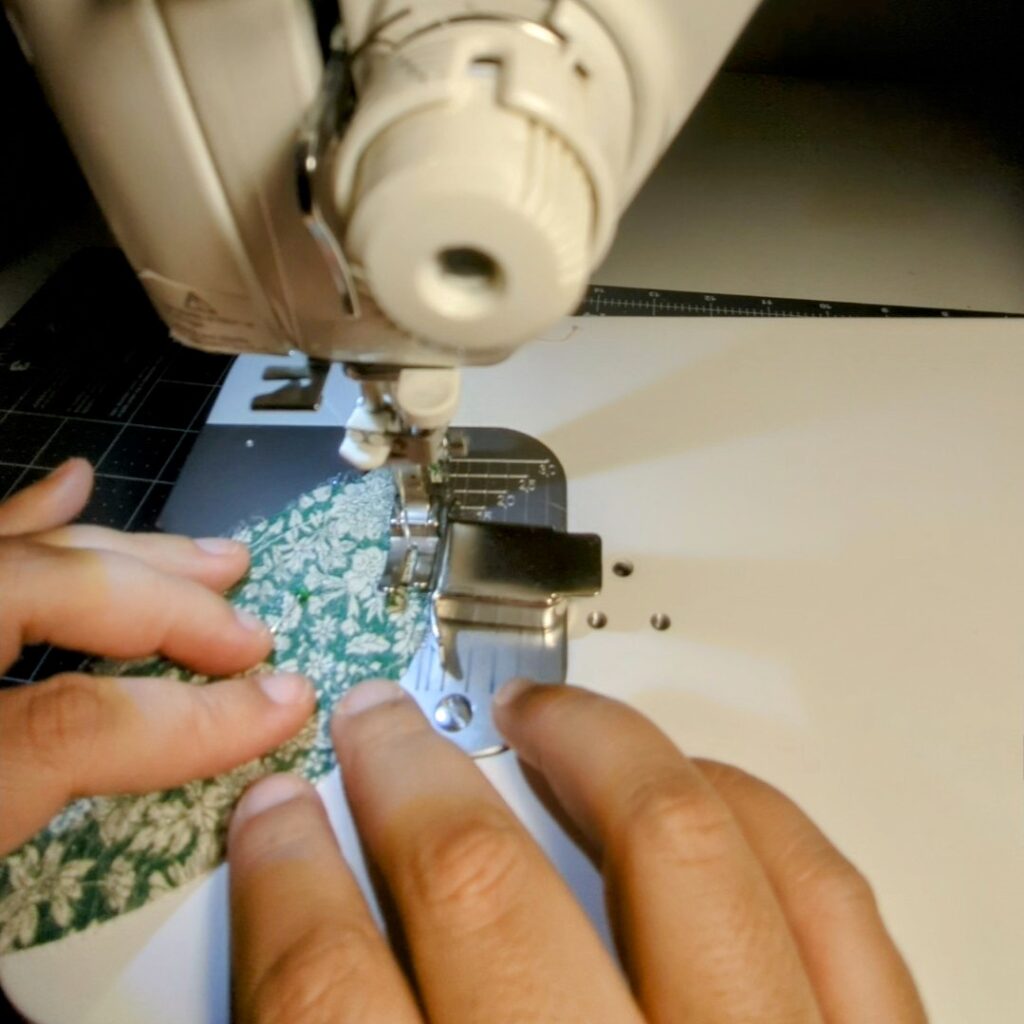
I’ve been using this magnetic seam guide for quite a while. I knew it wasn’t perfect, but I thought it worked pretty well for me. Since I used the June Tailor strip ruler to cut the fabric, I knew the squares/rectangles were cut really well. I couldn’t understand why I was having such huge issues with my blocks all lining up.
Also, I was having issues when I had to take the seam guide off my machine. I was trying to finish up a few of my flying geese for my temperature quilt. They are made using foundation paper piecing, so I had to take the seam guide off.
Well once I took it off, I freaked out a bit. I didn’t mark EXACTLY where it was! I tried to line it up by taking a block I had already sewn and lining it up to the needle hole.
Compensating foot!
Then about halfway through the rows, I just about smacked myself in the head. I HAVE A 1/4″ COMPENSATING FOOT! Not sure how that little fact escaped me, but it truly was like a light bulb went off in my head. I use the foot to machine sew on my bindings to the back of the quilt. (To finish my binding I then use a 1/16″ left compensating foot to sew the binding on to the front.)
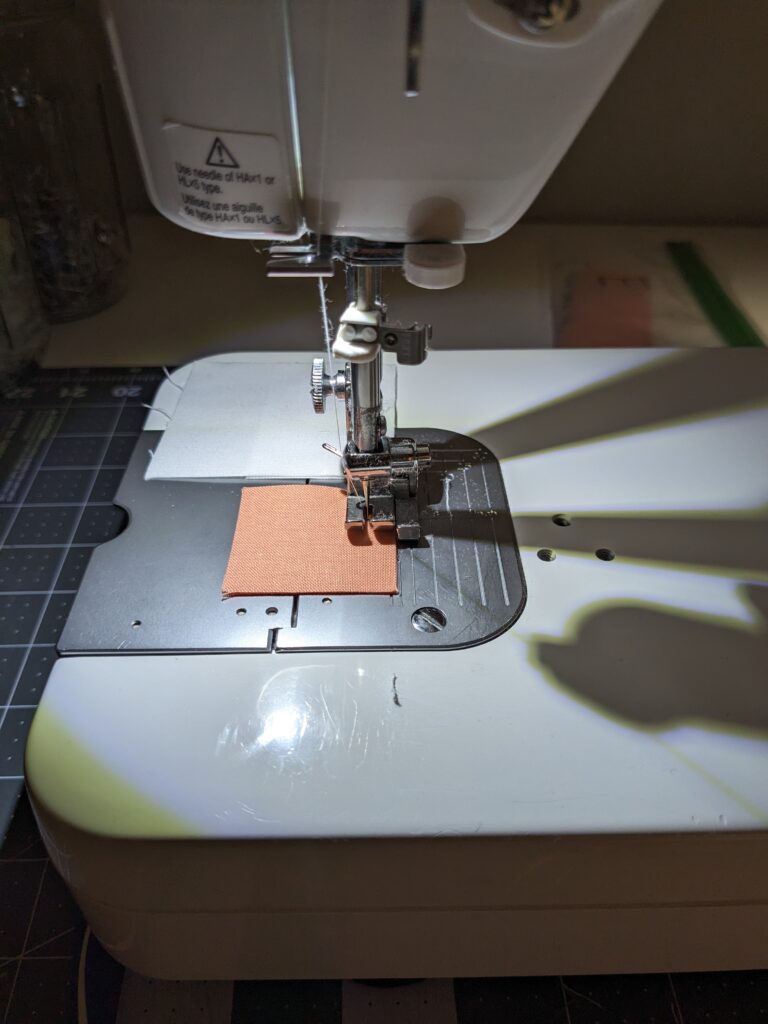
As soon as I switched my sewing foot the blocks started coming together so much easier. I was shocked! I mean, why did I buy the seam guide to begin with if it didn’t really work??? There are some people who complain that their seam guides move, but mine didn’t. The Juki is pretty much all metal so it definitely sticks really well. I’m sure it has to do with my imprecise placement of the seam guide. At this point though, I know I will NOT be using it for super precise patterns.
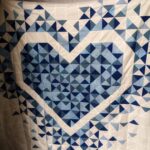
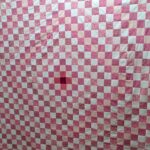
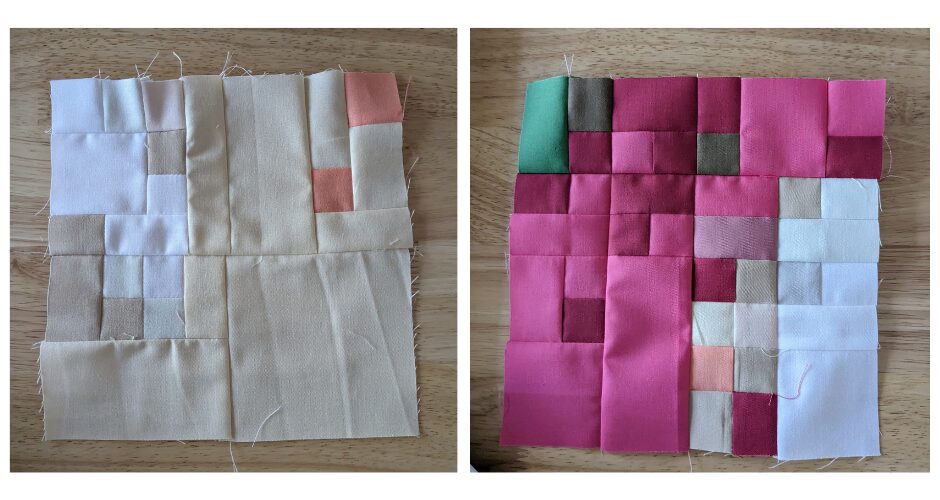
The picture on the left is a block in the quilt that I sewed while using the magnetic seam guide. The picture on the right is a block where I used the 1/4″ compensating foot. It’s a HUGE difference to me in how easy the blocks come together.

Putting the Top All Together
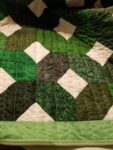
It’s so easy to lose sight of what the quilt top will look like when making the individual blocks. I really had fun laying out all the blocks one by one on my design wall to see the pattern come together. Here’s a video I made showing the quilt top come to life!
Quilting the Top
I haven’t had a chance to quilt this top yet. Hopefully it’ll be on my frame and done sometime next week. I am going to try something new to me for basting the quilt prior to putting it on my Cutie frame. Even if it doesn’t work out, I’ll make sure to give you an update!!
Just a 2024 QAL reminder! If you are still interested in doing a temperature quilt for 2024, here’s all the blog posts that I’ve done so far about the temperature quilt along. Stay tuned, because I’ll be posting a link to sign up for a February Zoom call soon!
Happy quilting!