Last week I showed you the quilt I made for the principal of my son’s school.
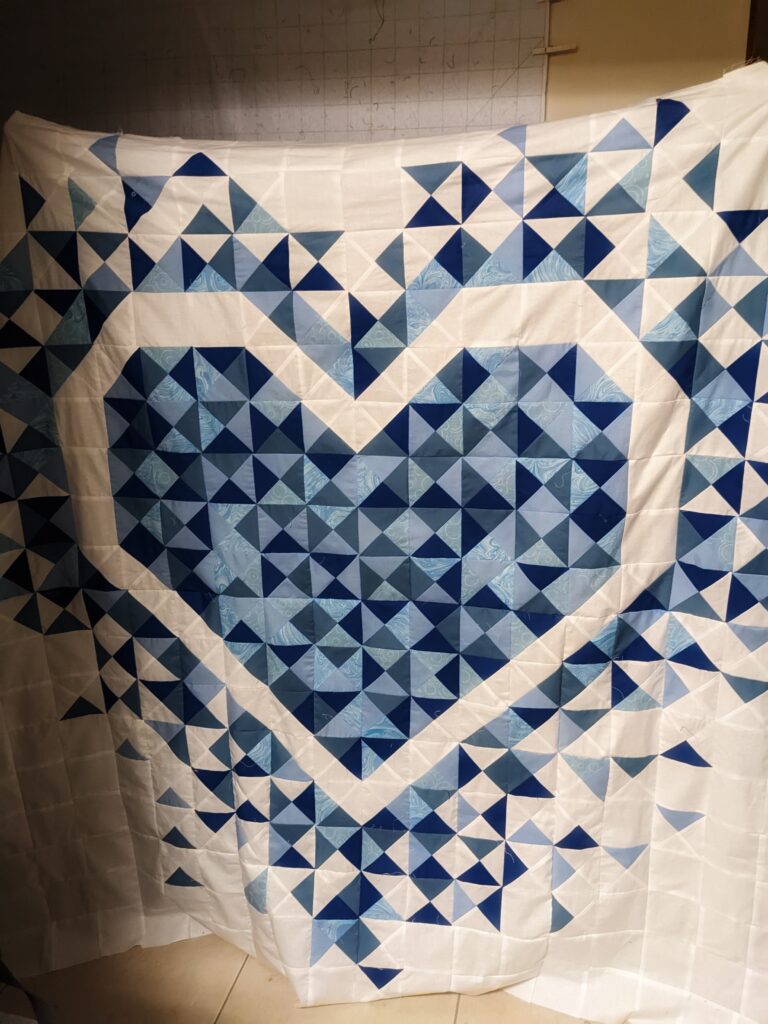
As he was graduating in December, I really wanted to make something that showed our gratitude for the wonderful years he spent at the school!
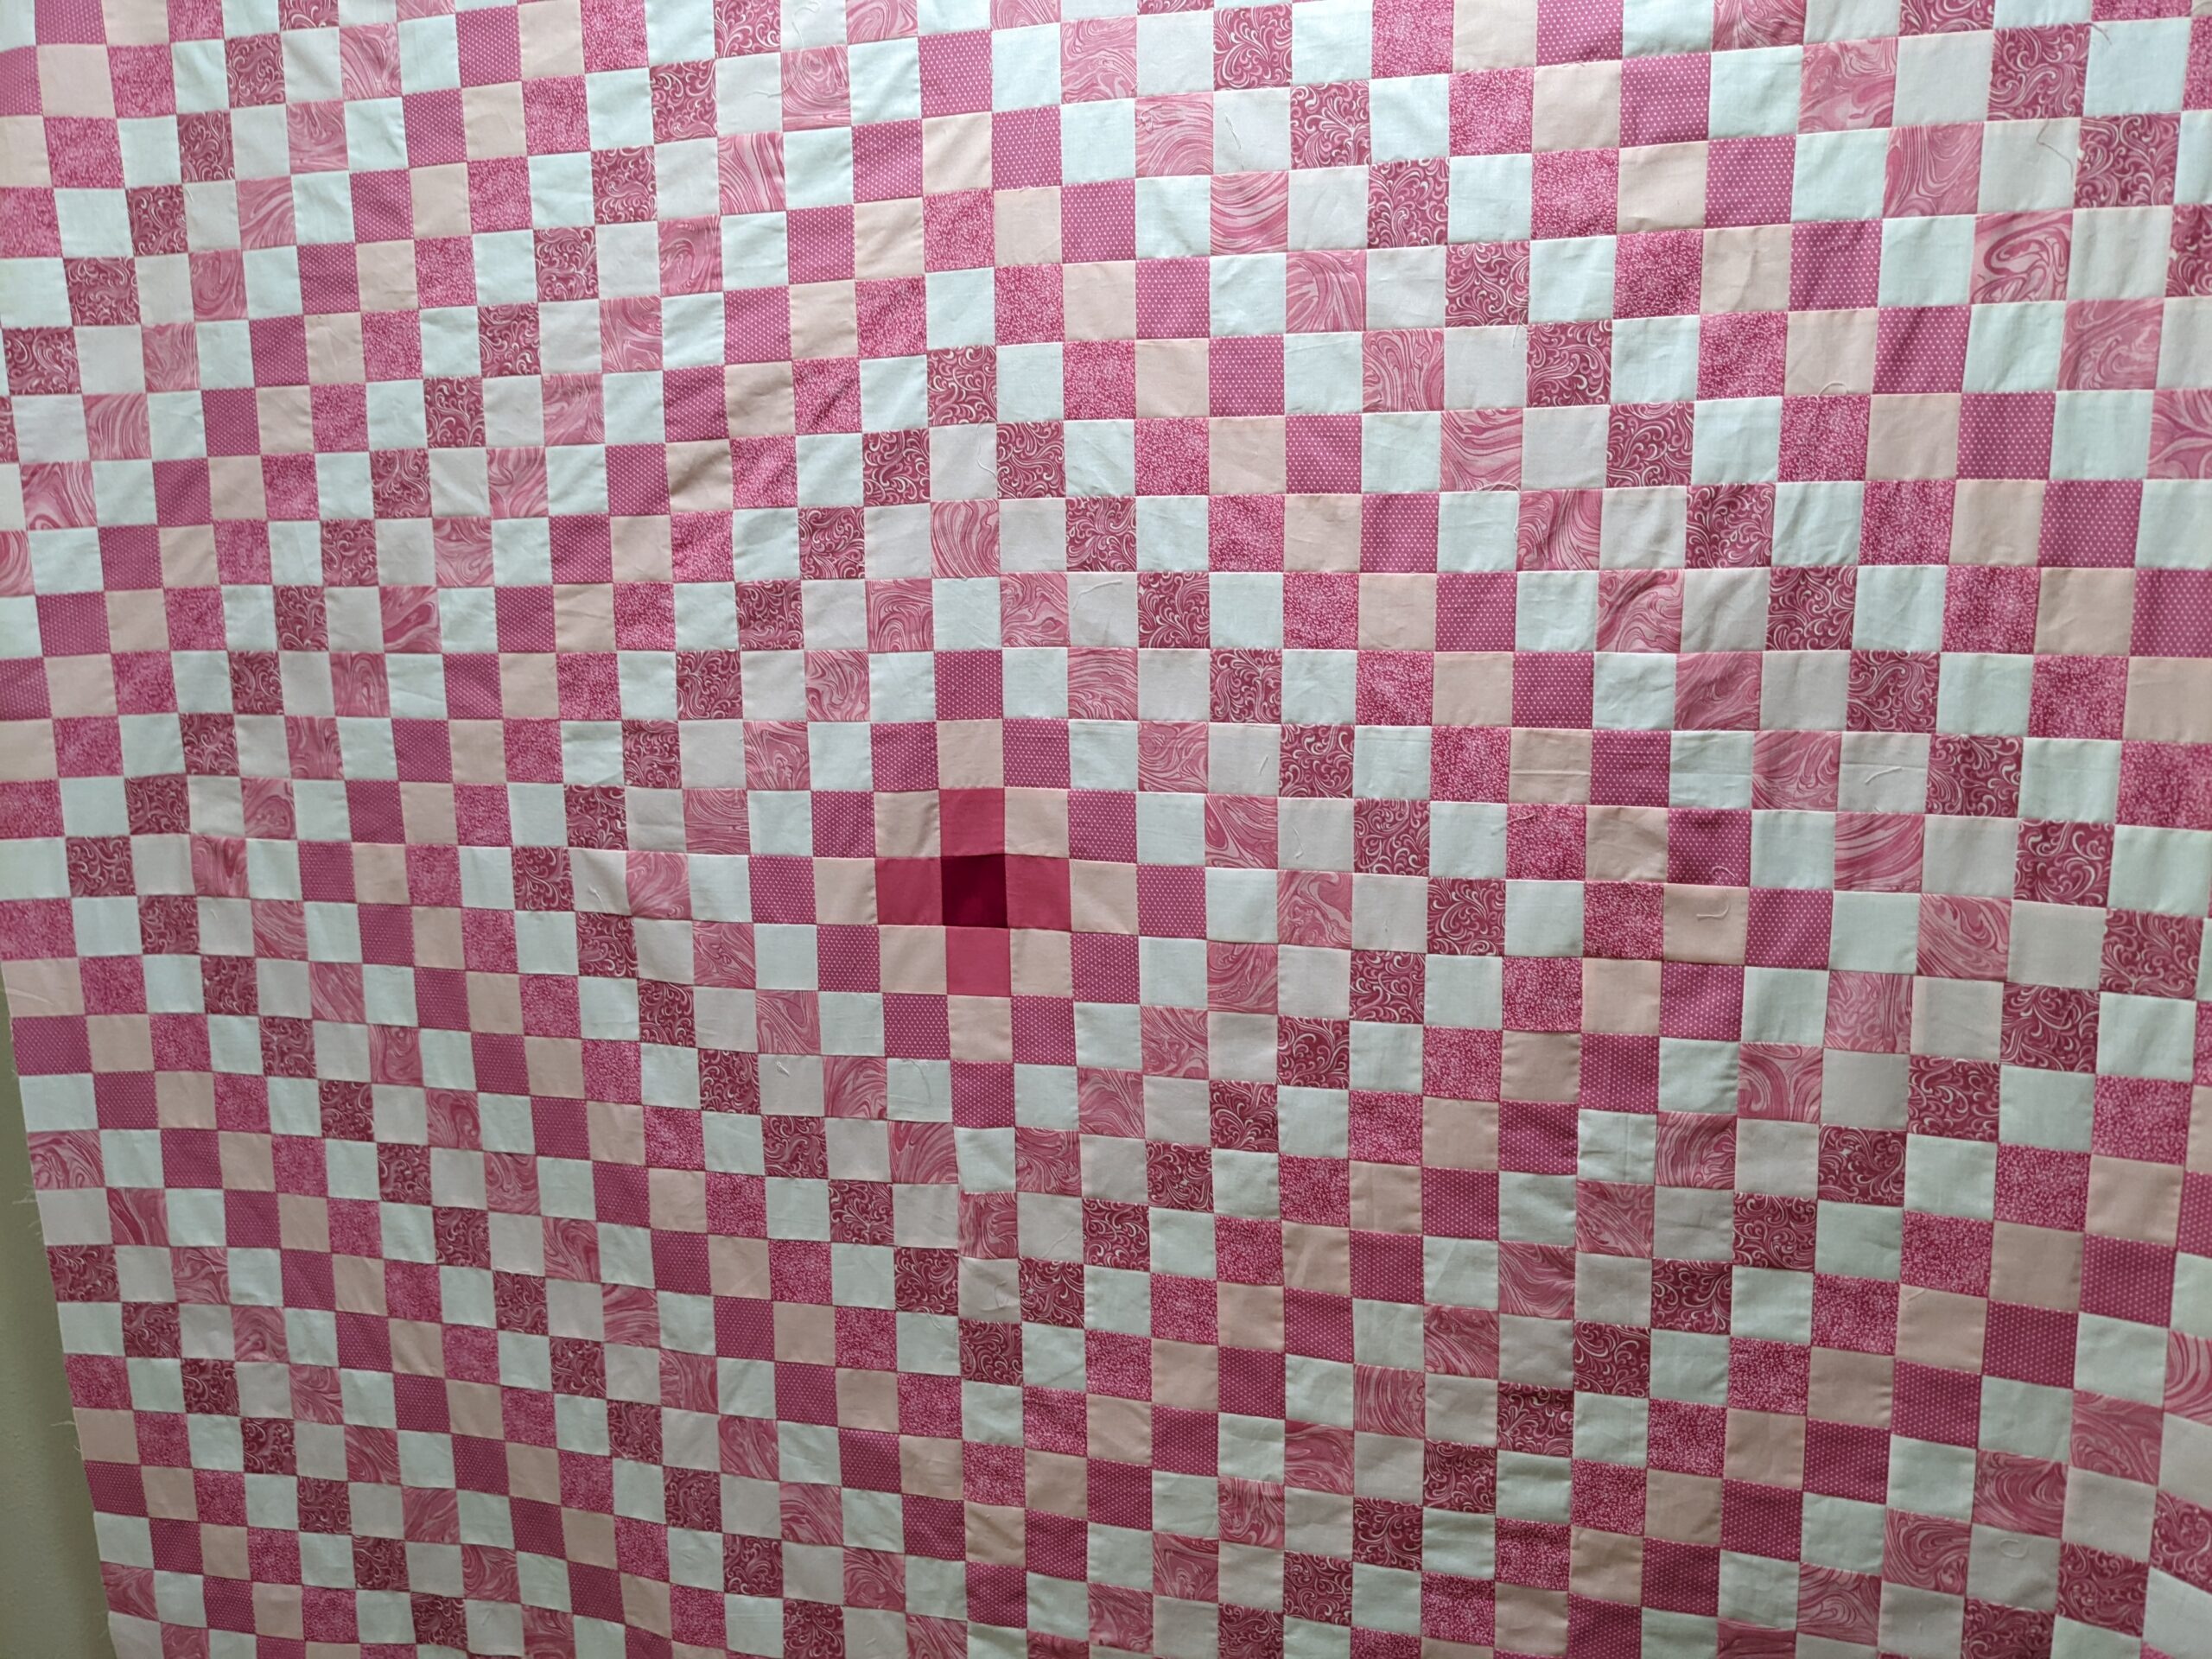
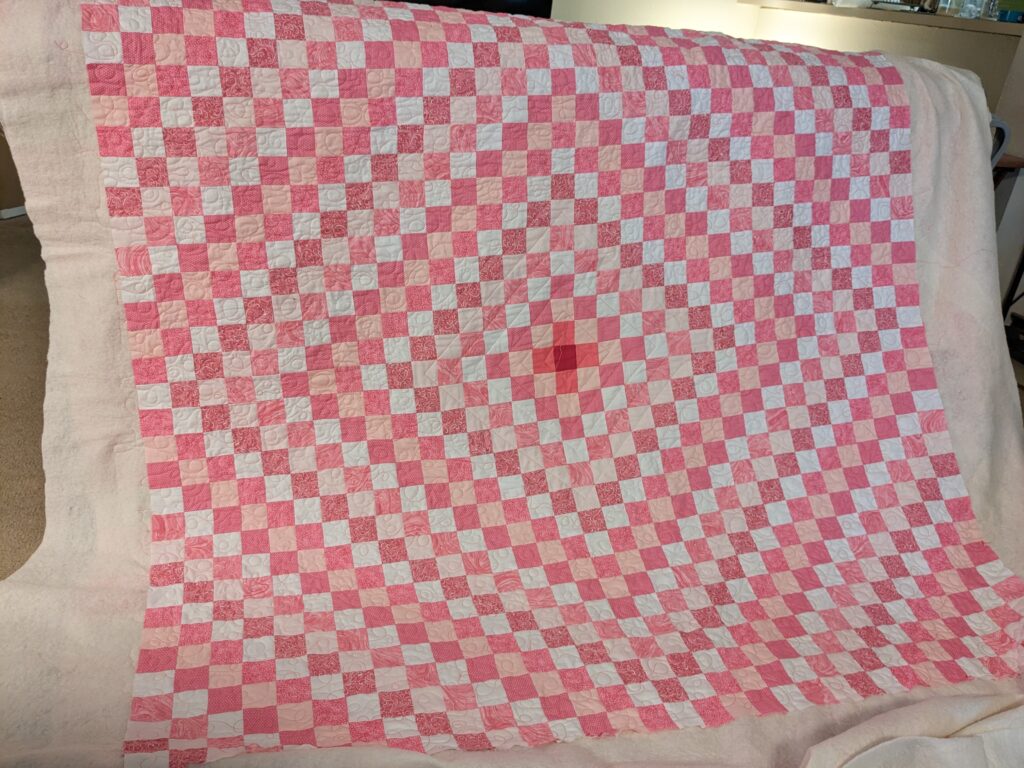
For the assistant principal, I decided on an Around the World quilt design. I found this blog post from Aqua Paisley Studio about a mini-quilt Around the World Quilt. It was the easiest explanation I had found on how to make the Around the World quilt. So using her description, I made a really large version!
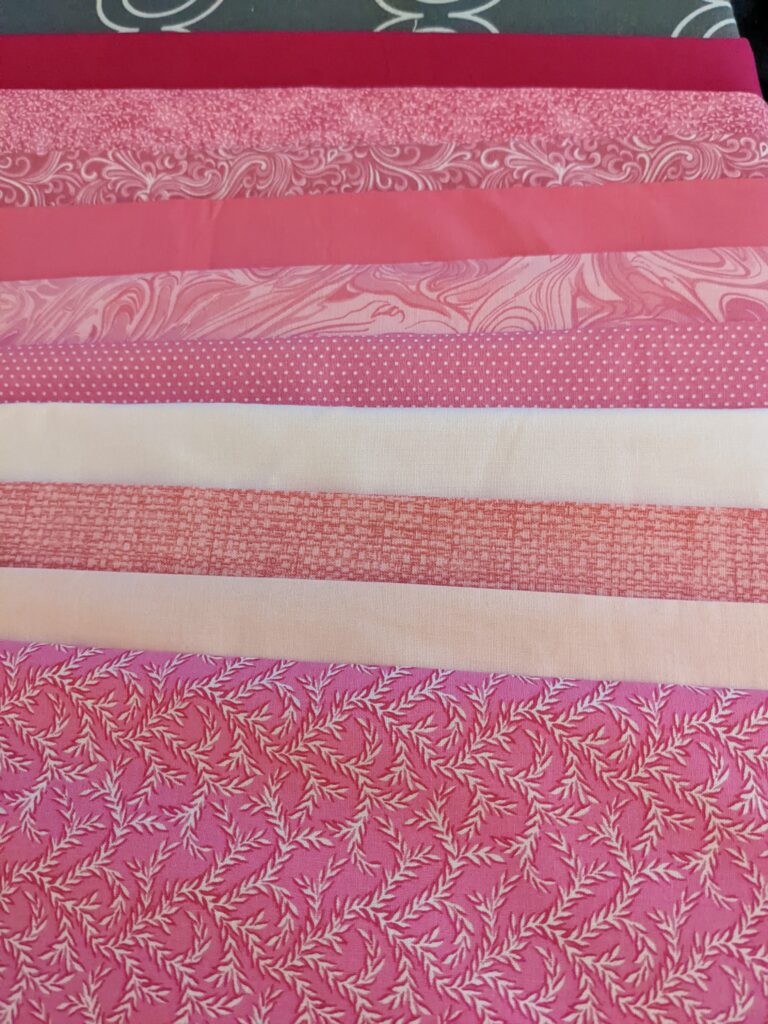
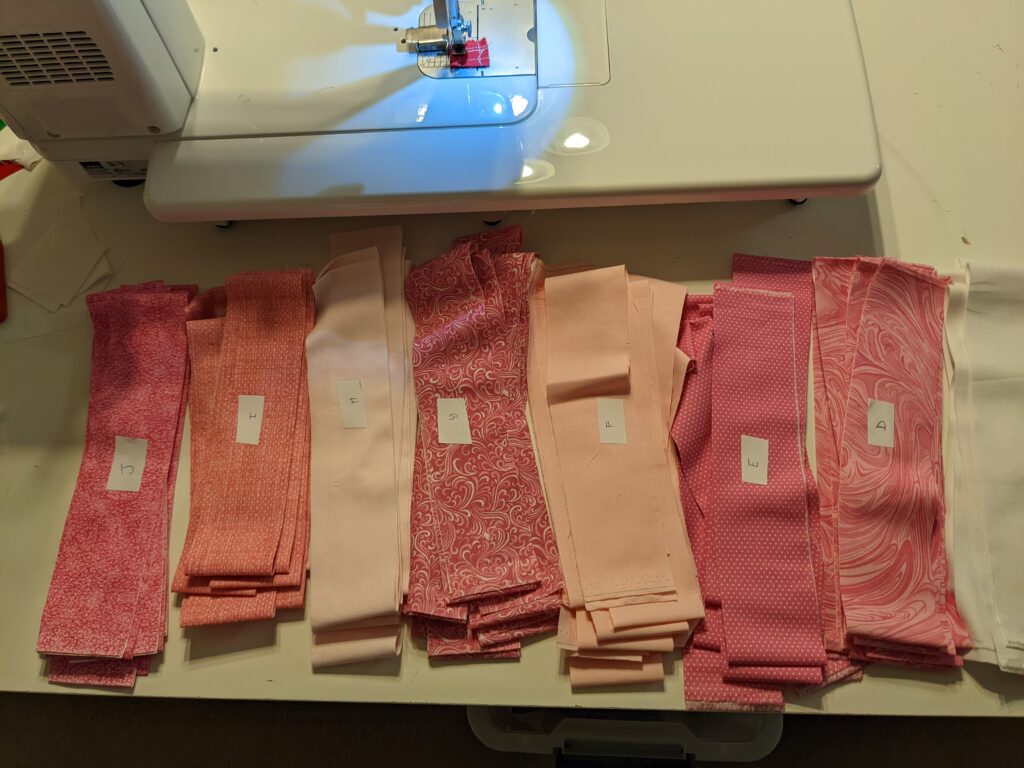
Since the assistant principal’s favorite color is pink, I purchased pink fabrics in different shades and styles, hoping that they would be enough contrast to make this work.
I took a LONG time to figure out which fabrics I wanted where in the overall pattern, and even ended up using EQ8 to figure out placement of each fabric.
Then I cut them into strips and labeled each one.
Then it was on to sewing them into strip units.
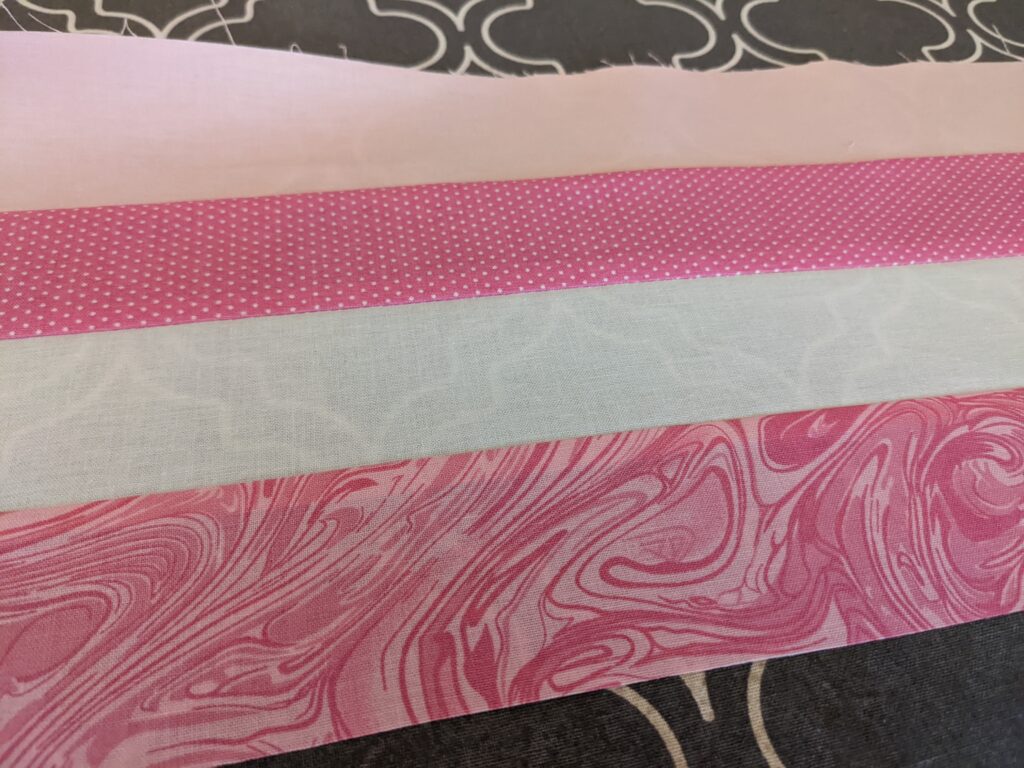
From there it was almost like making a bargello, where you subcut the strip units into squares, and then placing them in the right order.

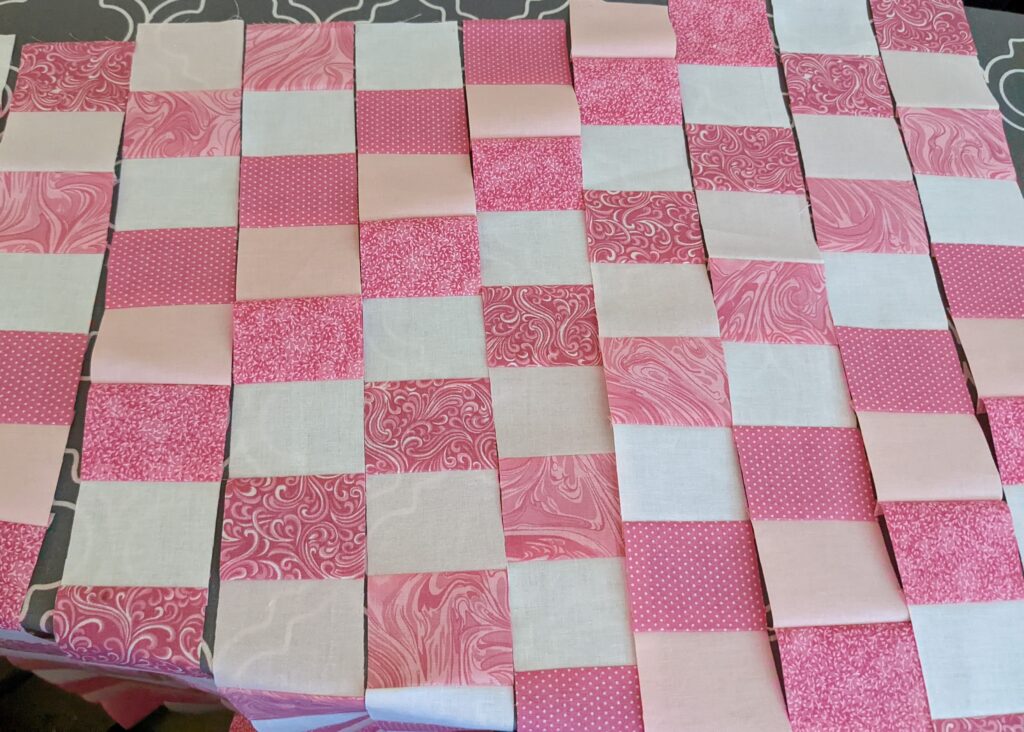
From there I sewed the rows together. I designed it so that I could make a quarter of the quilt top at a time to not confuse myself. It also really helped having a design wall to lay it all out on to make sure I was doing it correctly.
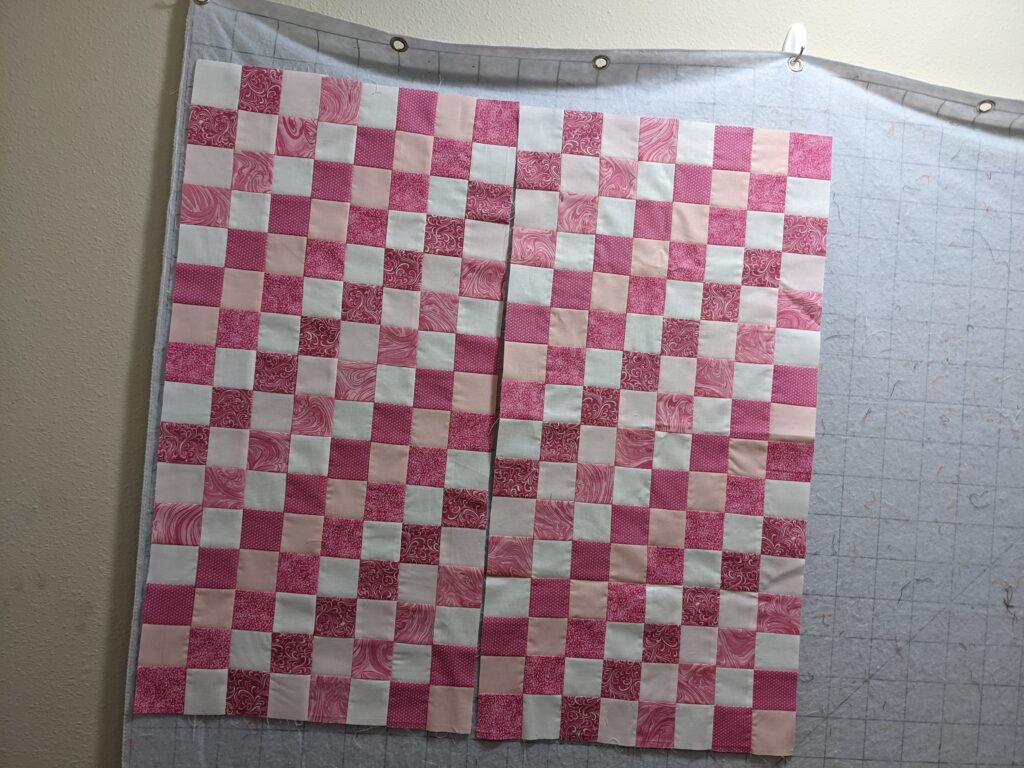
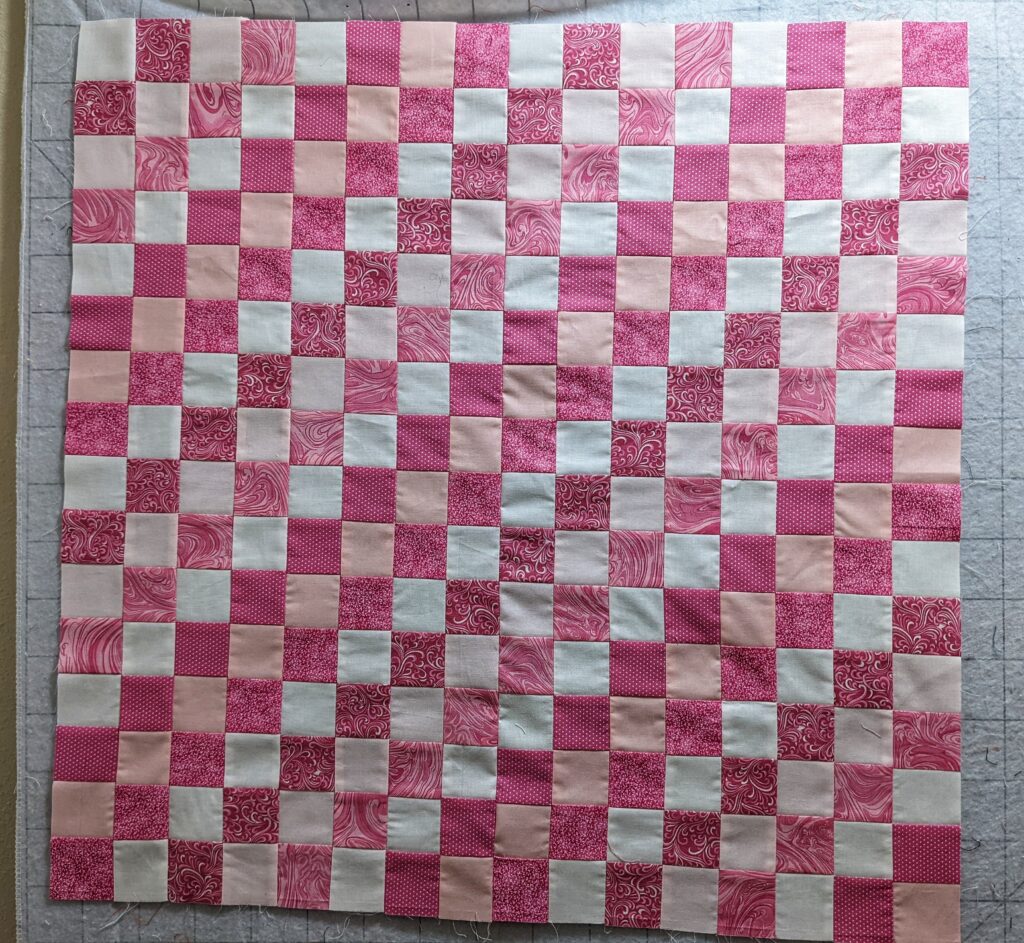
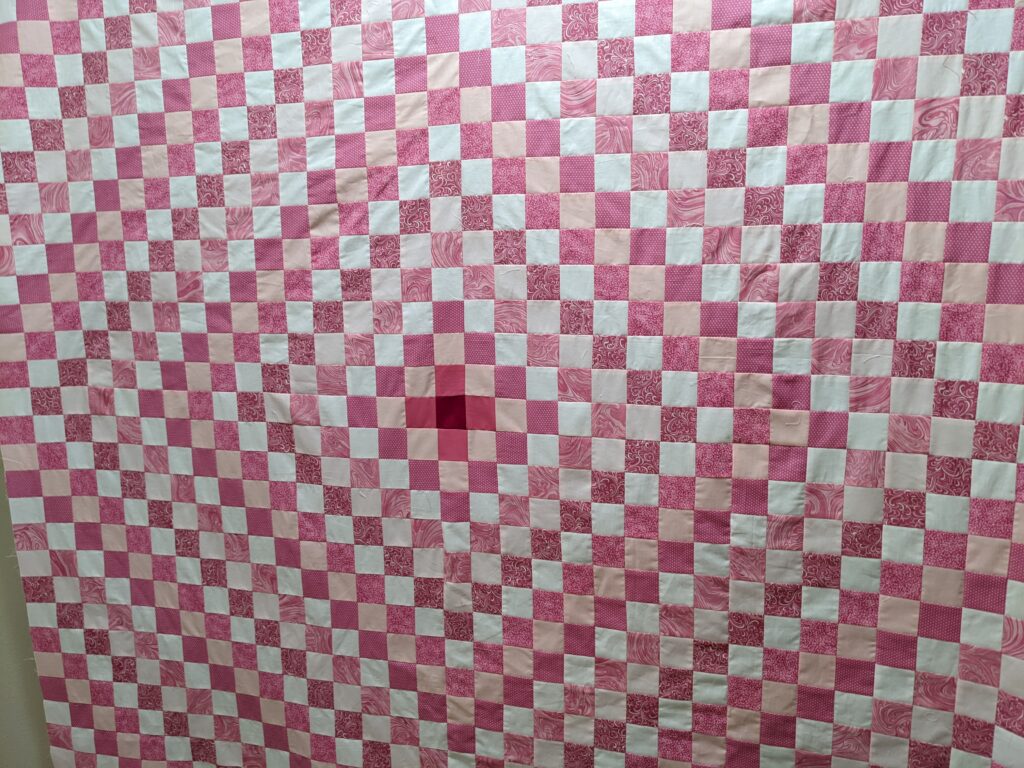
Ta-da! Quilt top all done!!
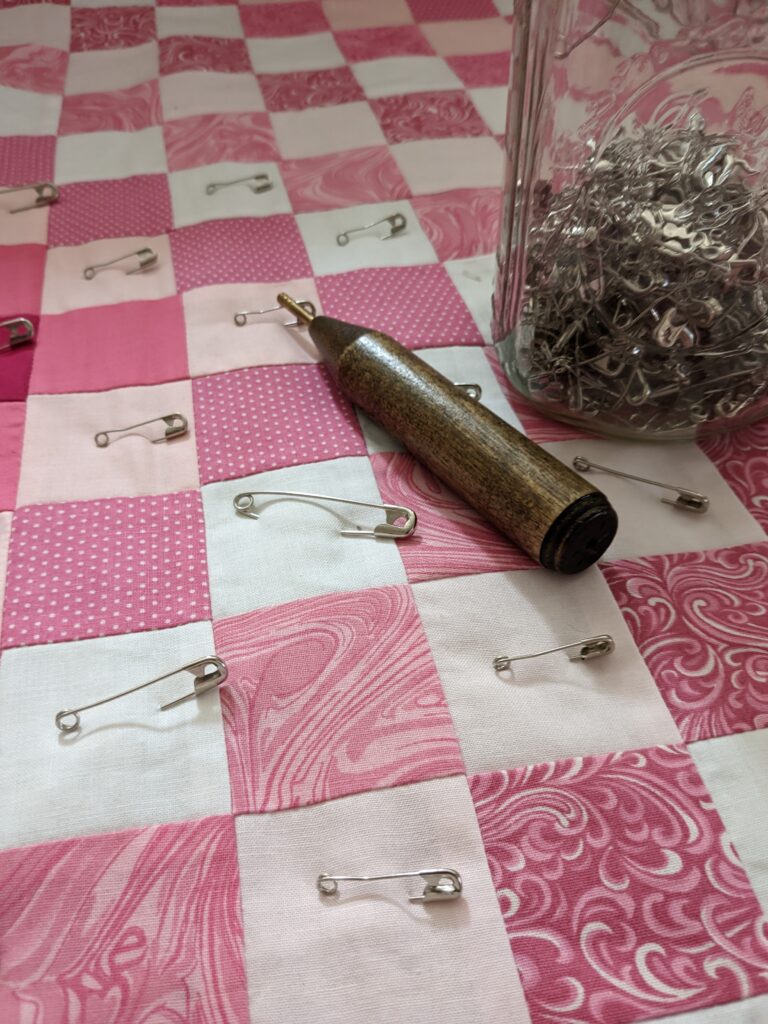
Then it was on to basting my quilt sandwich.
Although I have the Cutie, I thought I was going to do straight line quilting all the way around. Kind of like this.


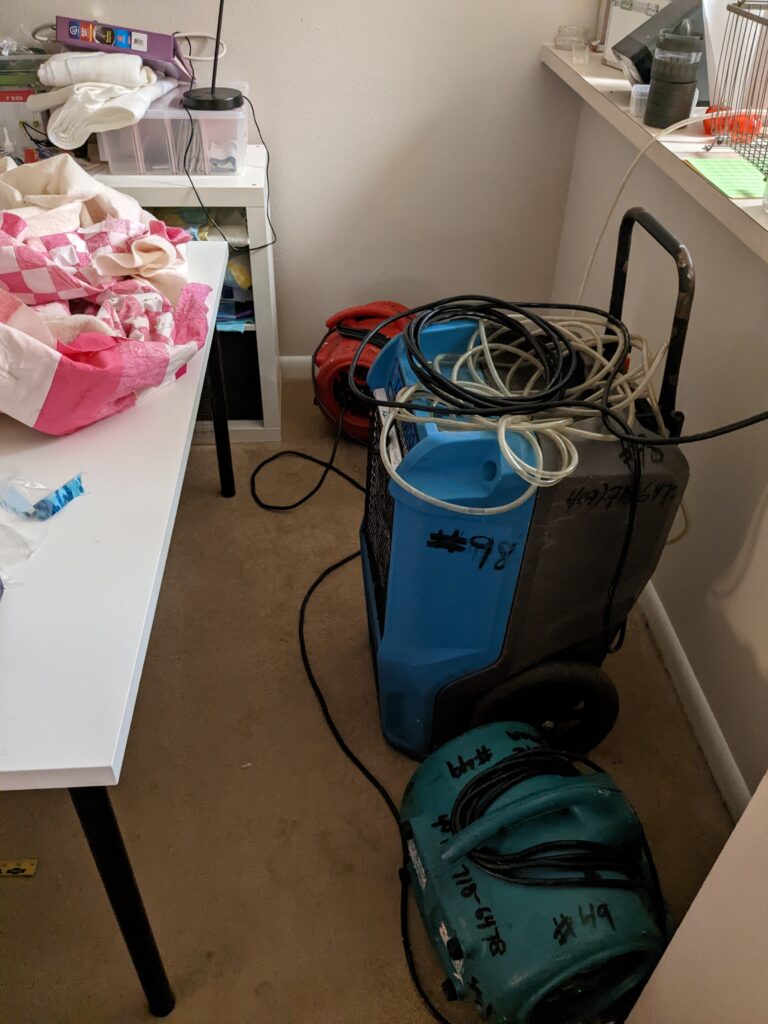
I had started on it and it was going well, when one morning I go sit at my sewing table and find that my carpet was SOAKED! My dishwasher was installed incorrectly and it was leaking into my dining room carpet! I had taken over the dining room as my sewing room, so it put me out of commission until the apartment complex maintenance could get my carpet completely dry. This is what my sewing room looked like with the dehumidifiers and dryers.
When I finally got everything reorganized I realized I just didn’t feel like pushing and pulling the entire quilt through the throat of my machine. I mean that is why I got the Grace Cutie frame right??
So I ended up just finishing the quilt with a meandering stitch.
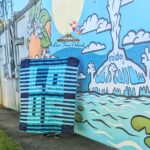
It wasn’t as hard as I thought it was going to be and I really really loved the way it came out! Of course I yet again didn’t get a really good photo of the quilt all finished, but I was happy with the quilt, and the best part was that the assistant principal loved it too!!!
If you are a quilter and interested in joining a group of other quilters, check out my Facebook group where we discuss our love of Grace Company products and grow as quilters: Quilting with Love From Orlando.