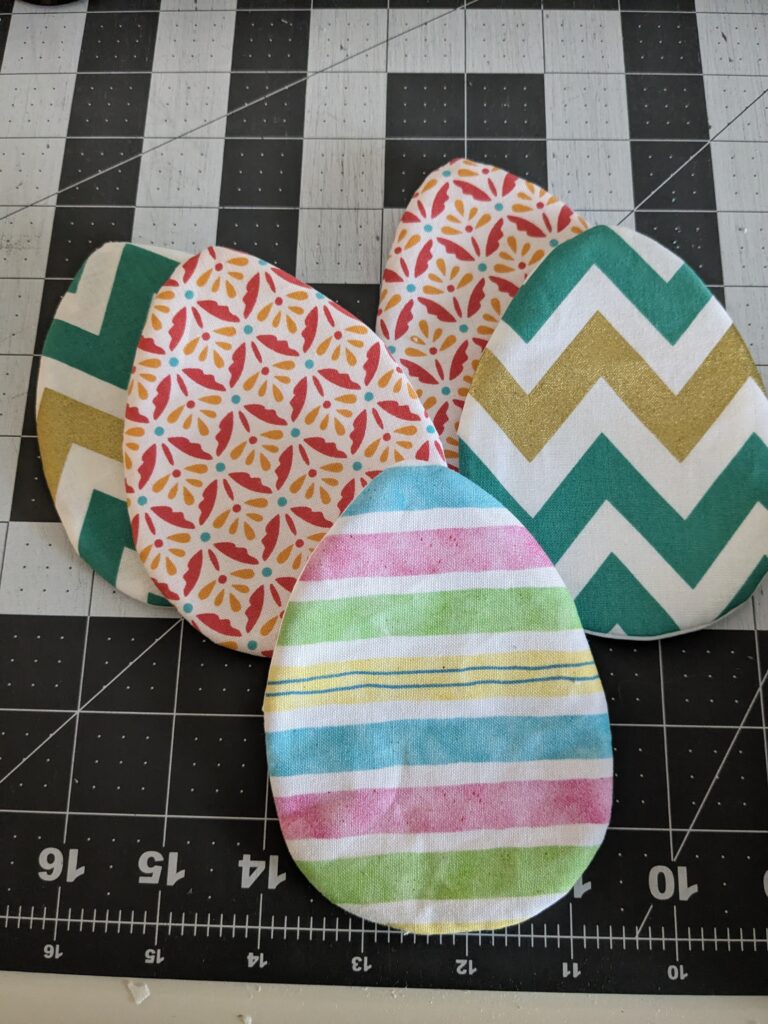
Since we stopped eating eggs in our house, we don’t get to color Easter eggs anymore. So, I thought it would be fun to make some fabric ones! Now, don’t get me wrong, my son never wanted to help with coloring eggs anyway. It was always something fun I did while he just watched!
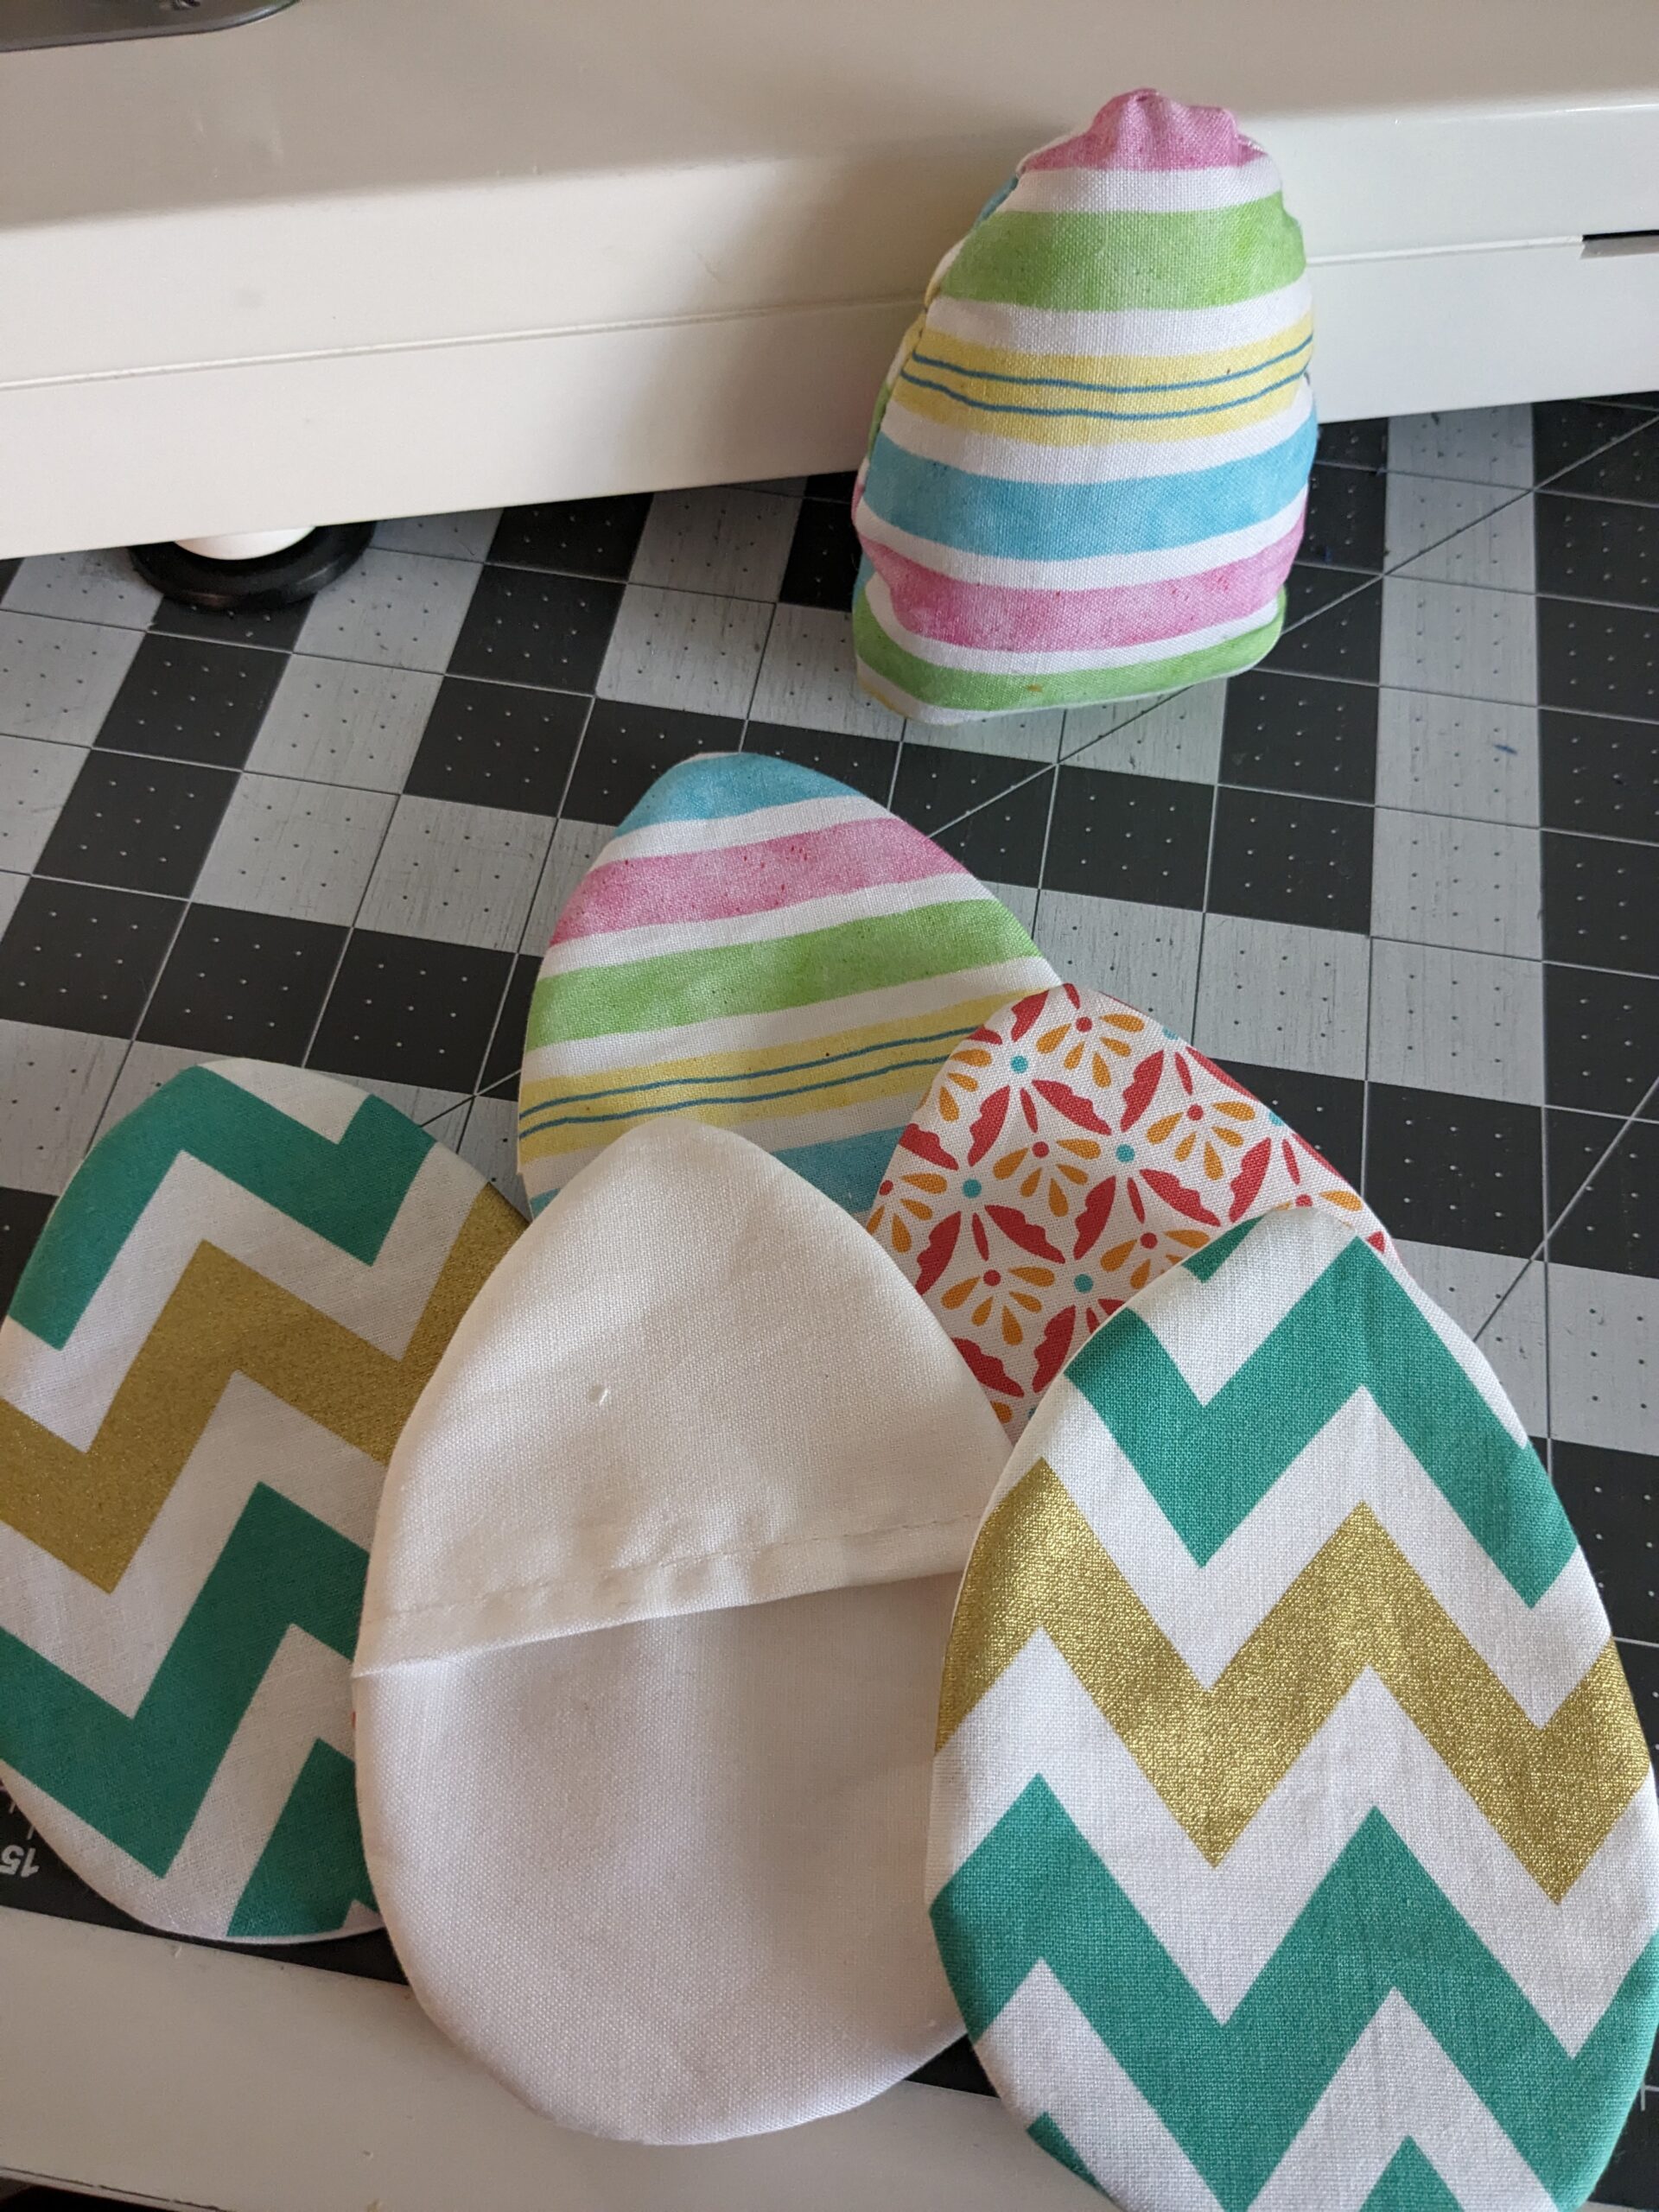
I decided to try two different types of fabric Easter eggs, one you can fill with goodies, and one is just a decoration.
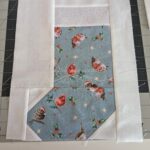
Fabric Pouch Easter Eggs
The first type of eggs are pouches that you can fill with goodies, and then use them for an Easter egg hunt, or just put them in an Easter basket.
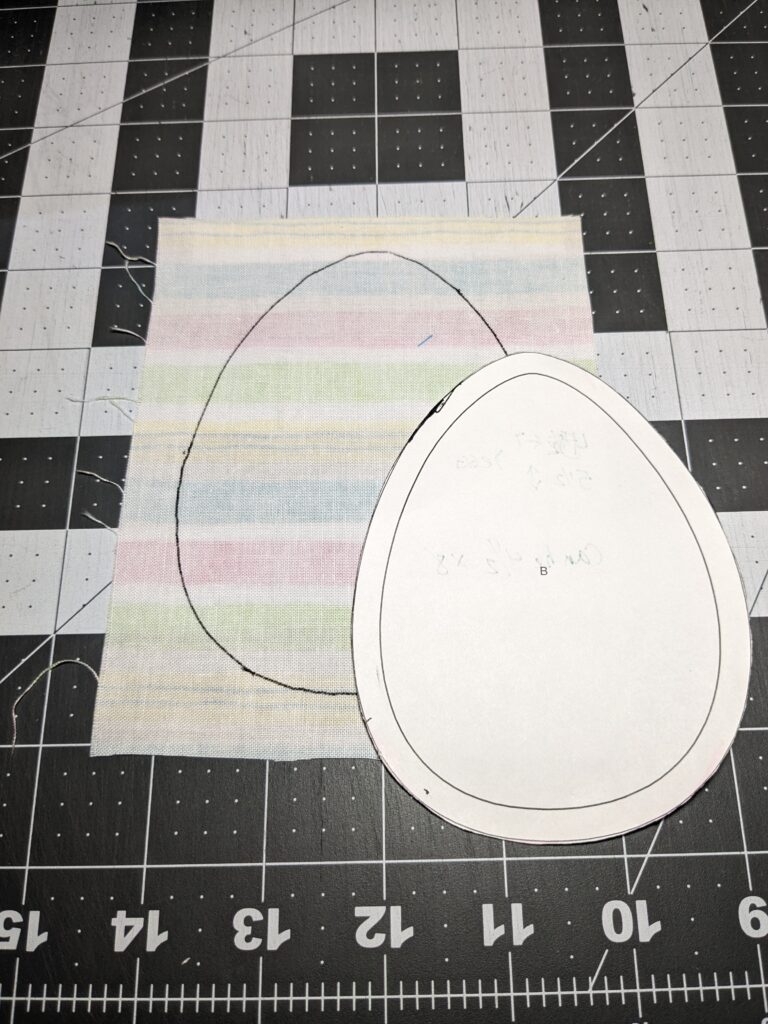
Egg Template
First, I took an applique egg template from EQ8 and modified it to use as my egg template. I use this template for both of the egg types I made. You can download the template for free here.
Preparing Your Fabric
I roughly cut my fabric around the egg shape. It came out to be about 4.5″ wide by 5.5″ long. You can use colored/patterned fabric for both the front and the back, but I have a lot of white fabric. I didn’t want to waste the colored/patterned fabric for both the front and back.
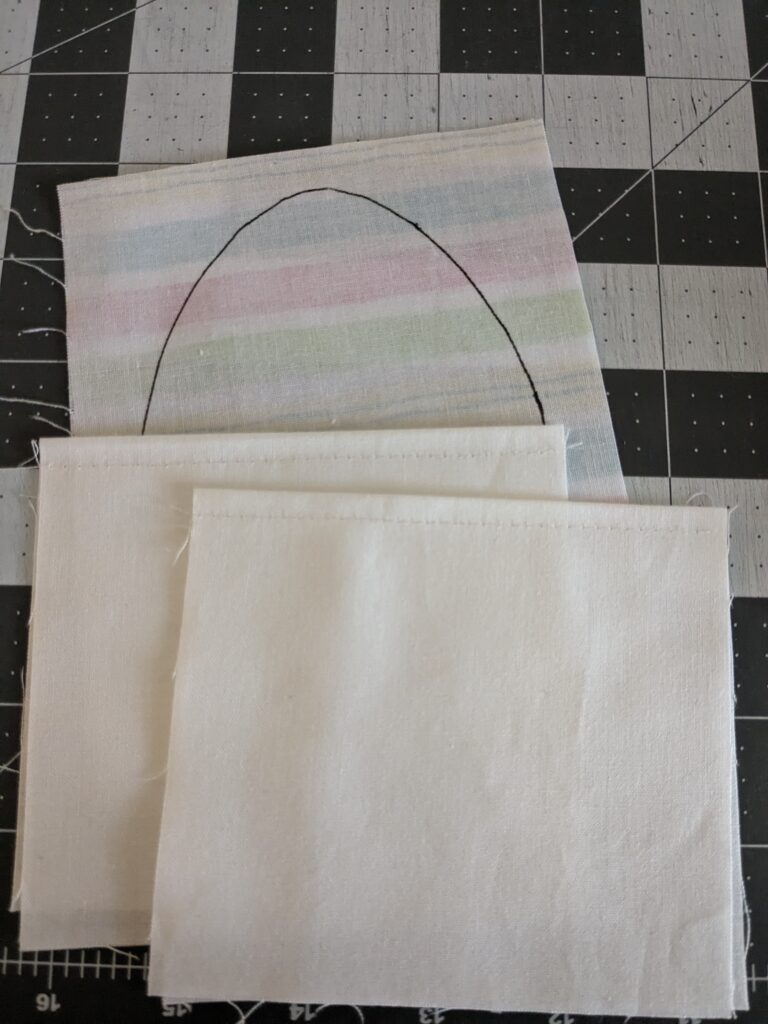
Next for the back/envelope of the egg, I used 2 pieces of fabric roughly 4.5″ wide and 8″ long. I realized afterwards that the backing was a bit too long, but I wanted to make sure that it covered the egg.
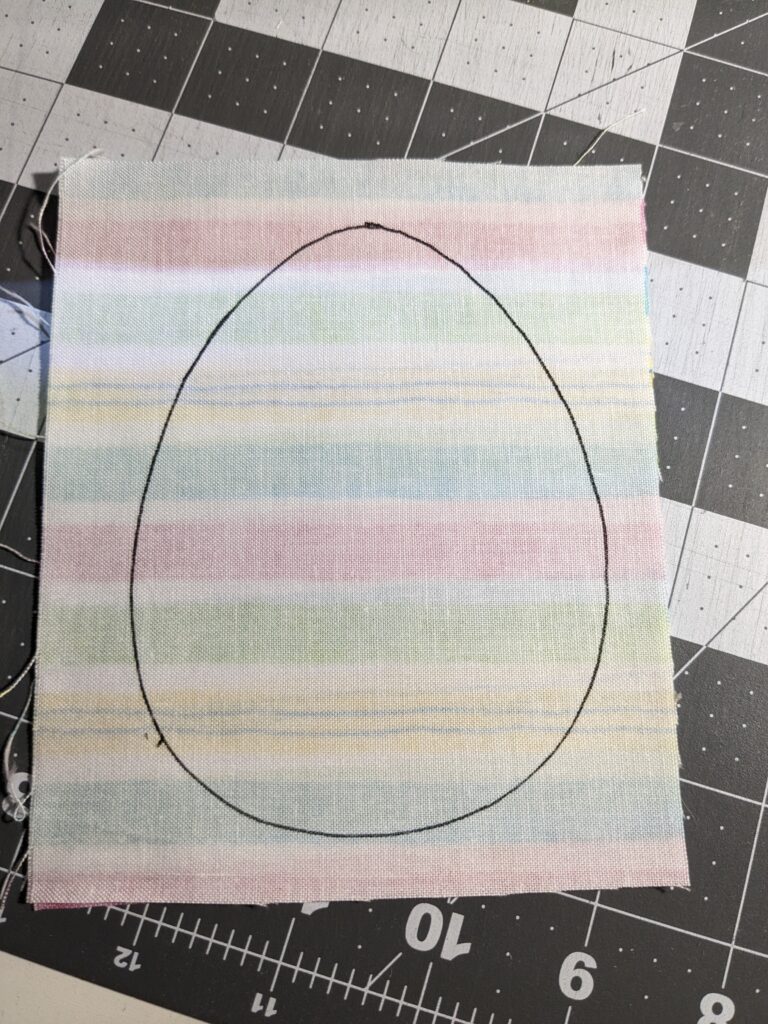
First I took the template and drew it on the backside/wrong side of the patterned fabric. I used a fabric pen, since the backside is going to be on the inside of the egg, I wasn’t worried about the line showing.
Then I took the fabric for the backside and folded them in half, pressed the edge and sewed about 1/8″ from the edge.
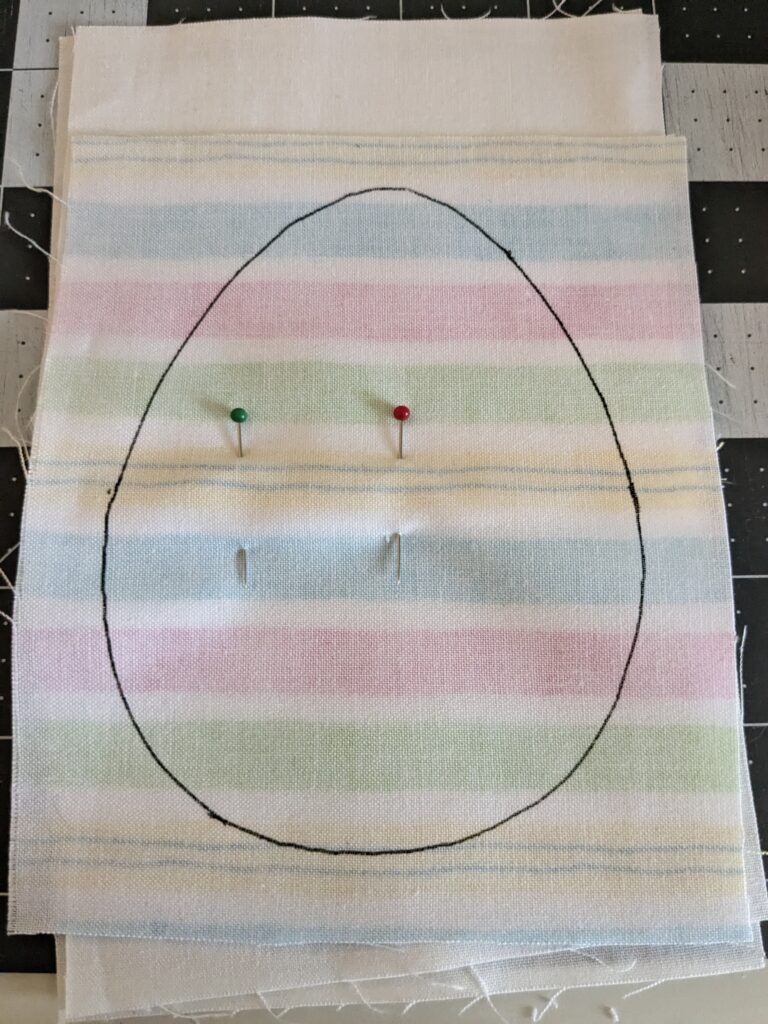
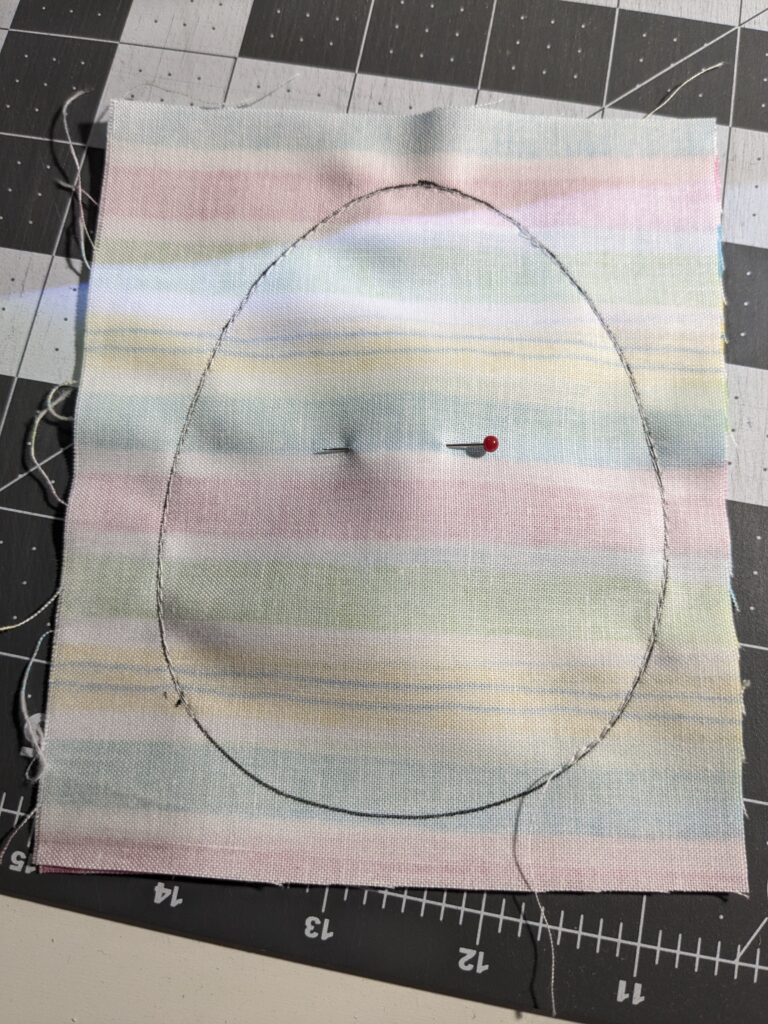
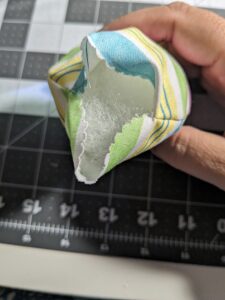
Take the two pieces and overlap them the finished edges about 1/2″ to 1″.

Then place your egg lined fabric on top of the folded pieces, with the right side of the fabric facing the folded backing pieces. Even though I hate pins, I knew that this HAD to be pinned! Two pins did the trick in keeping everything in place.

Sewing Your Egg
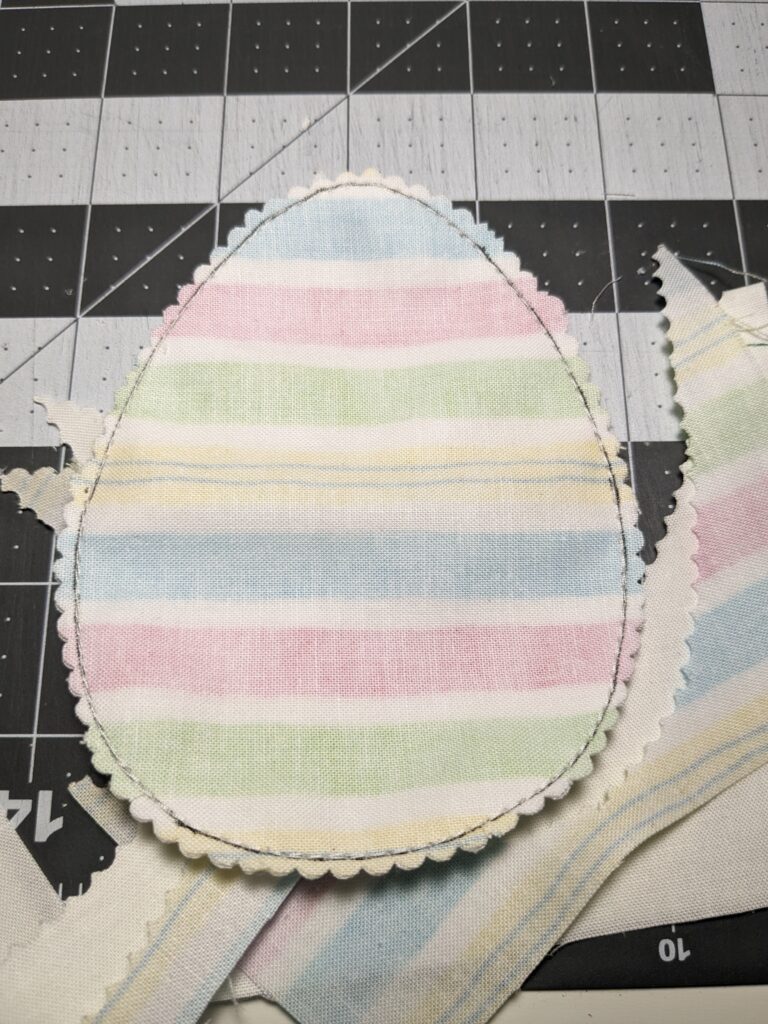
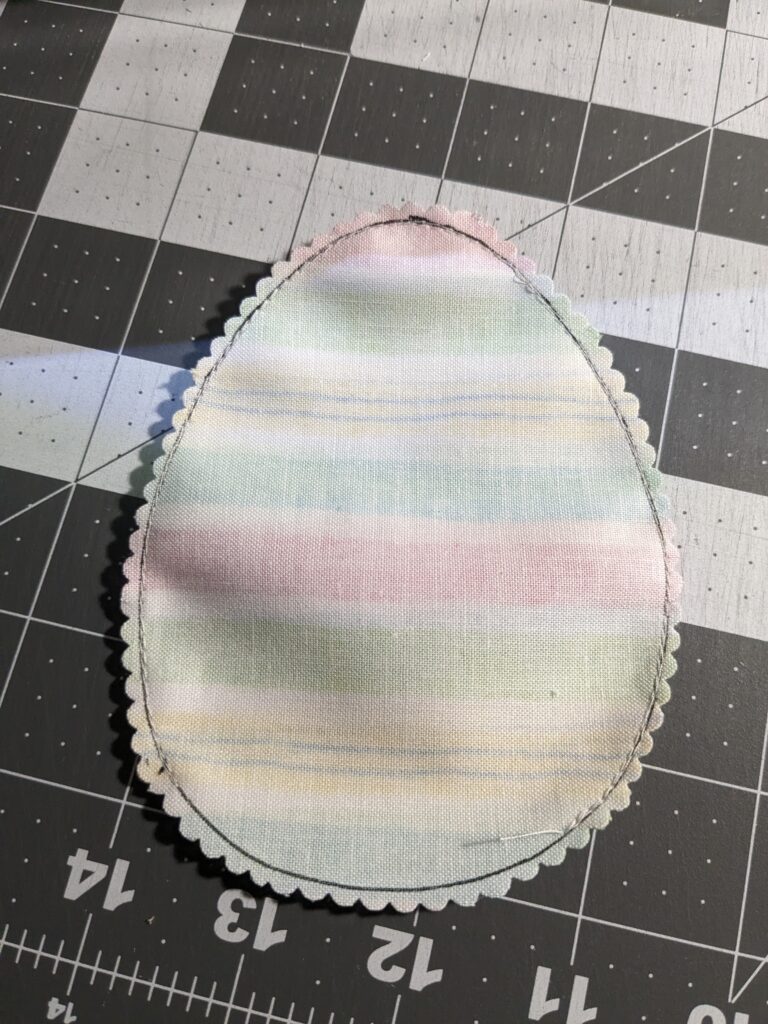
Then sew on the line all the way around the shape of the egg. I did sew around it twice, just to make sure my seams were secure.
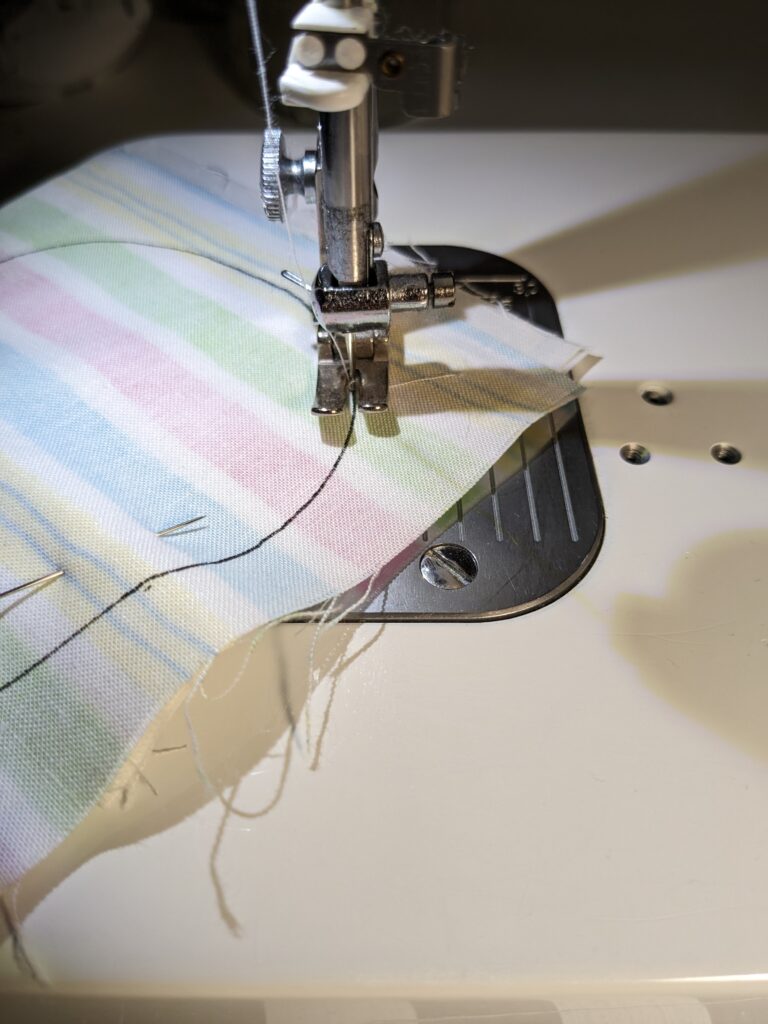
Once it’s all sewn, cut the rest of the fabric around the egg shape. You can use just regular scissors and then clip close to the seam to help ease the curves. I have pinking shears that I barely ever use, so I was happy to be able to pull them out and use them for this project!
Trim, Turn, and Done!
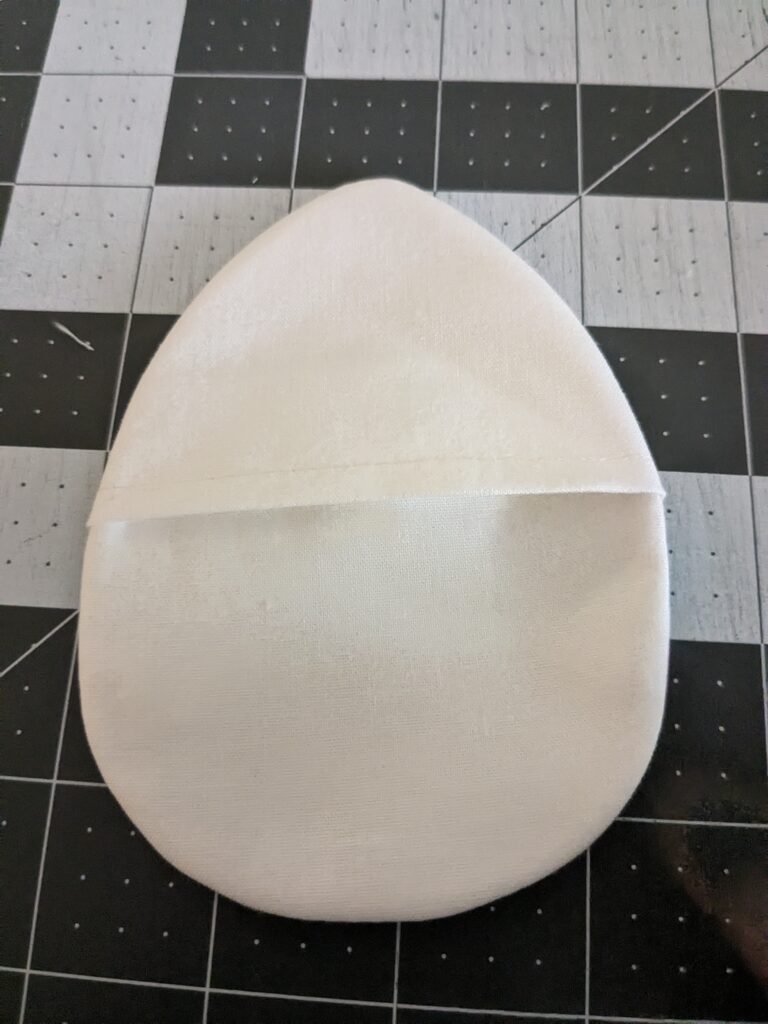
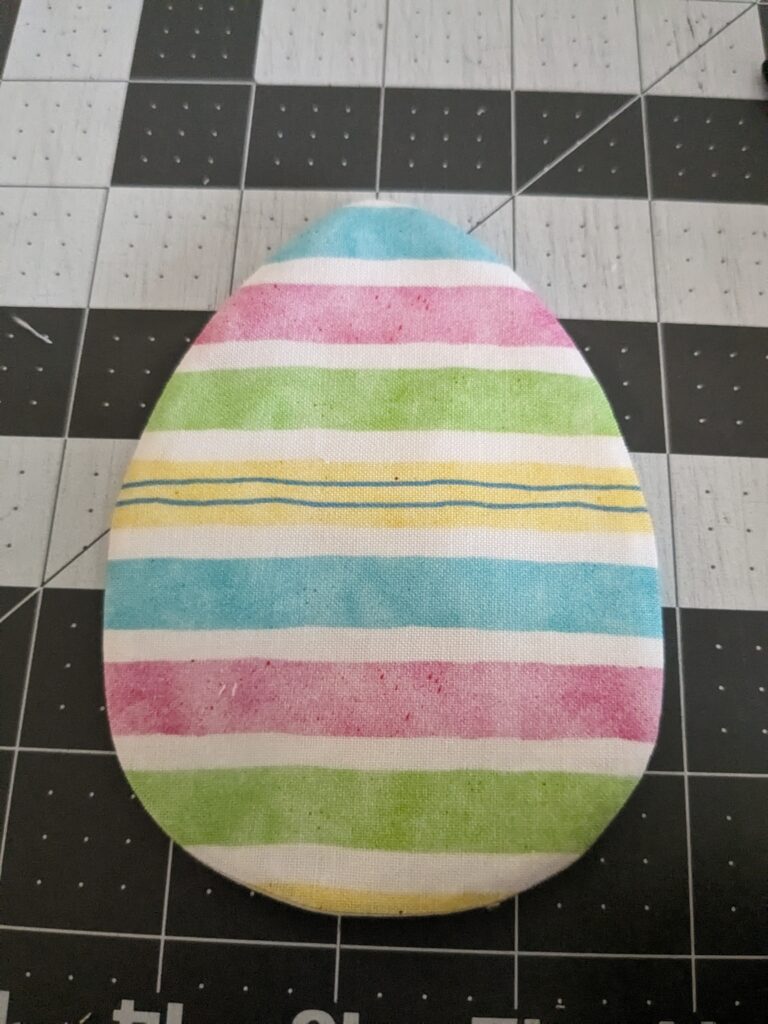
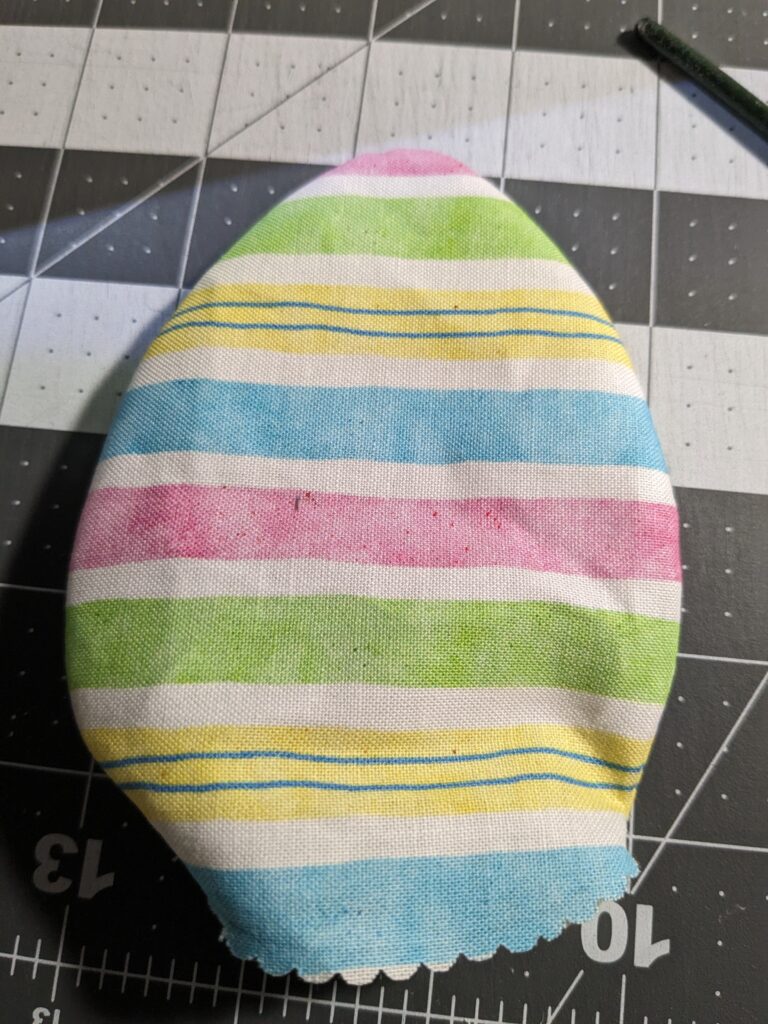
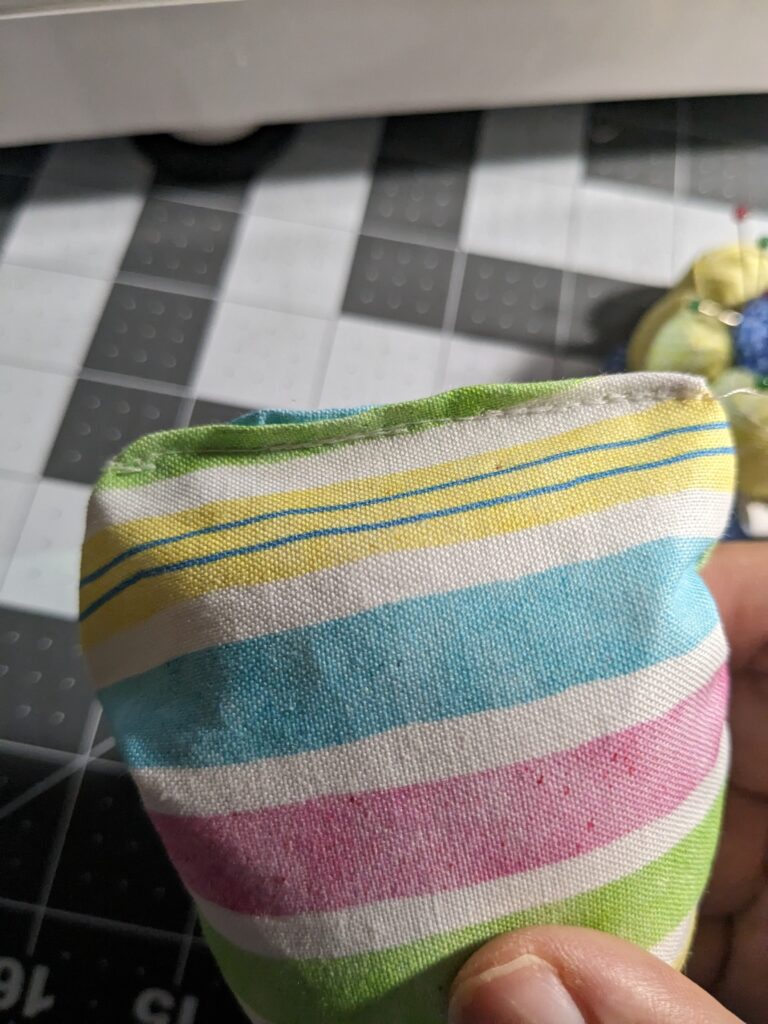
Now you just have to turn it right side out! Use a blunt object like the purple thang, or like me I used the handle of a paint brush, to push out the seam all the way. And that’s it! It’s done and ready for some Easter treats!
Fabric Pillow Easter Eggs
These are a little similar to the pouches, but they are filled with your favorite pillow stuffing (I used Poly fill) and then sewn shut. These are also great for an Easter egg hunt, or just for decorations.
Preparing Your Fabric
These are basically the same concept as the pouches, but you use two colored fabrics, one for each side. First I laid them out with right sides together.

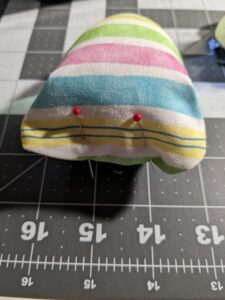
Then, I put the template on, drew around it and put a pin through both layers.

Sewing Around the Egg
This time when I sewed around the egg shape, I made sure to not sew on the bottom so I could fill the egg.
I trimmed the egg all the way around with my scalloped pinking shears.
Turning Rightside Out
Now it’s time to turn the egg rightside out, using a blunt object to push out your seams.
Stuffing The Egg
Then I stuffed the egg with some poly-fil, then pinned the opening together so I could topstitch it closed.
You can hand sew it shut, but I used my machine. It’s not perfect, but it’ll do! It was my first egg, I’m hoping I get better the more I make!

I hope you have fun making your fabric Easter eggs!! I am now going through my stash to see what other fabrics would make great Easter eggs.
Thank you for reading and happy quilting!!
Didi